
The Off-Grid Challenge: Community Insights for 2026
Learning how to power Arduino with battery configurations is a fundamental rite of passage for any maker transitioning from USB-tethered prototypes to autonomous, off-grid sensor nodes. In our recent ElectricalFlux community roundup, we analyzed hundreds of forum threads, GitHub repository power logs, and field-deployed weather stations to determine which battery chemistries and voltage regulation topologies actually survive in the wild.
The consensus is clear: simply plugging a 9V alkaline battery into the barrel jack is a fast track to project failure. The onboard NCP1117 linear regulator found on the classic Arduino Uno R3 and Nano bleeds nearly half of your battery's capacity as waste heat. To build efficient deployments in 2026, makers are bypassing linear regulators, leveraging switching buck converters, and utilizing aggressive microcontroller sleep states.
Battery Chemistry Showdown: What the Community Actually Uses
Before wiring a single pin, you must select the right chemistry. Based on community deployment data, here is how the top three battery types compare for MCU projects.
| Chemistry | Nominal Voltage | Energy Density | Avg. Cost per Cell | Best Community Use Case |
|---|---|---|---|---|
| Li-Ion 18650 | 3.7V (4.2V max) | High (~250 Wh/kg) | $5.00 - $8.00 | High-current robotics, motorized rovers |
| LiPo (Pouch) | 3.7V (4.2V max) | Very High | $8.00 - $15.00 | Wearables, compact drones, tight enclosures |
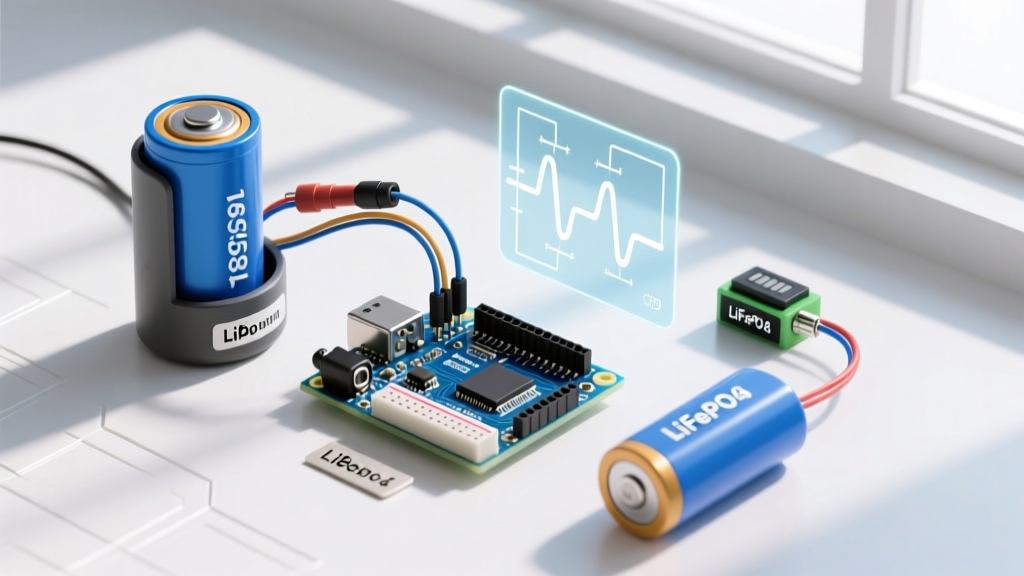
| LiFePO4 | 3.2V (3.6V max) | Medium (~140 Wh/kg) | $12.00 - $20.00 | Permanent solar weather stations, 10+ year IoT |
Method 1: The 18650 Li-Ion + Buck Converter Route
For projects requiring sustained 5V logic and moderate current draws (like driving relays or Wi-Fi modules), the community overwhelmingly favors the 2S 18650 configuration paired with a step-down buck converter. A popular, high-quality cell like the Panasonic NCR18650B (3400mAh) provides massive capacity at a low cost.
The Mini-360 vs. MP1584EN Debate
A frequent mistake seen on maker forums is using the cheap 'Mini-360' buck converter modules. While they cost less than $1.00, community teardowns reveal that many clone batches use counterfeit MP2307DN chips with a quiescent current (no-load draw) exceeding 5mA. For a battery-powered sensor sleeping 99% of the time, a 5mA parasitic drain will kill your pack in weeks.
The Community Pick: The MP1584EN module (typically $1.50 to $3.00). It handles up to 3A, has a true quiescent draw of under 0.5mA, and features a multi-turn potentiometer for precise voltage tuning.
Step-by-Step Wiring for Maximum Efficiency
- Power Source: Wire two 18650 cells in series (2S) yielding 7.4V nominal (8.4V fully charged). Always use a 2S BMS (Battery Management System) board with DW01A protection ICs to prevent over-discharge below 2.4V per cell.
- Regulation: Connect the 2S pack to the IN+ and IN- pads of the MP1584EN.
- Tuning: Use a multimeter on the OUT+ and OUT- pads. Turn the brass potentiometer counter-clockwise until the output reads exactly 5.00V.
- The Bypass Trick: Do not connect the 5V output to the Arduino's '5V' pin if you are using a Pro Mini, but if you are using an Uno/Nano, wire the MP1584EN 5V OUT directly to the Arduino's 5V pin, completely bypassing the onboard NCP1117 linear regulator and its associated thermal losses.
Expert Warning: Never feed a raw, fully charged Li-Ion pack (8.4V) directly into the Arduino 'Vin' pin while simultaneously drawing high current (e.g., powering a servo). The voltage drop across the linear regulator will trigger thermal shutdown, causing your MCU to brown-out and reset unpredictably.
Method 2: LiPo and the Adafruit PowerBoost 1000C
When space is at a premium, single-cell (1S) 3.7V LiPo pouch cells are the standard. However, because 3.7V is below the 5V required by standard USB logic, you need a boost converter. The community's gold standard for this is the Adafruit PowerBoost 1000C (approx. $19.95).
This module integrates a TPS61029 boost converter and a MCP73871 LiPo charger. It outputs a clean 5.2V at up to 1A and includes automatic load-sharing, meaning your Arduino stays powered even while the battery is charging via USB. To wire this, connect the PowerBoost '5V' out to the Arduino '5V' pin, and the 'GND' to 'GND'. Ensure your LiPo has a built-in JST-PH connector and an undervoltage protection circuit to prevent cell swelling and venting.
Method 3: LiFePO4 for Permanent Solar Deployments
If you are building a remote soil-moisture sensor or weather station meant to survive for a decade, LiFePO4 (Lithium Iron Phosphate) is the undisputed champion. While heavier and lower in energy density, LiFePO4 cells boast 3,000 to 5,000 charge cycles compared to the 500 cycles of standard Li-Ion.
Furthermore, a fully charged LiFePO4 cell sits at ~3.6V, which is remarkably close to the 3.3V logic level of modern ARM-based boards like the Arduino Nano 33 IoT or the Seeed Studio XIAO series. By pairing a 6V solar panel with a dedicated MPPT solar charge controller (like the CN3791 module tuned for LiFePO4), makers are achieving 'fire-and-forget' deployments that survive harsh winters without human intervention.
Software: The Missing Half of the Power Equation
Hardware efficiency is useless if your code keeps the MCU awake. According to the legendary Nick Gammon's ATmega328P Power Saving Guide, an Arduino Uno drawing 45mA in active mode can drop to an astonishing 0.1 µA in power-down sleep mode with the ADC and Brown-Out Detector (BOD) disabled.
Community Sleep-Mode Checklist
- Disable the Power LED: On a Pro Mini, physically desolder or clip the onboard power LED resistor. This alone saves 2mA to 5mA of continuous draw.
- Use the Watchdog Timer (WDT): Instead of using
delay(), which keeps the CPU active, use the WDT to trigger an interrupt every 8 seconds. The Adafruit Low-Power Library provides excellent wrapper functions for this. - Peripheral Power Gating: If using an external sensor (like a BME280), power it from a digital GPIO pin rather than the continuous 3.3V rail. Set the pin HIGH only when taking a reading, then pull it LOW to cut power to the sensor entirely.
Calculating Your Real-World Battery Life
The community relies on a strict power-budgeting formula before finalizing an enclosure. Here is a real-world calculation for a LoRaWAN soil sensor:
- Active state: 45mA for 2 seconds (Sensor read + LoRa transmit) = 90mAs
- Sleep state: 0.01mA for 3598 seconds (1 hour cycle) = 35.98mAs
- Total per hour: ~126mAs (or 0.035mAh)
- Daily Draw: 0.035mAh * 24 = 0.84mAh per day
With a standard 3400mAh 18650 cell, the theoretical runtime is 4,047 days (over 11 years). In reality, accounting for a 15% self-discharge rate and buck converter inefficiencies, the community reports field lifespans of 6 to 8 years on this exact topology.
Frequently Asked Questions (Community FAQ)
Can I use standard 9V Alkaline batteries?
While physically compatible with the barrel jack, 9V alkalines have a terrible energy-to-weight ratio and high internal resistance. As noted in SparkFun's Battery Technologies Tutorial, they will drop below the Arduino's dropout voltage in a matter of hours if driving motors or radios. Stick to Lithium chemistries for anything beyond a 10-minute classroom demonstration.
Do I need a BMS for a single 18650 cell?
Yes. A raw 18650 cell lacks internal protection. If your Arduino code crashes and draws current until the cell drops below 2.5V, the copper anode will dissolve, rendering the cell permanently dead and potentially dangerous to recharge. Always use a DW01A-based protection board (costing roughly $0.30) in series with the cell's negative terminal.