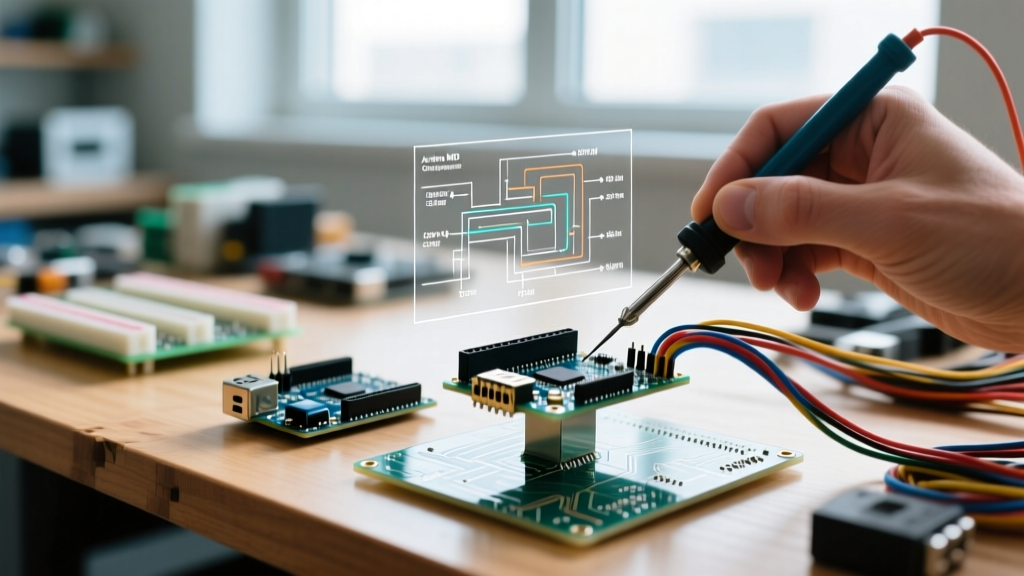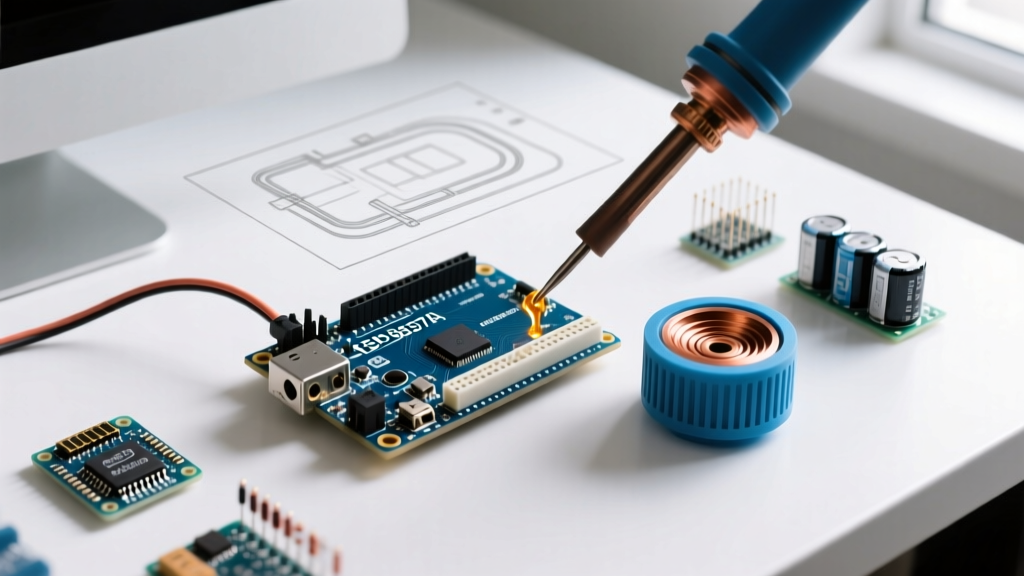

The Limitations of the Standard Piezo Buzzer Arduino Setup
For over a decade, the standard 12mm or 14mm passive piezo transducer has been the default audio output for maker projects. Whether you are using a bare piezo disc or a pre-wired KY-006 module, connecting a piezo buzzer Arduino setup directly to a 5V ATmega328P GPIO pin is a rite of passage. However, as IoT dashboards, retro-gaming handhelds, and accessible medical alerts demand richer audio feedback in 2026, the limitations of the basic piezo become glaringly obvious.
A standard piezo element acts as a capacitor (typically 20nF to 30nF) with a sharp resonant frequency peak, usually between 2.0 kHz and 4.0 kHz. When driven directly by an AVR microcontroller using the Arduino tone() function, you are constrained by the GPIO pin's maximum current sourcing capability of roughly 20mA (with a 40mA absolute maximum limit). This results in a weak, narrow-band Sound Pressure Level (SPL) of about 60dB at 10cm, characterized by the infamous 'annoying beep' that lacks harmonic depth and volume.
Engineering Insight: Driving a highly capacitive load like a piezo directly from a microcontroller pin at high frequencies can cause excessive current draw during the charging/discharging cycles, potentially degrading the GPIO over time or causing brownouts if multiple peripherals are active.
The 2026 Audio Migration Matrix
Upgrading your audio architecture requires choosing the right path based on your project's end goal. Below is a comparison matrix to help you decide how to migrate away from the basic 5V piezo setup.
| Solution | Target MCU | Audio Quality | Approx. Cost (2026) | Best Application |
|---|---|---|---|---|
| Direct GPIO Piezo (KY-006) | AVR / ATmega328P | Poor (Narrowband Beep) | $1.50 | Basic error alerts, simple alarms |
| H-Bridge Driven Piezo (SN754410) | AVR / ESP32 | Fair (Loud, Harsh) | $4.00 | Industrial alarms, outdoor alerts |
| I2S DAC (MAX98357A) | ESP32 / RP2040 | Excellent (Full Range) | $5.95 | Voice prompts, retro gaming, IoT |
| MP3 Shield (DFPlayer Mini) | AVR / ESP32 | Good (Compressed) | $3.50 | Pre-recorded sound effects |
| Piezo Haptic/Audio Driver (DRV8662) | Any (I2C/Analog) | Very Good (High SPL) | $8.50 | Medical devices, haptic feedback |
Migration Path 1: Maximizing the Piezo with High-Voltage Drive
If your project strictly requires a piezo transducer—perhaps due to extreme environmental constraints, waterproofing requirements, or ultra-low power sleep states—you must upgrade the driving circuitry. The goal is to increase the peak-to-peak voltage (Vpp) across the piezo element.
The SN754410 H-Bridge Method
By using a half-H-bridge driver like the Texas Instruments SN754410 or an L298N motor driver, you can drive the piezo with an external 12V to 36V power supply. Because the piezo is driven differentially (push-pull), a 12V supply actually yields a 24V peak-to-peak swing across the transducer.
- Wiring: Connect MCU PWM Pin 1 to IN1, and an inverted PWM signal to IN2. Connect the piezo between OUT1 and OUT2.
- Result: SPL increases from 60dB to over 85dB at 10cm.
- Edge Case: Piezos are capacitive. When driven with high-voltage square waves, the rapid dV/dt can cause EMI (Electromagnetic Interference) that resets sensitive ADC readings on your Arduino. Always route piezo drive traces away from analog sensor lines.
Migration Path 2: The Digital Leap to I2S Audio (ESP32 & MAX98357A)
For 90% of modern maker projects, the true 'upgrade' from a piezo buzzer Arduino setup is abandoning the piezo entirely in favor of an I2S (Inter-IC Sound) digital audio bus paired with a miniature speaker. The ESP32 family (including the ESP32-S3 and ESP32-C6) features hardware I2S peripherals, making high-fidelity audio trivial to implement.
The Adafruit MAX98357A I2S Audio Breakout is the gold standard for this migration. It combines a 3.2W Class-D amplifier and a DAC on a single board, costing roughly $5.95 in 2026.
Hardware Pinout & Wiring
Migrating to I2S requires three primary data connections from your ESP32 to the MAX98357A:
- BCLK (Bit Clock): ESP32 GPIO 26 to MAX98357A BCLK
- LRC (Left/Right Clock): ESP32 GPIO 25 to MAX98357A LRC
- DIN (Data In): ESP32 GPIO 22 to MAX98357A DIN
- GND & VIN: Shared ground, 5V power supply (do not rely on the ESP32's 5V USB pin if driving a 4-ohm speaker at high volume; use a dedicated 5V rail).
Code Migration: From tone() to ESP-IDF I2S
The Arduino tone() function is blocking and limited to square waves. The Espressif I2S API allows you to stream raw PCM audio data, WAV files, or synthesized sine waves directly from memory or an SD card.
#include <driver/i2s.h>

#define I2S_BCLK 26
#define I2S_LRC 25
#define I2S_DOUT 22

void setup() {
  i2s_config_t i2s_config = {
    .mode = (i2s_mode_t)(I2S_MODE_MASTER | I2S_MODE_TX),
    .sample_rate = 44100,
    .bits_per_sample = I2S_BITS_PER_SAMPLE_16BIT,
    .channel_format = I2S_CHANNEL_FMT_ONLY_LEFT,
    .communication_format = I2S_COMM_FORMAT_STAND_I2S,
    .intr_alloc_flags = ESP_INTR_FLAG_LEVEL1,
    .dma_buf_count = 8,
    .dma_buf_len = 64,
    .use_apll = false
  };

  i2s_pin_config_t pin_config = {
    .bck_io_num = I2S_BCLK,
    .ws_io_num = I2S_LRC,
    .data_out_num = I2S_DOUT,
    .data_in_num = I2S_PIN_NO_CHANGE
  };

  i2s_driver_install(I2S_NUM_0, &i2s_config, 0, NULL);
  i2s_set_pin(I2S_NUM_0, &pin_config);
}

void loop() {
  // Stream your PCM audio buffer here using i2s_write()
}
Troubleshooting Common Migration Fail
When transitioning from a simple piezo buzzer Arduino circuit to advanced audio drivers, engineers frequently encounter specific hardware and software bottlenecks.
1. I2S Audio Stuttering and Dropouts
Symptom: Audio played through the MAX98357A stutters when the ESP32 connects to Wi-Fi.
Cause: Wi-Fi interrupts on the ESP32 can starve the I2S DMA (Direct Memory Access) buffers.
Fix: Pin the I2S task to Core 1 and the Wi-Fi stack to Core 0 using FreeRTOS. Increase the dma_buf_count to 16 and dma_buf_len to 128 to provide a larger audio buffer cushion against CPU interrupts.
2. High-Frequency Whine on I2S DACs
Symptom: A persistent 15kHz whine is audible during silent periods.
Cause: Ground loops or noise from the ESP32's internal switching regulators bleeding into the I2S ground reference.
Fix: Ensure the MAX98357A GND is tied directly to the ESP32 GND at a single star-ground point. If using a USB power bank, insert a ferrite bead on the 5V supply line to the DAC.
3. Piezo Capacitance Overloading H-Bridges
Symptom: The SN754410 driver chip overheats rapidly when driving a large 27mm piezo disc.
Cause: Large piezo discs can have capacitances exceeding 100nF. At high PWM frequencies, the reactive current ($I = C \times \frac{dV}{dt}$) exceeds the driver's thermal limits.
Fix: Place a 10-ohm to 47-ohm power resistor in series with the piezo to limit the peak inrush current, or lower the PWM frequency to match the piezo's mechanical resonant frequency (usually around 2.5 kHz).
Conclusion: Choosing Your Audio Future
The era of relying on a raw piezo buzzer Arduino pinout for user feedback is fading. While high-voltage piezo drivers remain essential for harsh industrial environments where waterproofing and durability are paramount, the consumer and IoT maker spaces have decisively moved toward I2S digital audio. By migrating to an ESP32 and a Class-D I2S amplifier like the MAX98357A, you unlock the ability to play voice prompts, complex chimes, and retro soundtracks, transforming your project from a noisy prototype into a polished, professional-grade device.