
The Community Consensus: Navigating Uno Starter Kits in 2026
Choosing the right uno starter kit for arduino projects has become significantly more complex in 2026. With the supply chain fully stabilized and the Arduino Uno R4 architecture now the undisputed modern standard, the maker community is split between legacy ATmega328P (R3) workhorses and the new Renesas RA4M1-powered R4 boards. While Amazon best-seller lists are often manipulated by review syndicates, the electrical engineering and maker communities rely on rigorous, real-world stress testing to determine which kits actually deliver value.
In this community resource roundup, we bypass the marketing fluff and analyze the top three Uno starter kits based on forum consensus, GitHub repository support, and hardware failure rates. Whether you are building a basic weather station or a WiFi-enabled IoT dashboard, this guide provides the actionable data you need to make an informed purchase.
Hardware Comparison Matrix: The Top 3 Contenders
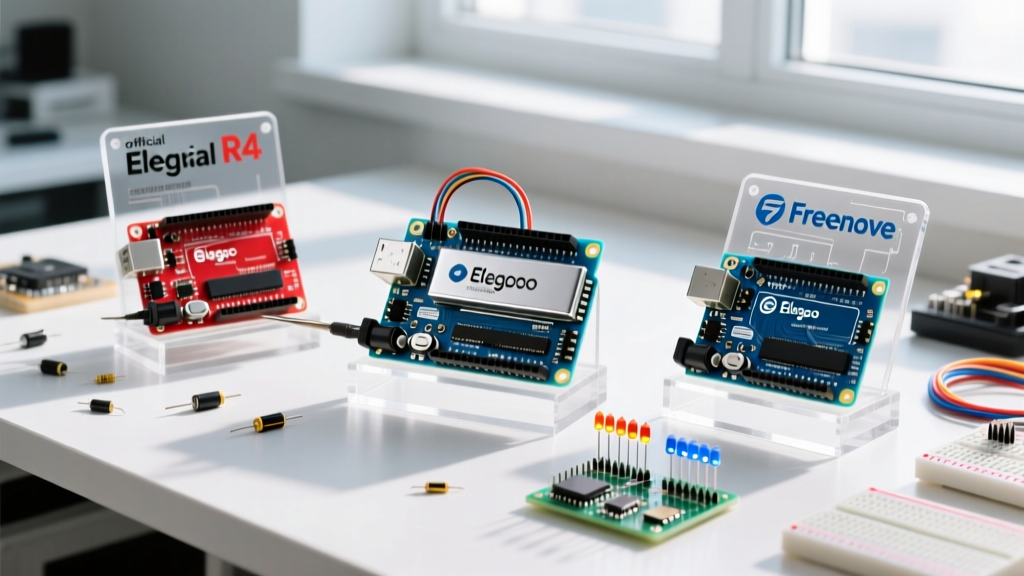
Before diving into the deep-dive reviews, let us look at the raw specifications and community sentiment for the three most recommended kits on the Arduino Installation and Troubleshooting Forum and various Discord maker channels.
| Kit Name | Core MCU | Approx. Price (2026) | Component Count | Community Rating |
|---|---|---|---|---|
| Elegoo Super Starter Kit | ATmega328P (Uno R3 Clone) | $38 - $42 | ~120+ | 4.6/5 (Budget King) |
| Official Arduino Uno R4 WiFi Kit | Renesas RA4M1 + ESP32-S3 | $105 - $115 | ~45 (High Quality) | 4.8/5 (Modern Standard) |
| Freenove Ultimate Starter Kit | Renesas RA4M1 (Uno R4 Clone) | $65 - $75 | ~150+ | 4.5/5 (Sensor Heavyweight) |
Deep Dive: Community-Endorsed Uno Kits
1. Elegoo Super Starter Kit (The Legacy R3 Workhorse)
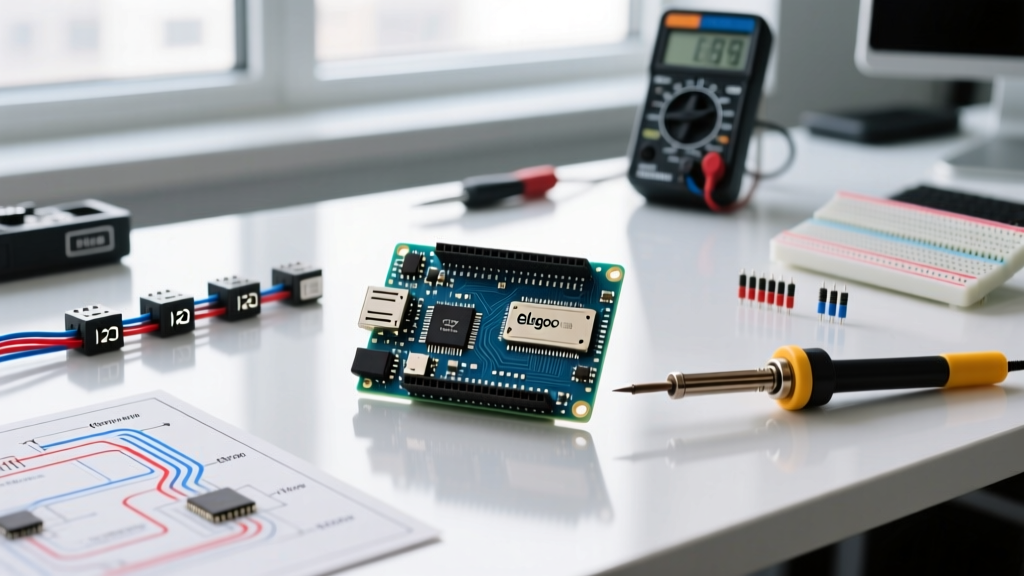
For pure budget and sheer volume of passive components, the Elegoo Super Starter Kit remains the most recommended entry point for beginners. It utilizes a high-quality Uno R3 clone featuring the classic ATmega328P microcontroller clocked at 16 MHz. The kit includes a robust RFID module, a stepper motor with a ULN2003 driver board, and an HC-SR04 ultrasonic sensor.
Expert Caveat: The primary failure mode in this kit is the included 830-tie-point breadboard. Community teardowns have revealed that Elegoo occasionally uses nickel-plated contacts rather than phosphor-bronze. This can result in contact resistance exceeding 1.5 ohms, which is enough to cause voltage drops and erratic behavior in high-current LED matrices. Pro Tip: Upgrade to a BusBoard Prototype Systems BB830 breadboard ($14) for mission-critical prototyping.
2. Official Arduino Uno R4 WiFi Starter Kit (The Modern Standard)
If your budget allows, the official Uno R4 WiFi kit is the undisputed champion for 2026 IoT projects. According to the Arduino Uno R4 WiFi Documentation, the board pairs a 48 MHz Arm Cortex-M4 Renesas RA4M1 with an ESP32-S3 for WiFi and Bluetooth LE. This kit ditches the traditional barrel jack for a USB-C power delivery circuit and includes a built-in 12x8 LED matrix.
Why the Community Loves It: The inclusion of a Qwiic/I2C connector on the board eliminates the need for messy jumper wires when integrating modern sensors like the BME280 or BNO055. The kit also includes premium, pre-soldered sensor modules that utilize logic-level shifting, protecting the 5V-tolerant GPIO pins from 3.3V sensor backfeed.
3. Freenove Ultimate Starter Kit (The Sensor Heavyweight)
Freenove has carved out a niche by offering massive component counts at mid-tier prices. Their Ultimate kit now ships with an Uno R4-compatible board. It stands out for its inclusion of advanced actuators, including high-torque MG996R metal-gear servos and a 2.8-inch TFT LCD touch screen with an integrated SD card slot.
Failure Mode Alert: The MG996R servos draw upward of 2.5A under stall conditions. The community strongly advises against powering these servos directly from the Uno's 5V pin, which is limited to roughly 500mA via the onboard AMS1117-5.0 regulator. Always use an external 5V 3A buck converter when assembling the robotic arm tutorials included in this kit.
Component Failure Mode Analysis: What to Watch For
Even the best Uno starter kit for Arduino can contain duds. Based on thousands of community troubleshooting threads, here are the most common hardware faults you must test for immediately upon unboxing:
- Charge-Only USB-C Cables: Many budget kits include USB cables missing the D+ and D- data lines. If your PC does not chime when you plug the board in, the cable is charge-only. Swap it immediately to avoid hours of driver troubleshooting.
- Counterfeit CH340G Chips: R3 clones use the WCH CH340G USB-to-UART bridge. In 2026, some batches feature poorly cloned CH340 chips that fail to enumerate on macOS Sequoia or Windows 11. Always download the latest drivers directly from the WCH website rather than relying on third-party driver packs.
- Out-of-Tolerance Resistors: Budget carbon-film resistors often carry a 5% tolerance. For voltage divider circuits (like thermistor temperature readings), a 5% variance can skew your analogRead() values by over 40 points. Use a multimeter to bin your resistors before building precision analog circuits.
Community Maker Tip: Never trust the color bands on budget resistors blindly. A quick sweep with an LCR meter or a standard digital multimeter will save you hours of debugging 'ghost' logic errors in your Arduino sketches.
Step-by-Step: Validating Your Kit on Arrival
To ensure your Uno starter kit is fully functional before you commit to a weekend build, follow this 15-minute validation protocol:
- The Bare Minimum Upload: Connect the Uno to your PC. Open the Arduino IDE, load the
Blinkexample, and upload. If the onboard Pin 13 LED toggles, your USB-UART bridge and main MCU bootloader are intact. - Breadboard Continuity Test: Set your multimeter to continuity mode. Insert two jumper wires into the same positive power rail, separated by 20 holes. The resistance should read less than 0.2 ohms. If it reads higher, the internal spring clips are weak; discard the breadboard.
- Analog Pin Verification: Connect a 10k potentiometer from the kit to 5V, GND, and A0. Open the Serial Monitor at 9600 baud while running a basic
analogRead(A0)sketch. Rotate the shaft; the values should sweep smoothly from 0 to 1023 without erratic jumping. Erratic jumps indicate a dirty or defective carbon track inside the potentiometer.
Essential Community Resources & GitHub Repositories
A starter kit is only as good as the code that drives it. The community highly recommends bookmarking the following resources to maximize your kit's potential:
- FastLED Library (GitHub): If your kit includes WS2812B addressable LEDs, abandon the default Adafruit NeoPixel library in favor of FastLED. It offers vastly superior memory management and non-blocking color math for the ATmega328P's limited 2KB SRAM.
- Wokwi Simulator: Before wiring complex kits like the Freenove Ultimate, use Wokwi's browser-based Arduino simulator. It supports both Uno R3 and R4 architectures, allowing you to verify your I2C addressing and logic before risking a short circuit on your physical breadboard.
Frequently Asked Questions (Community FAQ)
Can I use Uno R3 shields and code on the newer Uno R4 kits?
Physically, yes. The R4 maintains the exact same pinout and form factor as the R3. However, electrically, you must be cautious. The R4 operates its core logic at 5V, but some I2C and SPI pins are tied to the 3.3V ESP32-S3 subsystem. Furthermore, legacy code that relies on direct port manipulation (e.g., PORTD registers) will fail to compile on the R4's Arm Cortex-M4 architecture. You must refactor direct register calls into standard digitalWrite() or digitalWriteFast() functions.
Is it worth buying a kit with a soldering iron included?
Generally, no. Most 'combo' kits that bundle an Arduino with a sub-$15 soldering iron are using ungrounded, AC-mains-powered irons with massive tip voltage leakage. This leakage can easily destroy the sensitive GPIO pins on your Uno R4. Buy a dedicated temperature-controlled station (like the Pinecil V2 or Hakko FX-888D) separately.
Final Verdict
If you are strictly learning the basics of C++ and digital logic, the Elegoo Super Starter Kit remains the most cost-effective uno starter kit for arduino on the market. However, if you are building for the modern IoT landscape and want hardware that will not be obsolete in two years, investing in the Official Arduino Uno R4 WiFi Kit is the smartest move you can make in 2026. Evaluate your project pipeline, test your components upon arrival, and leverage the community repositories to push your microcontrollers to their absolute limits.