
The Core Dilemma: Microcontroller vs. Microprocessor
The debate of whether to use a Raspberry Pi or Arduino is a rite of passage for every maker. While both are staples in the DIY electronics ecosystem, they solve fundamentally different engineering problems. Choosing the wrong platform can lead to bloated power consumption, missed real-time interrupts, or unnecessary software overhead. In 2026, with the release of the Raspberry Pi 5 and the Arduino Uno R4 series, the performance gap has widened, making proper project scoping more critical than ever.
To resolve the 'pi or arduino' question, you must understand the architectural difference: Arduino is a microcontroller (MCU) designed for deterministic, real-time hardware control, while the Raspberry Pi is a microprocessor (MPU) running a full operating system (Linux) suited for heavy computation, networking, and multimedia.
Hardware Comparison Matrix (2026 Standard Models)
| Feature | Arduino Uno R4 WiFi | Raspberry Pi 5 (8GB) |
|---|---|---|
| Core Architecture | Renesas RA4M1 (Arm Cortex-M4) + ESP32-S3 | Broadcom BCM2712 (Quad-core Arm Cortex-A76) |
| Clock Speed | 48 MHz | 2.4 GHz |
| Operating System | None (Bare-metal / FreeRTOS) | Raspberry Pi OS (Debian Bookworm) |
| Idle Power Draw | ~0.15W | ~2.5W |
| Real-Time Interrupts | Microsecond precision (Deterministic) | Unpredictable jitter (OS scheduling) |
| Approx. Board Cost | $27.50 | $80.00 |
Step 1: Audit Your Project Requirements
Before writing a single line of code, map your project's physical and computational needs. Use this decision framework to finalize your choice:
- Choose Arduino if: Your project runs on batteries, requires reading analog sensors (ADC), generating precise PWM signals for motor control, or needs to wake from deep sleep in microseconds. Examples: Weather stations, robotic arm servos, and custom HID keyboards.
- Choose Raspberry Pi if: Your project requires computer vision (OpenCV), hosting a local web server with a database, running machine learning models, or handling complex USB peripherals. Examples: Smart home hubs, AI security cameras, and retro gaming consoles.
Edge Case Warning: Never use a Raspberry Pi for direct high-frequency PWM motor control or reading raw rotary encoders. The Linux kernel's preemptive multitasking will introduce microsecond-level jitter, causing motor stutter or missed encoder ticks. Always offload these tasks to an MCU.
Step 2: Environment Setup & Flashing
Once you have selected your board, proper environment configuration is essential. Below are the professional workflows for both platforms.
Arduino IDE 2.x Configuration
The modern Arduino IDE (version 2.3+) utilizes the Arduino CLI backend, offering superior board management and autocomplete features.
- Download and Install: Grab the latest IDE from the official Arduino IDE documentation.
- Board Manager Setup: Navigate to Tools > Board > Boards Manager. If using the Uno R4, search for 'Arduino Renesas UNO R4 Boards' and install the latest core.
- Driver Edge Cases: If your board uses a CH340 USB-to-Serial chip (common on third-party clones), Windows 11 may auto-install a faulty driver. Manually download the CH341SER.EXE from the manufacturer to prevent 'Port Grayed Out' errors.
- Upload Protocol: Ensure your baud rate is set to 115200 in the Serial Monitor. The native USB on the R4 Minima does not require a baud rate match, but the ESP32 co-processor bridge does.
Raspberry Pi Headless Setup (Pi Imager)
For IoT deployments, running a monitor and keyboard (headful setup) is impractical. Use the Raspberry Pi Imager to pre-configure network and SSH access.
- Flash the OS: Open Raspberry Pi Imager, select 'Raspberry Pi 5' as the device, and choose 'Raspberry Pi OS (64-bit) Lite' for minimal overhead.
- OS Customization: Click the gear icon (or 'Edit Settings'). Set a strict hostname (e.g.,
iot-hub-01.local), enable SSH (use password or inject your public RSA key), and input your 5GHz WiFi SSID. - First Boot: Insert the microSD card, apply power via a 27W USB-C PD power supply. Wait 90 seconds for the initial partition resize.
- Remote Access: Open your terminal and type
ssh youruser@iot-hub-01.local. You are now connected headlessly.
For deeper hardware configuration, refer to the Raspberry Pi Getting Started Guide.
Step 3: Bridging the Gap (UART Hybrid Architecture)
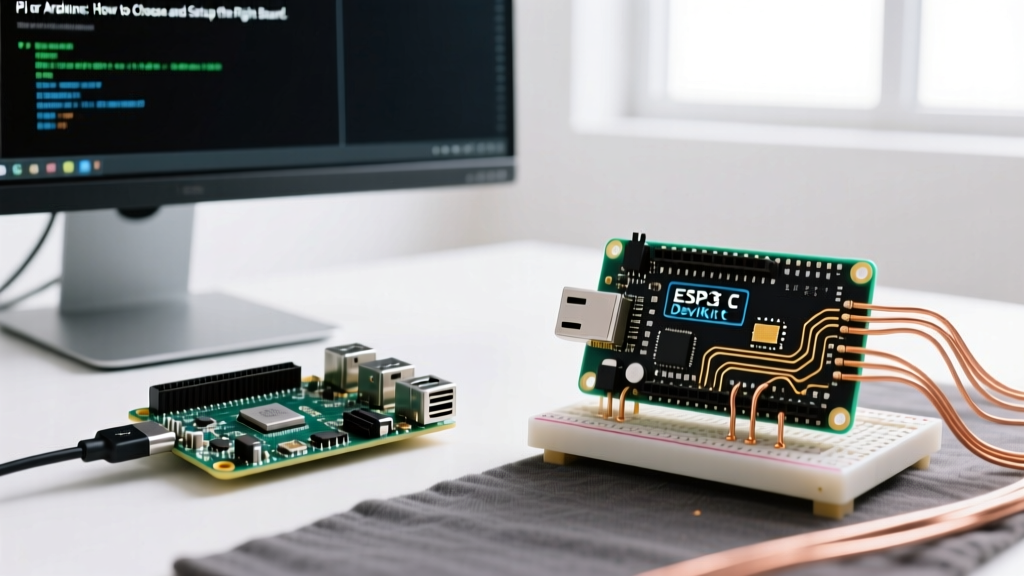
The most powerful maker setups don't choose between a Pi or Arduino—they use both. By connecting a Raspberry Pi to an Arduino via UART (Universal Asynchronous Receiver-Transmitter), the Pi handles high-level logic (cloud APIs, databases) while the Arduino handles low-level sensor polling.
Wiring the UART Bridge Safely
Critical Voltage Warning: The Raspberry Pi GPIO operates at 3.3V. The standard Arduino Uno R3 operates at 5V. Connecting them directly will fry the Pi's UART pins. You must use a logic level shifter (like the BSS138 or SN74AHCT125).
- Pi TX (GPIO 14, Pin 8): Connect to the Level Shifter Low-Voltage (LV) side.
- Level Shifter High-Voltage (HV) side: Connect to Arduino RX (Digital Pin 0).
- Arduino TX (Digital Pin 1): Connect to Level Shifter HV side.
- Level Shifter LV side: Connect to Pi RX (GPIO 15, Pin 10).
- Ground: Connect a common ground wire between the Pi, Arduino, and Level Shifter GND pins.
Software Handshake (Python to C++)
On the Pi, use the pyserial library to read data. Ensure you disable the Linux serial console so the UART port is free for your script.
# Run on Raspberry Pi Terminal
sudo raspi-config nonint do_serial 2
sudo reboot

# Python Script (read_arduino.py)
import serial
ser = serial.Serial('/dev/serial0', 9600, timeout=1)
while True:
    line = ser.readline().decode('utf-8').strip()
    if line:
        print(f'Sensor Data: {line}')
Frequently Asked Questions
Can I run Python directly on an Arduino?
Yes, but with caveats. MicroPython and CircuitPython are available for specific Arduino boards equipped with powerful MCUs, such as the Arduino Nano ESP32 or the Arduino Nano RP2040 Connect. However, standard AVR-based boards (like the classic Uno R3) do not have the RAM or flash memory to support a Python interpreter natively and must rely on C++.
Which is better for battery-powered outdoor projects?
Arduino wins unequivocally. A Raspberry Pi 5 idles at roughly 2.5W, meaning a standard 10,000mAh power bank will drain in less than 15 hours. An Arduino Uno R4 Minima can be put into deep sleep modes drawing mere microamps, allowing the same battery to last for months when paired with a solar trickle charger.
How do I handle Over-The-Air (OTA) updates for both?
For the Raspberry Pi, use standard Linux package managers (apt upgrade) or Docker container deployments via SSH. For Arduino boards with WiFi (like the ESP32-based Nano ESP32), utilize the ArduinoOTA library or integrate with cloud platforms like Arduino Cloud to push compiled binary sketches wirelessly.