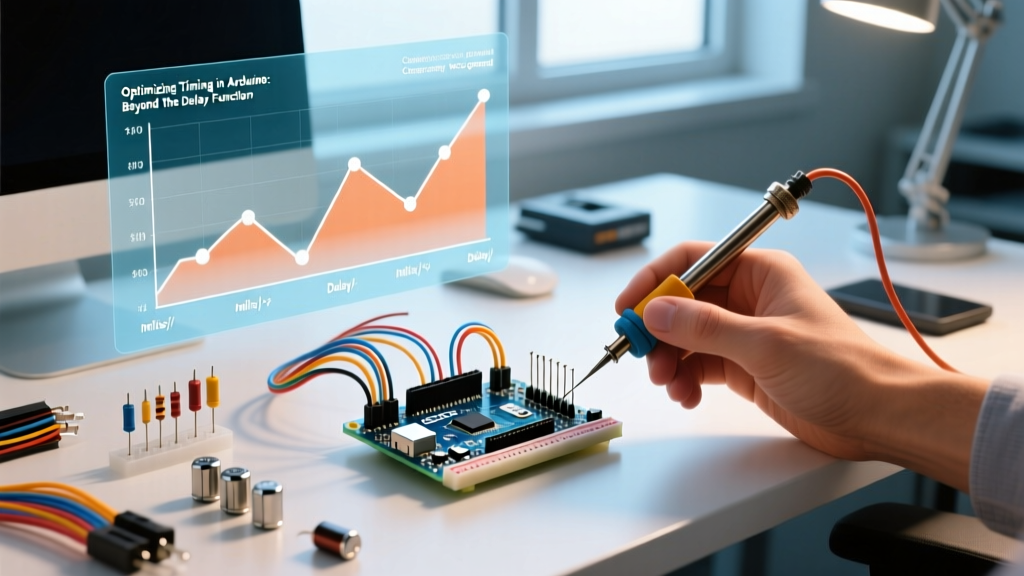

The Hidden Cost of delay() in Modern Maker Workflows
For years, the delay() function has been the first timing mechanism taught to beginners in the Arduino ecosystem. While useful for blinking an LED on an ATmega328P, relying on blocking delays in 2026 is a critical workflow bottleneck. When you call delay(1000), the microcontroller halts all operations, ignoring sensor inputs, dropping serial buffer bytes, and missing network packets. As modern maker projects increasingly integrate high-speed sensor fusion, IoT telemetry, and multi-axis motor control, optimizing timing in Arduino sketches is no longer optional—it is the defining factor between a fragile prototype and a robust, production-ready device.
Transitioning from a blocking workflow to a non-blocking, event-driven architecture requires a fundamental shift in how you structure your IDE workspace and sketch logic. This guide explores advanced timing methodologies, from software-based polling to hardware timers and Real-Time Operating Systems (RTOS), specifically tailored for modern boards like the Arduino Uno R4 Minima and the Nano ESP32.
Mastering millis(): The Foundation of Non-Blocking Timing
The millis() function returns the number of milliseconds since the board began running the current program. By capturing this value and comparing it against a target interval, you can execute code periodically without halting the main loop. According to the official Arduino millis() reference, this function is the backbone of non-blocking sketch architecture.
However, implementing millis() correctly requires strict adherence to unsigned integer math to prevent catastrophic failures in long-running deployments.
The 49.7-Day Overflow Edge Case
A 32-bit unsigned long integer maxes out at 4,294,967,295. At 1,000 ticks per second, millis() will overflow and roll back to zero approximately every 49.7 days. If your timing logic uses simple addition (e.g., if (currentMillis >= previousMillis + interval)), your sketch will freeze or behave erratically at the rollover point.
The Optimized Solution: Always use subtraction. The expression (currentMillis - previousMillis) >= interval leverages the properties of unsigned modular arithmetic. Even if currentMillis has rolled over to 100, and previousMillis was 4,294,967,200, the subtraction yields the correct elapsed time of 195 milliseconds. This single syntactic choice is the hallmark of an experienced embedded systems developer.
Hardware Timers vs. Software Polling: A Comparison Matrix
While millis() is excellent for general task scheduling, it is inherently limited by the main loop's execution speed. If your loop takes 15ms to run due to heavy LCD rendering or SD card writes, your 10ms millis() interval will drift. For precise timing in Arduino workflows, hardware timers are mandatory.
| Timing Method | Resolution | Blocking? | CPU Overhead | Best Use Case |
|---|---|---|---|---|
delay() |
1 ms | Yes | 100% (Halted) | Quick prototyping, simple setup routines |
millis() |
1 ms | No | Low (Polling) | UI updates, sensor polling, state machines |
micros() |
4 µs (16MHz) | No | Low (Polling) | Short pulse measurement, PID control loops |
| Hardware Timers (ISR) | Sub-microsecond | No | Medium (Context Switch) | PWM generation, precise step-motor pulses |
| RTOS Tasks | 1 ms (Tick) | No | High (Scheduler) | Complex IoT, multi-threaded sensor fusion |
On classic AVR boards like the Uno R3, configuring Timer1 via the TimerOne library allows you to trigger an Interrupt Service Routine (ISR) at exact microsecond intervals. However, on modern ARM-based boards like the Uno R4 (Renesas RA4M1) or the Arduino Nano ESP32, the timer architecture is vastly more complex, featuring multiple 32-bit general-purpose timers and dedicated motor-control PWM units. In these environments, leveraging the manufacturer's Hardware Abstraction Layer (HAL) or an RTOS is vastly superior to direct register manipulation.
Scaling Up: RTOS Workflows for ESP32 and RP2040 Boards
When your project requires simultaneous Wi-Fi provisioning, MQTT telemetry, and local sensor polling, a super-loop architecture (a single void loop()) breaks down. This is where FreeRTOS transforms your workflow. Boards like the Arduino Nano ESP32 and the Raspberry Pi Pico (RP2040) natively support multitasking via FreeRTOS.
By utilizing FreeRTOS task creation, you can assign distinct timing priorities to different operations. For example, you can pin a high-priority task to Core 0 to handle a 1kHz PID motor control loop, while delegating a low-priority task to Core 1 to handle non-blocking Wi-Fi reconnection attempts. This ensures that a temporary drop in router connectivity never introduces latency into your physical actuator control.
Pro-Tip for ESP32 Users: Never run continuous, tight polling loops on the ESP32 without avTaskDelay()oryield(). Failing to yield starves the hidden Wi-Fi and Bluetooth stack tasks running on the IDLE hook, leading to random watchdog timer (WDT) resets and silent network drops.
Real-World Failure Modes That Destroy Timing
Even with perfect non-blocking code, external hardware factors can silently ruin your timing optimization. Watch out for these specific edge cases in your workflow:
- I2C Bus Hangs: The Arduino
Wirelibrary does not implement default timeouts on many AVR architectures. If an I2C sensor experiences a voltage sag and pulls the SDA line low,Wire.requestFrom()will block indefinitely, destroying yourmillis()workflow. Always enable I2C timeouts or implement software-based bus recovery routines in your setup. - Interrupt Latency: If you disable interrupts using
noInterrupts()to read a 32-bit variable on an 8-bit AVR, keep the disabled window under 5 microseconds. Prolonged disabling causes missed encoder counts and corrupted serial UART framing. - Floating Point Math: On boards lacking a dedicated Floating Point Unit (FPU), like the classic ATmega328P, executing
floatordoublecalculations inside a timing-critical loop introduces massive, variable execution delays. Optimize your workflow by using fixed-point integer math wherever possible.
Workflow Optimization Checklist for Sketch Architecture
To ensure your IDE workflow produces robust, timing-optimized code, run through this checklist before compiling your final firmware:
- Audit for Blocking Calls: Use your IDE's search function to hunt down
delay(),delayMicroseconds(), and blocking serial reads (while(Serial.available() == 0)). Replace them with state-machine equivalents. - Implement State Machines: Replace linear, time-based sequences with
switch/casestate machines driven bymillis()timestamps. This makes your code modular and easily debuggable. - Separate Logic from I/O: Read all sensors into global or struct variables at the very top of the loop, process the logic, and write to actuators at the bottom. This minimizes the delta-time between sensor acquisition and actuator response.
- Profile Loop Execution Time: Toggle a digital pin high at the start of
void loop()and low at the end. Measure the pulse width on an oscilloscope or logic analyzer to determine your exact baseline loop execution time.
By abandoning the crutch of blocking delays and embracing event-driven timing in Arduino development, you unlock the true potential of your microcontroller. Whether you are building a high-speed data logger on an Uno R4 WiFi or a multi-sensor environmental node on a Nano ESP32, non-blocking workflows are the industry standard for reliable, scalable embedded systems.