
The Core Conflict: Arduino IDE vs. Standard C++ Classes
Transitioning from procedural .ino sketches to Object-Oriented Programming (OOP) using a custom Arduino class is a major milestone for embedded developers. Encapsulating sensor logic, state machines, or communication protocols into reusable classes drastically improves code maintainability. However, the Arduino build ecosystem—specifically its automatic prototype generation and file concatenation quirks—frequently clashes with standard C++ class structures.
As of 2026, while Arduino IDE 2.3.x has vastly improved C++ parsing via the Arduino Language Server (built on clangd), the underlying arduino-builder and avr-gcc toolchain still enforce strict rules on how multi-file sketches are compiled. If you are encountering cryptic compilation failures, linker errors, or scope issues when implementing OOP, this troubleshooting guide will dissect the exact failure modes and provide concrete fixes.
The Golden Rule of Arduino OOP: The Arduino IDE automatically injects
#include <Arduino.h>and generates function prototypes for.inofiles. It does not do this for custom.hand.cpptabs. Treating custom tabs exactly like standard C++ files is the root of 90% of class compilation errors.
Troubleshooting Matrix: Common Class Errors and Fixes
Before diving into architectural fixes, identify your specific compiler output in the table below. These are the most frequent errors encountered when compiling custom classes in the Arduino ecosystem.
| Compiler / Linker Error | Root Cause | Actionable Fix |
|---|---|---|
error: 'Serial' was not declared in this scope |
Missing Arduino core definitions in the custom class header or source file. | Add #include <Arduino.h> at the very top of your .cpp file, or use #include <stdint.h> and replace byte with uint8_t. |
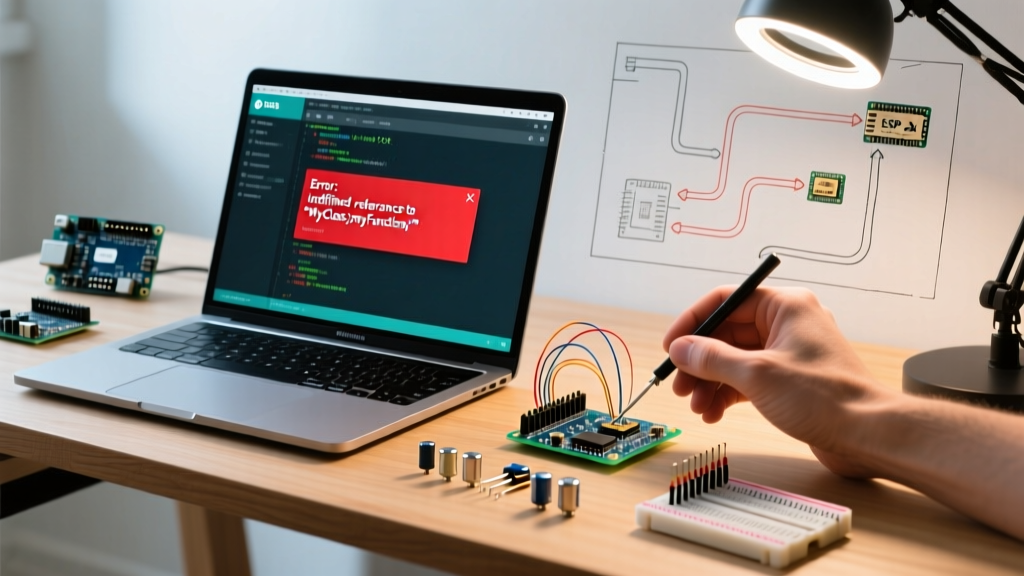
undefined reference to 'ClassName::ClassName()' |
Linker cannot find the implementation of the constructor or methods declared in the header. | Ensure the .cpp file is in the same directory as the .ino file, and verify you used the scope resolution operator (ClassName::MethodName). |
undefined reference to 'vtable for ClassName' |
A virtual method was declared in the header but not implemented, or the virtual destructor is missing. | Implement all virtual methods in the .cpp file. Always define a virtual destructor (even if empty) in the base class. |
multiple definition of 'ClassName::staticVar' |
Static class members or global variables were initialized inside the .h file instead of the .cpp file. |
Move variable initialization to the .cpp file. Use inline for C++17 static constants if supported by your board package. |
error: expected constructor, destructor, or type conversion before ';' token |
Missing semicolon at the end of the class definition in the header file, or missing header guards causing double-parsing. | Add #pragma once at the top of the .h file and ensure the class definition ends with };. |
Step-by-Step Fix: Structuring a Robust Multi-File Class
To eliminate scope and linking errors, you must adhere to a strict file separation strategy. According to the Arduino IDE 2 Multi-File Sketches Documentation, any file with a .cpp extension is compiled as an independent translation unit. Here is the bulletproof structure for a custom sensor class.
1. The Header File (TempSensor.h)
The header file should only contain declarations, standard library includes, and header guards. Never put executable logic or variable initializations here.
#pragma once

// Use standard C types to avoid forcing Arduino.h on downstream dependencies
#include <stdint.h>

class TempSensor {
public:
    TempSensor(uint8_t pin);
    ~TempSensor(); // Always include a destructor

    void begin();
    float readCelsius();

private:
    uint8_t _pin;
    float _lastReading;
};
2. The Source File (TempSensor.cpp)
This is where the Arduino IDE's auto-injection fails. You must manually include Arduino.h to access functions like pinMode(), analogRead(), and millis().
#include "TempSensor.h"
#include <Arduino.h> // CRITICAL: Required for Arduino API access

TempSensor::TempSensor(uint8_t pin) {
    _pin = pin;
    _lastReading = 0.0f;
}

TempSensor::~TempSensor() {
    // Cleanup logic if necessary
}

void TempSensor::begin() {
    pinMode(_pin, INPUT);
}

float TempSensor::readCelsius() {
    int raw = analogRead(_pin);
    _lastReading = (raw * 5.0f / 1024.0f) * 100.0f;
    return _lastReading;
}
3. The Main Sketch (main.ino)
Your main sketch only needs to include the header file. The IDE will automatically compile the .cpp file and link them together.
#include "TempSensor.h"

TempSensor mySensor(A0);

void setup() {
    Serial.begin(115200);
    mySensor.begin();
}

void loop() {
    Serial.println(mySensor.readCelsius());
    delay(1000);
}
Advanced Edge Cases: Interrupts and Static Members
As your custom Arduino class grows in complexity, you will inevitably hit two advanced C++ roadblocks: hardware interrupts and static class members.
Bridging C-Style ISRs with C++ Classes
Microcontroller Interrupt Service Routines (ISRs) like attachInterrupt() require standard C-style function pointers. They cannot directly call non-static C++ class methods because they lack the hidden this pointer context. To fix this, use a static singleton pattern or a static proxy method.
class RotaryEncoder {
public:
    RotaryEncoder(uint8_t pinA, uint8_t pinB);
    void init();
    static void handleISR(); // Static proxy
    volatile long getPosition();

private:
    static RotaryEncoder* _instance; // Static pointer to current instance
    uint8_t _pinA, _pinB;
    volatile long _position;
};

// Initialize static members in the .cpp file
RotaryEncoder* RotaryEncoder::_instance = nullptr;

RotaryEncoder::RotaryEncoder(uint8_t pinA, uint8_t pinB) {
    _pinA = pinA; _pinB = pinB; _position = 0;
    _instance = this; // Assign instance
}

void RotaryEncoder::init() {
    pinMode(_pinA, INPUT_PULLUP);
    pinMode(_pinB, INPUT_PULLUP);
    attachInterrupt(digitalPinToInterrupt(_pinA), handleISR, CHANGE);
}

void RotaryEncoder::handleISR() {
    if (_instance != nullptr) {
        // Access instance variables safely
        _instance->_position++;
    }
}
Memory Management: Ditching the String Class in OOP
A frequent mistake when designing custom Arduino classes for ESP32 or AVR boards is relying on the built-in String class for internal state management. In 2026, embedded best practices strictly advise against this due to heap fragmentation, which causes unpredictable reboots in long-running IoT devices.
Instead of passing String objects into class constructors or methods, utilize const char* or, if your board package supports C++17 (like modern ESP32 Arduino cores), use std::string_view. According to the GCC AVR Options Documentation, enabling C++17 features allows for zero-allocation string passing, preserving precious SRAM.
- Bad Practice:
void setSSID(String ssid);(Triggers heap allocation and fragmentation). - Good Practice:
void setSSID(const char* ssid);(Uses pointers to flash or static memory). - Best Practice (C++17):
void setSSID(std::string_view ssid);(Safe, modern, zero-overhead).
PlatformIO vs. Arduino IDE 2.x for OOP Development
While Arduino IDE 2.x has closed the gap significantly, developers building complex, multi-class libraries often migrate to PlatformIO. The PlatformIO Library Creation Guide outlines a standardized src and include directory structure that completely bypasses the Arduino IDE's file concatenation quirks.
| Feature | Arduino IDE 2.x | PlatformIO (VS Code) |
|---|---|---|
| File Structure | Flat directory (all tabs in one folder) | Strict src/ and include/ separation |
| C++ Standard | Dictated by board package (often C++11/14) | Easily overridden via build_flags = -std=gnu++17 |
| Static Analysis | Basic clangd integration | Full Clang-Tidy and Cppcheck integration |
| Library Management | Global or sketch-specific ZIP installs | Project-scoped platformio.ini dependencies |
Final Debugging Checklist
If your custom Arduino class is still failing to compile after applying the structural fixes above, run through this final diagnostic checklist:
- Check Tab Extensions: Ensure your IDE didn't accidentally save your header file as
MyClass.h.inoorMyClass.cpp.txt. The file extensions must be exact. - Verify Header Guards: If you are using traditional
#ifndef MYCLASS_Hguards, ensure the macro name is completely unique across your entire project to prevent accidental exclusion. - Inspect Circular Dependencies: If Class A includes Class B, and Class B includes Class A, the compiler will fail. Use forward declarations (
class ClassB;) in the header file and move the#includeto the.cppfile. - Clear the Build Cache: In Arduino IDE 2.x, go to Sketch > Clean Build or delete the temporary build folder. Stale object files (
.o) frequently cause phantom "multiple definition" linker errors after you refactor class structures.
By respecting the boundary between the Arduino IDE's sketch preprocessing and standard C++ compilation rules, you can build robust, modular, and highly reusable object-oriented firmware that scales from simple ATmega328P projects to complex ESP32-S3 edge computing devices.