
The Core Misconception: Classic AVR vs. MicroPython
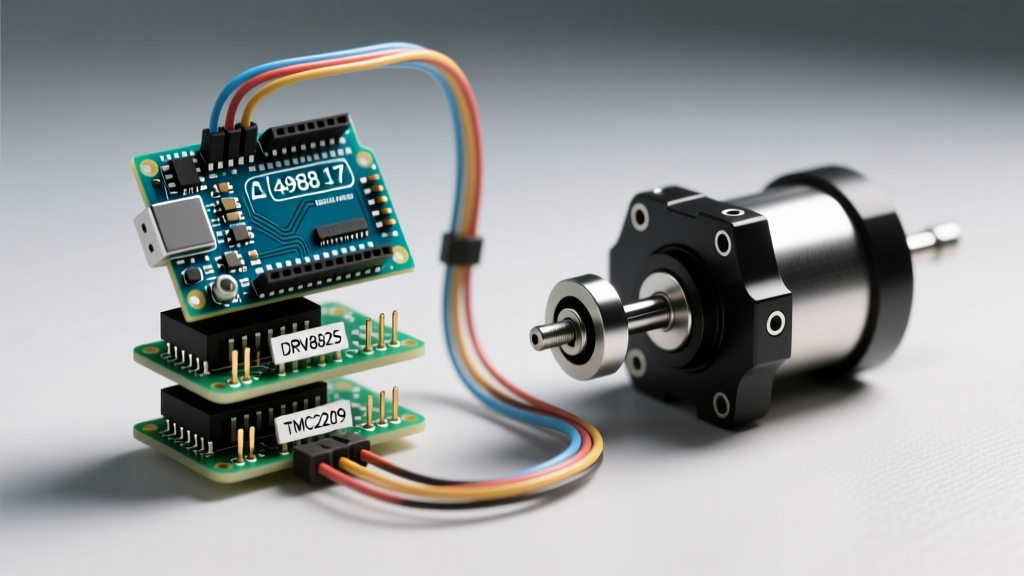
When makers search for micropython on arduino, they frequently assume they can simply flash a Python interpreter onto a classic Arduino Uno or Nano. This is a fundamental misunderstanding of both the AVR architecture and the Python runtime environment. Classic Arduino boards rely on the ATmega328P microcontroller, an 8-bit AVR chip featuring just 2KB of SRAM and 32KB of Flash memory.
MicroPython, while highly optimized, is a full implementation of Python 3. It requires a 32-bit architecture to efficiently handle object pointers, memory allocation, and garbage collection. The practical minimum footprint for a functional MicroPython build is roughly 256KB of Flash and 32KB of RAM. Attempting to force a Python runtime onto an ATmega328P results in immediate memory exhaustion before the interpreter can even initialize the heap. Therefore, running MicroPython natively on classic 8-bit Arduino hardware is physically impossible.
However, the Arduino ecosystem has evolved significantly. Modern Arduino-branded boards utilize powerful 32-bit ARM Cortex and RP2040 architectures that are perfectly suited for Python-based development. By shifting our focus to these advanced boards, we can leverage the simplicity of Python while retaining access to the robust Arduino hardware ecosystem.
Which Arduino Boards Actually Support MicroPython?
To successfully deploy Python scripts to Arduino hardware, you must select boards with 32-bit microcontrollers and adequate memory overhead. Below is a compatibility matrix for popular Arduino boards as of 2026.
| Board Model | Microcontroller | Flash / SRAM | Avg. Price (2026) | MicroPython Support |
|---|---|---|---|---|
| Arduino Uno R3 / R4 Minima | ATmega328P / RA4M1 | 32KB / 2KB (R3) | $27.00 | No (Use C++ or FORTH) |
| Arduino Nano RP2040 Connect | Raspberry Pi RP2040 | 16MB / 264KB | $22.00 | Yes (Native UF2) |
| Arduino Portenta H7 | STM32H747 (Dual Core) | 2MB / 1MB | $105.00 | Yes (Native) |
| Arduino Nano 33 BLE | nRF52840 | 1MB / 256KB | $21.00 | Yes (via Adafruit fork) |
For most developers exploring this space, the Arduino Nano RP2040 Connect is the undisputed sweet spot. Priced around $22, it combines the familiar Arduino Nano footprint with the dual-core ARM Cortex-M0+ RP2040 chip, offering massive headroom for Python libraries, Wi-Fi (via the onboard NINA-W102 module), and sensor arrays.
Step-by-Step: Flashing MicroPython on the Nano RP2040 Connect
Unlike traditional Arduino C++ sketches compiled via the Arduino IDE, MicroPython requires you to flash the interpreter firmware directly onto the board's flash memory once. Afterward, you upload plain text .py scripts via a serial REPL (Read-Eval-Print Loop).
1. Entering UF2 Bootloader Mode
The RP2040 utilizes a highly resilient ROM-based UF2 bootloader. To activate it:
- Connect the Nano RP2040 Connect to your PC via a data-capable USB-C cable.
- Locate the microscopic reset button on the top of the board (near the USB connector).
- Press and hold the reset button, then quickly tap it a second time (a 'double-tap').
- The board will reboot into Mass Storage Mode, appearing on your computer as a removable drive named
RPI-RP2.
2. Sourcing the Correct Firmware
Do not use generic Raspberry Pi Pico firmware for the Arduino Nano RP2040 Connect. The pinouts for the onboard RGB LED, the NINA Wi-Fi module, and the IMU are uniquely mapped. You must download the specific build maintained by the MicroPython team. Navigate to the official MicroPython Arduino Nano RP2040 Connect download page and grab the latest stable .uf2 release.
3. Drag-and-Drop Installation
Simply drag and drop the downloaded .uf2 file onto the RPI-RP2 virtual drive. The drive will immediately unmount, and the onboard LED will flash, indicating the firmware has been written and the board is rebooting into the MicroPython REPL. The entire process takes less than four seconds.
Writing Your First Hardware Control Script
With the firmware installed, you need an IDE to manage your scripts and interact with the REPL. While the Arduino IDE is strictly for C++, the industry standard for MicroPython in 2026 is Thonny IDE. It provides a built-in serial terminal, variable explorer, and direct file management for the microcontroller's internal file system.
In Thonny, set the interpreter (bottom right corner) to MicroPython (Raspberry Pi Pico) and select the correct COM port. Here is how you replicate the classic 'Blink' sketch using Python's machine module:
from machine import Pin
import time

# The onboard RGB LED on the Nano RP2040 Connect uses specific pins
# Green LED is typically on GPIO 16 for this specific board layout
led = Pin(16, Pin.OUT)

print('Starting MicroPython Blink Sequence...')

while True:
    led.value(1)
    time.sleep(0.5)
    led.value(0)
    time.sleep(0.5)
Notice the paradigm shift: instead of pinMode() and digitalWrite(), MicroPython uses object-oriented hardware abstractions via the machine module. This makes code highly modular and easier to pass between functions as objects.
Performance Trade-offs: C++ vs. MicroPython on ARM Cortex
A common criticism of running Python on microcontrollers is execution speed. Because MicroPython is an interpreted language, raw mathematical loops will execute roughly 10x to 50x slower than compiled C++ ARM machine code. Furthermore, Python's automatic garbage collection (GC) can introduce unpredictable microsecond pauses, which is detrimental to strict real-time control systems like high-speed motor commutation.
Expert Insight: For 90% of maker projects involving sensor polling, Wi-Fi telemetry, and UI displays, MicroPython's speed is more than adequate. The bottleneck in modern IoT projects is almost always network latency or I2C bus speeds, not the CPU's instruction execution time.
When you do need raw performance, MicroPython offers inline decorators that compile Python functions directly into native ARM Thumb instructions or the highly optimized Viper emitter:
@micropython.viper
def fast_bitbang(ptr8: ptr8, n: int):
    for i in range(n):
        ptr8[i] = i & 0xFF
Using the @micropython.viper decorator bypasses the Python object overhead entirely, allowing you to manipulate raw memory pointers at speeds approaching native C. For deeper architectural insights, refer to the MicroPython performance optimization documentation.
Troubleshooting Common Flashing & REPL Failures
Transitioning from the Arduino IDE to a Python REPL workflow introduces new failure modes. If you encounter issues, consult this diagnostic checklist:
- The 'Charge-Only' Cable Trap: If the
RPI-RP2drive never appears, or Thonny cannot find the serial port, you are likely using a USB cable lacking D+ and D- data lines. Always test with a verified data cable. - Bootloader Corruption: If a bad script crashes the interpreter and blocks the REPL on boot, hold the reset button, tap it twice to enter UF2 mode, and re-flash the
.uf2file to wipe the corruptedmain.py. - Wi-Fi Module Initialization Fails: The NINA-W102 module on the Nano RP2040 Connect requires specific firmware to communicate with the RP2040 via SPI. If
import networkthrows an OSError, ensure you have updated the NINA firmware using the Arduino IDE's 'WiFi101 / WiFiNINA Firmware Updater' tool before flashing MicroPython. - Memory Allocation Errors: If you encounter
MemoryErrorduring complex operations, manually trigger garbage collection before heavy tasks usingimport gc; gc.collect()to defragment the heap.
Authoritative Resources
To continue mastering hardware-level Python, rely on primary documentation rather than outdated forum posts. The following resources are essential for advanced development:
- Official MicroPython Documentation - The definitive guide to the standard library, hardware-specific modules, and memory management.
- Arduino Nano RP2040 Connect Hardware Docs - Crucial for pinout diagrams, I2C/SPI bus mappings, and understanding the onboard sensor array.
By selecting the correct 32-bit hardware and leveraging the UF2 bootloader ecosystem, running MicroPython on Arduino boards transforms from an impossible myth into a highly productive, modern development workflow.