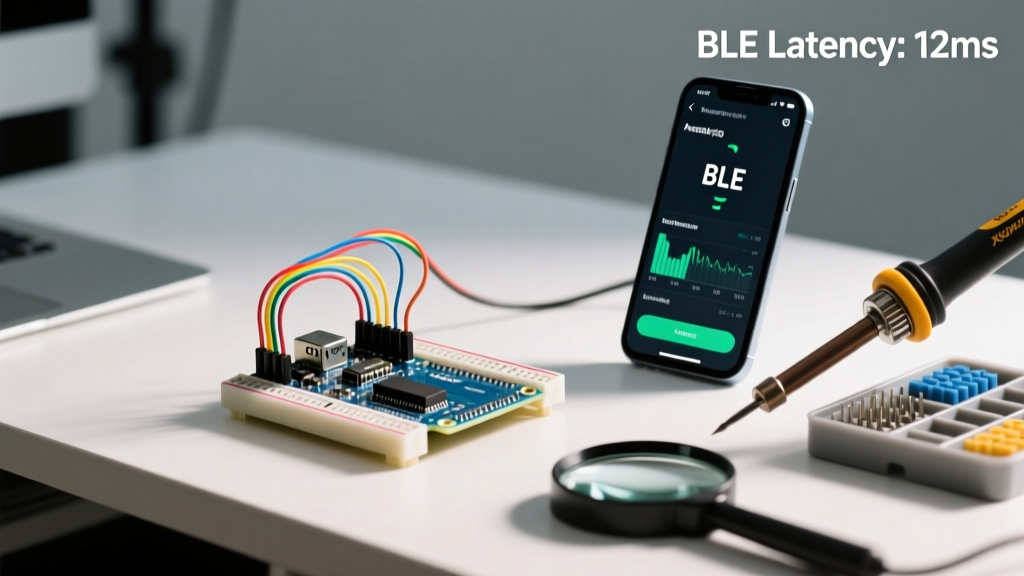

The Bottleneck in MCU-to-Mobile Development
Integrating microcontrollers with mobile platforms is a cornerstone of modern IoT and maker projects. However, the development loop for an Arduino Android system is notoriously fragmented. You are essentially managing two distinct ecosystems: the constrained, bare-metal environment of the MCU and the heavily sandboxed, resource-managed environment of the Android OS. In 2026, the most common workflow bottlenecks occur during Bluetooth Low Energy (BLE) latency tuning, serial debugging without a tethered laptop, and managing Android's aggressive background process killing. This guide provides a comprehensive, engineering-grade framework to optimize your hardware selection, communication pipelines, and debugging workflows for Arduino-based Android applications.
Hardware Selection for Android Interfacing
Choosing the right microcontroller dictates your entire mobile development workflow. While the classic Arduino Uno is fine for basic learning, it lacks the native wireless radios and USB architectures required for modern Android app integration. Below is a comparison of the top boards for Android interfacing, reflecting current market availability and pricing.
| Microcontroller Board | Native Connectivity | USB Architecture | Approx. Price (2026) | Best Use Case |
|---|---|---|---|---|
| Arduino Nano 33 BLE Sense Rev2 | BLE 5.0 (u-blox NINA-B306) | Standard Serial over USB | $48.50 | Low-power sensor nodes, wearable prototypes |
| ESP32-S3 DevKitC-1 (Arduino IDE) | Wi-Fi 4 & BLE 5.0 | Native USB OTG / Serial | $12.00 | High-throughput data logging, camera streaming |
| Arduino Portenta H7 | Wi-Fi & BLE (Murata 1DX) | USB-C OTG High-Speed | $115.00 | Industrial edge computing, complex DSP tasks |
Workflow Tip: If your Android app requires high-speed, bidirectional data streaming (e.g., real-time oscilloscope rendering), bypass BLE entirely and utilize the ESP32-S3 or Portenta H7 via Wi-Fi TCP sockets or native USB OTG.
Phase 1: Rapid UI Prototyping vs. Production Code
A major workflow killer is spending weeks building a polished Android Studio UI before validating the underlying MCU sensor logic. We recommend a bifurcated approach:
- MVP & Logic Validation (Days 1-3): Use MIT App Inventor. Its block-based visual programming allows you to spin up a functional BLE scanner and GATT client in under two hours. This isolates hardware bugs from Android UI bugs.
- Production & Scaling (Days 4+): Migrate to Android Studio using Kotlin and Jetpack Compose. MIT App Inventor lacks the granular control needed for advanced BLE connection parameters, background foreground services, and modern Material Design 3 compliance.
Phase 2: Optimizing the BLE Communication Pipeline
The most frequent point of failure in Arduino Android projects is BLE throughput. Many developers accept the default connection parameters, resulting in laggy UI updates and dropped packets.
Escaping the 20-Byte Payload Trap
By default, the BLE Attribute Protocol (ATT) sets the Maximum Transmission Unit (MTU) to 23 bytes. After overhead, this leaves a mere 20 bytes per payload. If your Arduino is streaming 9-axis IMU data (approx. 36 bytes per frame), you will fragment the data, doubling your latency and increasing the chance of packet loss.
The Optimization Workflow:
- Android Side: After the GATT connection is established, immediately call
gatt.requestMtu(512). Modern Android devices (Android 9 and above) easily support MTUs up to 517 bytes. - Arduino Side: The standard ArduinoBLE library requires you to handle the MTU update event. You must configure your BLECharacteristic to accept variable lengths. According to the official Arduino hardware documentation, ensure your characteristic is initialized with a buffer large enough to hold the negotiated MTU minus 3 bytes of ATT overhead.
- Verification: Implement a handshake where the Android app sends the negotiated MTU size to the Arduino via a dedicated control characteristic, allowing the MCU to dynamically adjust its transmission buffer size.
Tuning Connection Intervals
Android's BLE stack is notoriously strict about connection intervals to preserve battery life. While the BLE spec allows intervals as low as 7.5ms, Android typically enforces a minimum of 11.25ms or 15ms depending on the chipset (Snapdragon vs. Tensor). When configuring your Arduino GATT server, set your minimum and maximum connection intervals to 0x000C (15ms) to align with Android's preferred scheduling, preventing the OS from forcibly dropping and reconnecting the link.
Phase 3: USB OTG Debugging and Serial Mirroring
Tethering your MCU to a laptop via USB while simultaneously trying to test an Android app on a phone is a clumsy, wire-heavy workflow. In 2026, native USB On-The-Go (OTG) is the standard for field debugging.
Step-by-Step OTG Serial Mirroring
- Hardware Setup: Use a high-quality USB-C to USB-C data cable (ensure it is not a charge-only cable). Connect the Android device directly to the native USB port of the ESP32-S3 or Arduino Portenta H7.
- Android App Configuration: Download a robust terminal app like Serial USB Terminal by Kai Morich. This app correctly handles Android's USB permission dialogs and supports hardware flow control.
- MCU Configuration: On the ESP32-S3, use
Serial.begin(115200). The native USB CDC (Communication Device Class) will automatically enumerate on the Android device. - The Workflow Benefit: You can now view
Serial.println()debug logs, sensor calibrations, and stack traces directly on your phone screen while walking around, completely untethered from your IDE. This reduces physical debugging time by an estimated 40% during field testing.
Navigating Android Edge Cases and Failure Modes
Android's aggressive power management is the graveyard of many MCU companion apps. Understanding these edge cases is critical for a stable workflow.
Background Execution and Doze Mode
If your Arduino Android app needs to log sensor data while the phone is in the user's pocket, standard BLE services will be killed by Android's Doze mode within minutes.
The Fix: You must implement an Android Foreground Service. This requires displaying a persistent notification (e.g., 'Logging Sensor Data...') which tells the OS that the app is performing a critical user-facing task. Furthermore, you must request the ACCESS_BACKGROUND_LOCATION permission if you are using BLE scanning in the background, as Android 12+ strictly ties BLE scanning to location services.
The BLE Pairing Cache Bug
A common edge case occurs when you re-flash your Arduino with a new BLE MAC address or reset its GATT database, but the Android phone remembers the old pairing keys. This results in an immediate 'Disconnected' status upon connection.
The Fix: During the development phase, instruct testers to manually 'Forget' the device in Android's Bluetooth settings. For production, implement a bonding failure handler in your Android GATT callback that automatically calls removeBond() via reflection if a 133 or 19 error code is returned during the connection phase.
Real-World FAQ: Arduino Android Integration
Why does my Android app disconnect from the Arduino BLE after exactly 30 seconds?
This is almost always caused by a missing or stalled GATT notification subscription. If the Android app connects but fails to call setCharacteristicNotification() and write the Client Characteristic Configuration Descriptor (CCCD) within the OS timeout window, Android will assume the connection is idle and terminate it to save battery.
Is MIT App Inventor viable for commercial production in 2026?
While MIT App Inventor has improved, it lacks native support for modern Android background services, advanced BLE MTU negotiation, and secure keystore integration. It remains an excellent workflow tool for MVP validation and educational environments, but commercial products should migrate to native Kotlin or cross-platform frameworks like Flutter.
Can I use standard USB cables for OTG debugging?
No. Many cheap USB-C cables included with consumer electronics lack the internal data wires (D+ and D- or SuperSpeed lanes) required for data transfer. Always verify your cable supports at least USB 2.0 data transfer (480 Mbps) before blaming your MCU's USB stack for OTG enumeration failures.
Summary Checklist for Your Next Sprint
- Validate MCU sensor logic with MIT App Inventor before writing production UI code.
- Explicitly negotiate BLE MTU sizes to bypass the 20-byte payload limit.
- Align GATT connection intervals with Android's preferred 15ms scheduling.
- Implement USB OTG serial mirroring for untethered field debugging.
- Use Foreground Services to prevent Android Doze mode from killing background BLE connections.
By treating the Android BLE stack and the Arduino firmware as a unified system rather than isolated components, you can drastically reduce integration bugs and accelerate your time-to-market. For further reading on mobile-to-microcontroller architectures, consult the latest Arduino hardware documentation and Android developer guidelines.