
The Core Concept: Translating Rotation to Linear Force
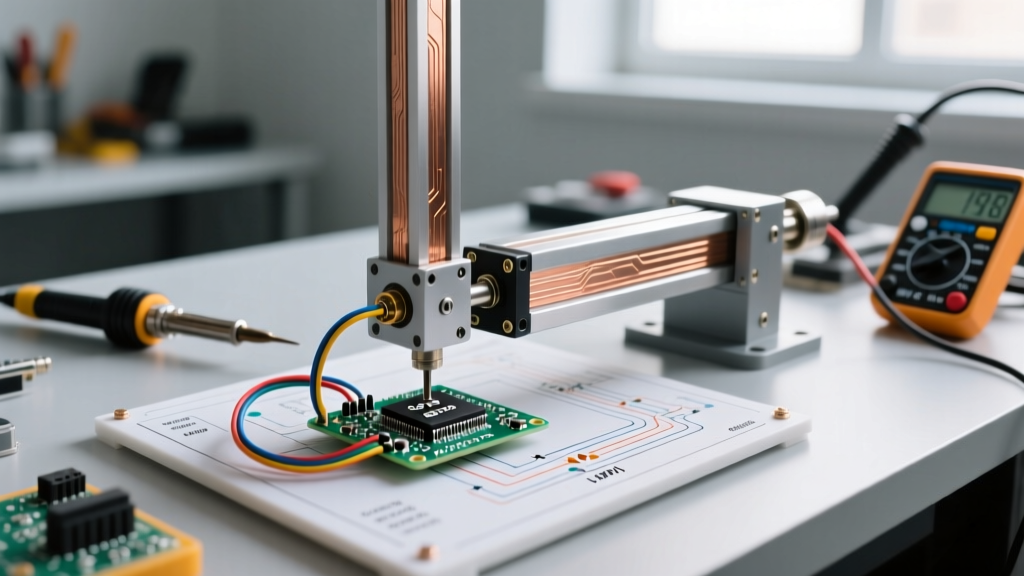
At the intersection of robotics, home automation, and heavy-duty maker projects lies the linear actuator. Unlike standard hobby servos (like the SG90 or MG996R) which are constrained to rotational arcs of 180 to 270 degrees, a linear actuator converts the rotational energy of an electric motor into a straight-line push or pull motion. When paired with an Arduino, these devices allow microcontrollers to interact with the physical world using substantial mechanical force—ranging from 15 lbs to over 200 lbs of thrust.
However, integrating a linear actuator with an Arduino is not as simple as plugging a sensor into a breadboard. The fundamental challenge lies in the physics of inductive loads and current draw. An Arduino Uno R4 or Nano Every operates on 5V (or 3.3V) logic and can safely source only about 20mA per GPIO pin. A standard 12V DC linear actuator, by contrast, routinely draws between 1A and 5A under load. Bridging this gap requires a deep understanding of motor drivers, power isolation, and pulse-width modulation (PWM) logic.
Actuator Taxonomy: Which Type Fits Your MCU?
Before designing your circuit, you must identify the internal architecture of your actuator. The term 'linear actuator' is a broad category encompassing three distinct electromechanical designs, each requiring a different Arduino control strategy.
| Actuator Type | Internal Mechanism | Arduino Control Method | Position Feedback | Typical 2026 Cost |
|---|---|---|---|---|
| DC Brushed | DC motor + lead screw + gearbox | H-Bridge Motor Driver (PWM) | None (Requires external limits) | $40 - $120 |
| Stepper-Based | Stepper motor + lead screw | Stepper Driver (A4988/TMC2209) | Open-loop (Step counting) | $85 - $180 |
| Servo-Driven | DC motor + internal potentiometer | Standard Servo PWM (3-wire) | Closed-loop (Potentiometer) | $100 - $250+ |
For the remainder of this guide, we will focus on the DC Brushed Linear Actuator, as it is the most common, cost-effective, and widely used variant in DIY automation, solar trackers, and heavy-duty robotics.
The Missing Link: Understanding the H-Bridge
A DC brushed linear actuator changes direction based on the polarity of the voltage applied to its terminals. To extend the actuator, Terminal A must be positive and Terminal B negative. To retract it, the polarity must reverse.
This is where the H-Bridge concept becomes mandatory. An H-bridge is a circuit containing four switches (usually MOSFETs in modern 2026 designs) arranged in an 'H' pattern. By closing specific pairs of switches, the microcontroller can safely route high-current power in either direction without physically rewiring the motor.
Expert Insight: Never attempt to use standard relays for high-speed PWM direction control. While a dual-relay DPDT setup can reverse polarity, relays suffer from mechanical bounce, slow switching times, and rapid contact degradation when subjected to PWM speed control signals. Solid-state MOSFET H-bridges are the only viable solution for variable-speed actuator control.
Selecting the Right Motor Driver Module
Choosing the correct H-bridge module is a common failure point. Here is how the most popular modules stack up for linear actuator applications:
- L298N (Bipolar Transistor): Priced around $4. While ubiquitous in starter kits, it uses outdated BJT technology resulting in a massive ~2V voltage drop and poor thermal efficiency. It is only suitable for micro-actuators drawing under 2A continuous.
- Cytron MD10C (MOSFET): Priced around $18. Excellent for single-direction or single-motor setups up to 13A continuous. Features onboard logic translation and screw terminals for heavy-gauge wiring.
- BTS7960 (IBT-2 Module): Priced around $12. The undisputed king of DIY high-current actuators. Capable of handling up to 43A peak (20A continuous), it features optocoupler isolation and separate logic power rails, making it ideal for 12V and 24V industrial actuators.
Critical Wiring Topologies & Power Isolation
The most frequent reason an Arduino resets or behaves erratically when driving a linear actuator is improper power topology. Actuators are highly inductive loads. When a DC motor starts, it experiences an inrush current that can be 5 to 10 times its rated running current. If your Arduino and actuator share the same cheap buck converter or power supply, this inrush will cause a severe voltage sag (brownout), instantly resetting the microcontroller.
The Golden Rules of Actuator Wiring
- Isolate the Power Rails: Use a dedicated 12V/24V power supply (e.g., a 12V 15A Mean Well SMPS) exclusively for the motor driver and actuator. Power the Arduino via a separate USB connection or a high-quality isolated DC-DC buck converter.
- Establish a Common Ground: While the power supplies must be isolated, the ground (GND) of the Arduino, the motor driver logic side, and the high-power supply must all be tied together. Without a common ground reference, the PWM signals from the Arduino will float, causing the motor driver to stutter or fail to trigger.
- BTS7960 Specific Wiring: If using the popular IBT-2 (BTS7960) board, you must bridge the
VCCandB-VCCpins together if you are powering the logic side from the Arduino's 5V pin. Failing to do so leaves the optocouplers unpowered, resulting in a dead circuit.
Control Logic: PWM, Direction, and Braking
Controlling a linear actuator via an H-bridge relies on two primary signals from the Arduino: Direction (Digital HIGH/LOW) and Speed (PWM). Using the BTS7960 as our conceptual model, the module features R_EN (Right Enable), L_EN (Left Enable), RPWM, and LPWM pins.
Here is the fundamental logic matrix for actuator movement:
- Extend: Set
L_ENandR_ENHIGH. Apply PWM toRPWM, keepLPWMat 0. - Retract: Set
L_ENandR_ENHIGH. Apply PWM toLPWM, keepRPWMat 0. - Coast (Free Stop): Set both
RPWMandLPWMto 0. The actuator will drift to a halt due to mechanical friction. - Brake (Hard Stop): Set both
RPWMandLPWMHIGH simultaneously. This shorts the motor terminals through the MOSFETs, creating a magnetic braking effect that stops heavy loads instantly.
For a deeper dive into how microcontrollers interpret these signals, the SparkFun Motor Driver Basics guide provides excellent oscilloscope visualizations of PWM decay modes.
Advanced Edge Cases: Back-EMF and Limit Sensing
Managing Inductive Kickback (Back-EMF)
When you cut power to an extending actuator, the collapsing magnetic field inside the motor coils generates a reverse voltage spike known as Back-EMF. While modern H-bridge modules include built-in flyback diodes to route this spike safely to ground, heavy-duty 200lb actuators can generate spikes that exceed the diode's dissipation capacity, eventually frying the MOSFETs.
Actionable Fix: For actuators drawing over 5A, solder external Schottky diodes (such as the 1N5822 or 10A10) directly across the actuator's physical terminals, with the cathode (silver stripe) facing the positive terminal. This provides a localized, low-resistance path for the inductive spike.
The Limit Switch Dilemma
Most off-the-shelf DC linear actuators feature internal mechanical limit switches that cut power when the stroke reaches its maximum extension or retraction. While this prevents the motor from burning out, it creates a blind spot for the Arduino. The microcontroller will continue sending PWM signals, unaware that the actuator has stopped.
To achieve true closed-loop control, makers must implement one of two strategies:
- External Microswitches: Wire physical limit switches to the Arduino's digital input pins using internal pull-up resistors. When the actuator carriage hits the switch, the Arduino reads a LOW signal and immediately cuts the PWM.
- Current Sensing: Utilize a Hall-effect current sensor (like the ACS712-30A or the more modern INA219 I2C sensor). When the actuator hits its internal limit, the motor stalls, and current draw spikes or drops to zero. The Arduino can monitor this I2C data stream in real-time to detect end-of-travel conditions without adding mechanical switches.
Understanding these physical and electrical boundaries is what separates a fragile prototype from a reliable, deployment-ready automation system. For comprehensive safety standards regarding motor integration, refer to the official Arduino Motor Documentation and manufacturer-specific guides like the Firgelli Automations Tutorial Library.