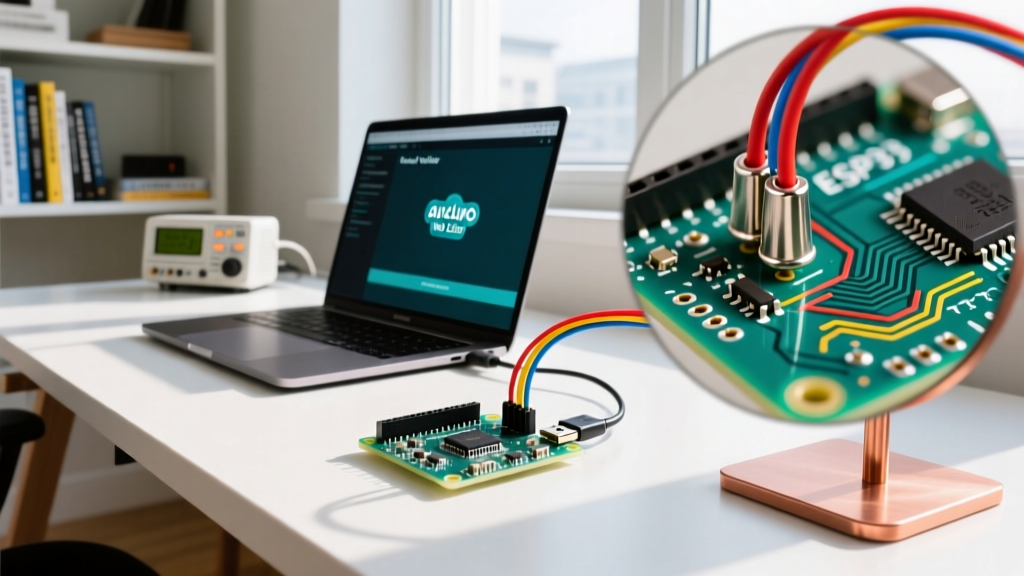

The Role of the Arduino Create Agent in Modern Workflows
The Arduino Create Agent is a lightweight, background middleware application that bridges the gap between your browser-based Arduino Cloud IDE and your locally connected microcontrollers via USB. While browser-native WebSerial APIs have evolved significantly by 2026, the Agent remains strictly required for IoT Cloud device provisioning, Over-The-Air (OTA) update handling, legacy board support, and non-Chromium browser environments. When the Agent fails or misconfigures, makers are immediately hit with "Board Not Found" or "Upload Failed" errors. This FAQ and quick reference guide provides deep-dive troubleshooting for the most persistent Agent-related failures across Windows, macOS, and Linux environments.
Quick Reference Matrix: Agent Architecture
Before troubleshooting, verify your environment against the standard Agent deployment matrix. The Agent operates a local HTTPS server to communicate securely with the cloud IDE.
| Operating System | Default Localhost Port | Configuration File Path | Service / Process Name |
|---|---|---|---|
| Windows 10/11 | 8991 / 8992 (Fallback) | C:\Users\[User]\AppData\Roaming\ArduinoCreateAgent\config.ini |
Arduino_Create_Agent.exe |
| macOS (Ventura to Sequoia) | 8991 / 8992 (Fallback) | ~/Library/Application Support/ArduinoCreateAgent/config.ini |
Arduino_Create_Agent.app |
| Linux (Ubuntu/Debian/Fedora) | 8991 / 8992 (Fallback) | ~/.config/ArduinoCreateAgent/config.ini |
Arduino_Create_Agent |
Core Troubleshooting FAQs
1. Does the Arduino Web Editor still need the Agent in 2026?
Yes and no. Modern Chromium-based browsers (Chrome, Edge, Brave) support the WebSerial API, which allows direct USB communication for basic sketch compilation and uploading on native USB boards (like the Leonardo or ESP32-S3). However, the Arduino Create Agent is mandatory for:
- Provisioning IoT Cloud devices (handling the secure token injection).
- Compiling and uploading via legacy UART adapters (FT232RL, CH340G) that require specific DTR/RTS handshake toggling.
- Using Safari or Firefox, which still lack full WebSerial implementation.
- Accessing the serial monitor at baud rates exceeding 115200 without browser buffer throttling.
Pro Tip: If your browser supports WebSerial but the Cloud IDE defaults to the Agent, you can force the browser-native connection by clicking the "Select Board" dropdown and choosing the "WebSerial" tagged port instead of the "Agent" tagged port.
2. Why do I get "Port Busy" or "Access Denied" on Windows Clones?
This is the most common failure mode when using third-party Arduino clones (e.g., Uno R3 clones, Nano V3.0) equipped with the CH340G or CH340C USB-to-Serial chip. The default Windows usbser.sys or older CH340 drivers set the Latency Timer to 16ms. During the Agent's rapid DTR/RTS toggling sequence to trigger the bootloader, this latency causes a buffer collision, resulting in an "Access Denied" error.
The Fix:
- Open the Windows Device Manager and expand "Ports (COM & LPT)".
- Right-click your CH340 port and select Properties.
- Navigate to the Port Settings tab and click Advanced.
- Change the Latency Timer from 16ms to 1ms.
- Click OK, physically unplug the microcontroller, and reconnect it.
Additionally, ensure no other software (like Cura, PrusaSlicer, or a local instance of the Arduino IDE 2.x) is holding the COM port open. The Agent cannot preempt an active serial lock.
3. Why is the Agent silently failing to bind on macOS?
Starting with macOS Ventura and continuing through Sequoia, Apple introduced aggressive "Local Network" and "USB Accessories" privacy sandboxes. If you clicked "Don't Allow" when the Agent first requested access, it will silently fail to bind to localhost:8991. The Web Editor will simply state "Agent not running" even though the process is active in the Activity Monitor.
The Fix:
- Open System Settings > Privacy & Security.
- Scroll down to Local Network.
- Locate Arduino Create Agent and ensure the toggle is turned ON.
- If it is already on, toggle it OFF, restart the Agent from the menu bar, and toggle it back ON to force a fresh privacy prompt.
4. How do I fix Linux "Permission Denied" errors during upload?
On Linux distributions, the Arduino Create Agent runs under your standard user context. However, raw USB and serial devices are owned by the root or dialout groups. If your user is not in the correct group, or if the udev rules are missing, the Agent cannot assert the reset signal via the serial port.
The Fix:
First, add your user to the dialout group:
sudo usermod -a -G dialout $USERNext, you must install the official udev rules. Create a new file at /etc/udev/rules.d/99-arduino.rules and populate it with the standard Arduino vendor IDs. You can pull the latest rules directly from the Arduino Create Agent GitHub Repository. After saving the file, reload the udev daemon:
sudo udevadm control --reload-rules
sudo udevadm trigger
Log out and log back in for the group changes to take effect.
Advanced Configuration & Enterprise Deployments
Modifying the config.ini File
For advanced users and classroom deployments, the Agent's behavior can be tuned via the config.ini file. This file is generated automatically upon the first successful run of the Agent. Key parameters include:
gc_std: Controls the garbage collection interval (in seconds) for the Agent's internal memory. Default is100. Lowering this to50can help prevent memory bloat on Raspberry Pi or low-RAM Linux hosts running the Agent headlessly.crashreport: Set totrueorfalse. Disabling this prevents the Agent from sending anonymized crash dumps to Arduino servers, which is often required for strict GDPR compliance in enterprise environments.origins: A comma-separated list of allowed CORS origins. By default, it includeshttps://create.arduino.ccandhttps://app.arduino.cc. If you are running a local, self-hosted GitLab CI runner that needs to trigger cloud compilations, you must append your local domain here.
Corporate Proxy and Firewall Interference
In enterprise or university networks, transparent proxies often intercept localhost HTTPS traffic to inspect SSL certificates. Because the Arduino Create Agent generates a self-signed local certificate for localhost:8991, corporate firewalls will flag this as a Man-In-The-Middle (MITM) attack and sever the connection.
To resolve this, you must explicitly bypass the proxy for local addresses. Set the following environment variables at the OS level before launching the Agent:
NO_PROXY=localhost,127.0.0.1,::1
no_proxy=localhost,127.0.0.1,::1
If your organization uses a custom root CA for SSL inspection, you can force the Agent to trust it by appending your corporate certificate to the system's trusted root store, as the Agent relies on the host OS's native certificate validation chain.
Summary & Further Reading
Troubleshooting the Arduino Create Agent requires a systematic approach: verifying local port availability, resolving USB-Serial driver latency issues, and ensuring OS-level privacy sandboxes are properly configured. By maintaining a clean config.ini and understanding the distinction between WebSerial and Agent-routed connections, you can ensure seamless cloud-to-hardware workflows.
For the latest release binaries and source code, always refer to the official GitHub repository. For broader cloud ecosystem documentation, consult the Arduino Official Documentation Hub.