
The Three Ways to Print from a Microcontroller
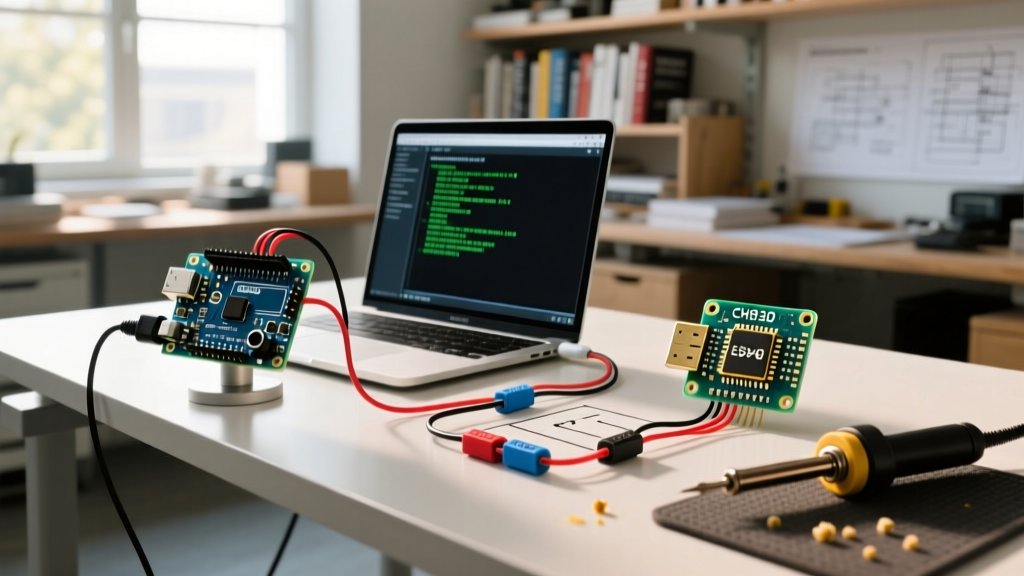
When makers and engineers search for how to print arduino data, they are usually trying to solve one of three distinct problems: debugging code via the Serial Monitor, displaying real-time metrics on a physical screen, or generating a permanent paper record using a thermal receipt printer. Each method requires a completely different approach to wiring, power management, and memory allocation.
In this comprehensive 2026 guide, we break down the exact hardware specifications, code structures, and common failure modes for printing data from your microcontroller to the digital console, an I2C OLED, and a TTL thermal printer.
Method 1: Serial Monitor Printing (Debugging & Logging)
The most fundamental way to output data is via the UART (Universal Asynchronous Receiver-Transmitter) serial connection to your PC. This is essential for debugging sensor values and state machines.
Baud Rates and Driver Quirks
The Arduino Serial Reference dictates that your microcontroller and your IDE Serial Monitor must agree on a baud rate. While 9600 is the legacy standard for 16MHz ATmega328P boards (like the Uno R3), modern 32-bit boards like the ESP32-S3 or Raspberry Pi Pico default to 115200 baud to handle high-throughput sensor arrays.
2026 Driver Note: If you are using clone boards with the CH340G USB-to-Serial chip on Windows 11, native driver support is now built into the OS via Windows Update. However, if your Serial Monitor outputs pure gibberish (e.g., ÿÿÿ), you have a baud rate mismatch or a floating RX pin. Always tie unused RX pins to GND via a 10kΩ resistor to prevent noise-induced serial garbage.Memory-Safe Serial Printing
On 8-bit AVR boards (Uno, Mega, Nano), SRAM is severely limited (2KB on the ATmega328P). Storing long print strings in SRAM will cause stack collisions and random reboots. Always use the F() macro to force the compiler to store strings in Flash memory (Program Space).
// BAD: Consumes SRAM
Serial.print("Temperature reading from DHT22: ");

// GOOD: Consumes Flash memory
Serial.print(F("Temperature reading from DHT22: "));
Serial.println(dht.readTemperature());
Pro-Tip for ESP32 Users: If you are using an ESP32, abandon Serial.print() for complex formatting and use Serial.printf(). This allows C-style string formatting, making it trivial to print floats to a specific decimal place without using the memory-heavy String class.
Method 2: Physical Displays (I2C OLEDs)
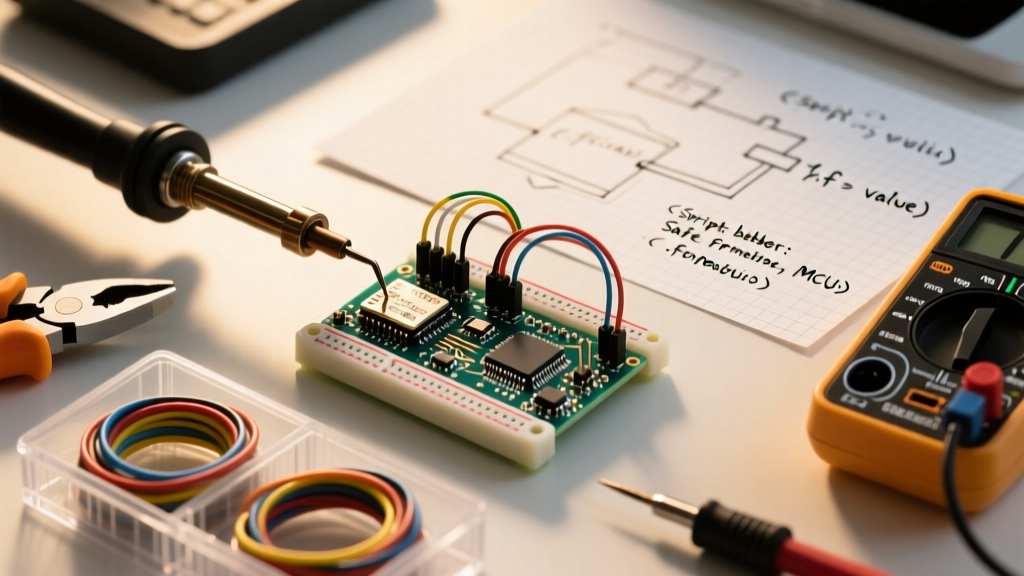
When you need to print data in the field without a laptop, the 0.96-inch SSD1306 I2C OLED is the industry standard. In 2026, these modules cost between $3.50 and $5.00 and offer crisp 128x64 pixel resolution.
Wiring and I2C Addressing
OLEDs communicate via the I2C bus, requiring only two data wires (SDA and SCL) plus power. However, I2C addresses frequently trip up beginners.
- SDA (Data): Connect to A4 (Uno) or GPIO 21 (ESP32)
- SCL (Clock): Connect to A5 (Uno) or GPIO 22 (ESP32)
- VCC: 3.3V or 5V (most modern modules have onboard LDOs and accept both)
- GND: Common ground
Most 128x64 SSD1306 displays default to the I2C hex address 0x3C. However, some manufacturers map them to 0x3D. If your screen remains black, run an I2C Scanner sketch to poll the bus and identify the correct address. Furthermore, if you are wiring a bare OLED chip rather than a module with a breakout board, you must add 4.7kΩ pull-up resistors to both the SDA and SCL lines, or the bus will float and fail to initialize.
Method 3: Thermal Receipt Printers (Physical Paper Output)
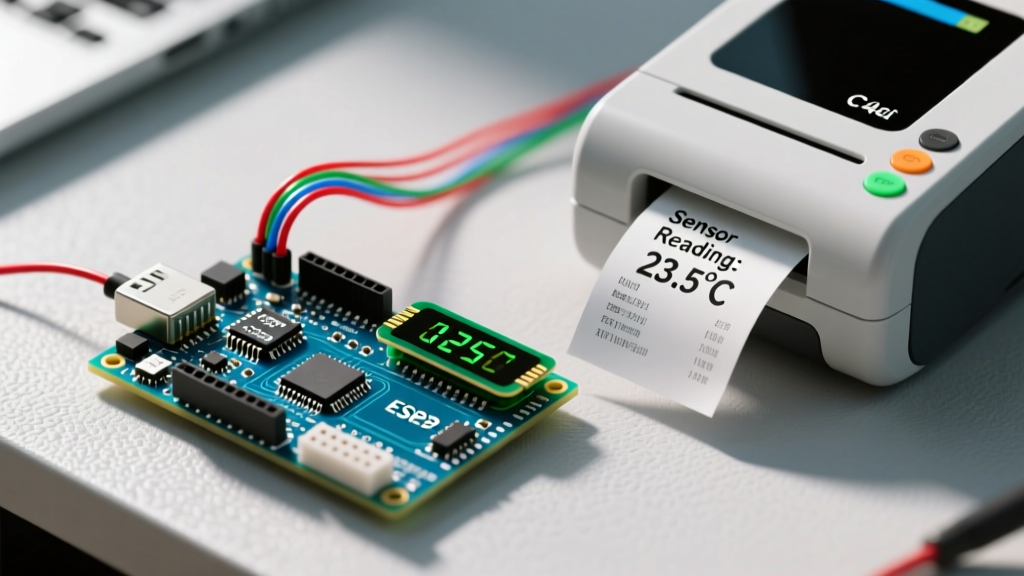
For data logging kiosks, point-of-sale prototypes, or physical ticket generation, you need a thermal printer. The Adafruit Mini Thermal Receipt Printer (Product ID: 597) remains the gold standard, retailing around $49.95. It uses TTL Serial to receive ASCII text and bitmap data.
The Power Supply Trap (Critical Failure Mode)
The most common reason makers fail to get thermal printers working is inadequate power. Do not power the thermal printer from the Arduino's 5V pin.
The internal heating element requires massive current spikes—up to 1.5 Amps to 2.0 Amps at 5V when printing dense graphics or dark text. The onboard linear voltage regulator of an Arduino Uno will overheat, trigger its internal thermal shutdown, and brown out the microcontroller, resulting in faded, half-printed receipts or total system freezes.
Correct Power and Data Wiring
- Procure a dedicated 5V 2A (10W minimum) switching power supply with a 2.1mm barrel jack.
- Connect the printer's red and black power wires directly to this dedicated supply.
- Connect the printer's green (TX) wire to the Arduino's RX pin (e.g., Pin 5 using SoftwareSerial, or hardware Serial1 on a Mega).
- Connect the printer's yellow (RX) wire to the Arduino's TX pin.
- Crucial: Tie the GND of the dedicated 5V power supply to the GND of the Arduino. Without a common ground reference, the TTL serial signals will be unreadable.
For complete command sets and bitmap conversion tools, refer to the Adafruit Thermal Printer Guide, which provides the necessary libraries to format text alignment, barcode generation, and QR codes.
Comparison Matrix: Which Printing Method Should You Use?
| Method | Hardware Cost (2026) | Power Draw | Best Use Case | Complexity |
|---|---|---|---|---|
| Serial Monitor | $0 (Built-in) | < 20mA | Desk debugging, PC data logging | Low |
| SSD1306 I2C OLED | $3.50 - $5.00 | ~ 20mA | Portable field metrics, battery devices | Medium |
| Thermal Printer | ~ $49.95 | 1.5A Peak | Kiosks, physical tickets, permanent logs | High |
Advanced Troubleshooting & Edge Cases
1. The 'String' Class Memory Leak
When formatting data to print (e.g., combining a sensor label with a float value), many beginners use the String object (capital 'S'). On AVR boards, dynamic memory allocation via the String class causes heap fragmentation. Over a few hours of continuous printing, the heap will shatter, and the Arduino will lock up. Always use character arrays (char[]) and the dtostrf() function to convert floats to strings safely before printing.
2. Serial Buffer Overflow
The hardware serial buffer on an ATmega328P is only 64 bytes. If your microcontroller is executing a long delay() or blocking sensor read while the PC is sending data, the buffer will overflow, and incoming bytes will be silently dropped. If you are building a two-way serial communication protocol, always use non-blocking timing (e.g., millis()) and check Serial.available() frequently. For deeper terminal handling, review SparkFun's Serial Terminal Basics to understand how ASCII control characters can automate your debugging workflow.
3. Thermal Printer Fading
If your thermal prints are coming out faint or with vertical white streaks, the issue is rarely the code. It is almost always a voltage drop under load. Measure the voltage at the printer's terminals while it is actively printing. If it drops below 4.2V, you need to upgrade your power supply wiring to a thicker gauge (18 AWG or lower) to handle the transient current draw without resistive voltage drop.