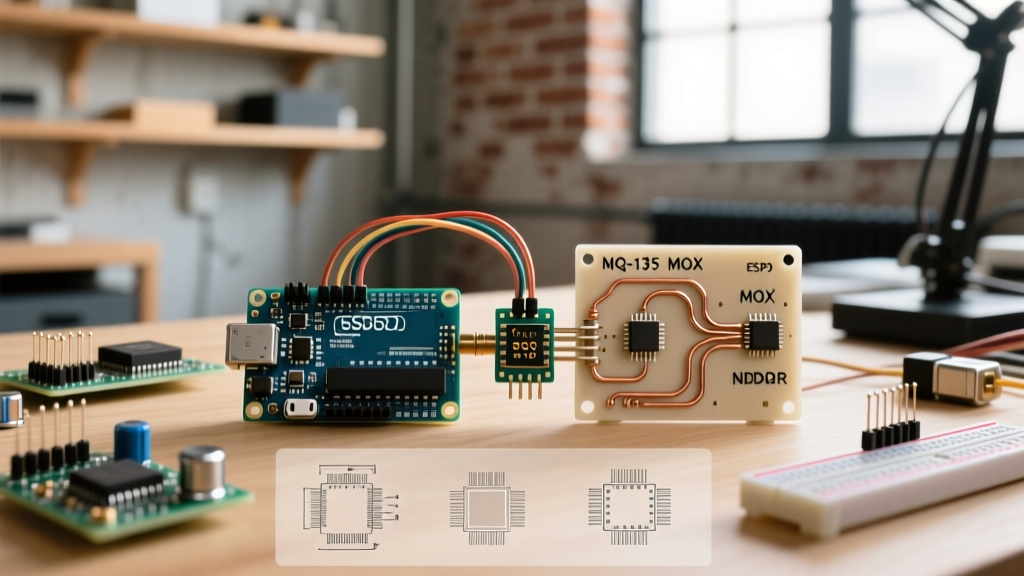

The Core Concepts Behind Arduino Gas Detection
Building a reliable gas detector with an Arduino is a rite of passage for electronics makers, environmental monitors, and smart-home enthusiasts. However, the leap from simply wiring a sensor to extracting accurate, actionable parts-per-million (PPM) or parts-per-billion (PPB) data requires a deep understanding of sensor physics. According to the U.S. Environmental Protection Agency (EPA), indoor air can contain pollutants at levels two to five times higher than outdoor air, making precise microcontroller-based monitoring highly relevant for modern HVAC and safety systems.
In this guide, we deconstruct the underlying technologies used in gas detector Arduino projects, compare legacy analog sensors with modern digital alternatives, and outline the exact calibration and wiring protocols required to prevent data drift and hardware failure.
Semiconductor vs. Electrochemical vs. NDIR: A Technology Matrix
Not all gas sensors operate on the same physical principles. Choosing the wrong sensor for your microcontroller project will result in cross-sensitivity errors and false alarms. Below is a technical comparison of the three primary sensor architectures used in maker and commercial applications as of 2026.
| Technology | Example Model | Target Gas | Avg. Price (2026) | Interface | Warm-up Time |
|---|---|---|---|---|---|
| Metal Oxide (MOX) / Semiconductor | Hanwei MQ-135 | NH3, NOx, Benzene, VOCs | $2.50 - $4.00 | Analog (Voltage Divider) | 24-48 Hours (Initial) |
| Advanced Multi-Pixel MOX | Sensirion SGP41 | VOCs & NOx (Dual Channel) | $7.00 - $9.50 | I2C (Digital) | ~10 Seconds |
| Non-Dispersive Infrared (NDIR) | Winsen MH-Z19B | CO2 (Carbon Dioxide) | $24.00 - $32.00 | UART / PWM | ~3 Minutes |
| Electrochemical | Alphasense CO-A4 | CO (Carbon Monoxide) | $35.00 - $45.00 | Analog (Requires Transimpedance Amp) | ~30 Minutes |
Why Legacy MQ Sensors Still Dominate DIY Builds
The Hanwei MQ-series (like the MQ-135 for air quality or MQ-2 for combustible gases) remains ubiquitous due to its low cost. These sensors rely on a tin dioxide (SnO2) layer. When target gas molecules interact with the heated SnO2 surface, the material's electrical resistance drops. The Arduino reads this resistance change via a simple voltage divider circuit.
However, MQ sensors suffer from severe cross-sensitivity. An MQ-135 will spike if exposed to ethanol (like hand sanitizer) or citrus peels, making it unreliable for specific VOC identification without secondary algorithmic filtering.
The Mathematics of Calibration: Rs, R0, and the Load Resistor
The most common failure point in gas detector Arduino projects is skipping the mathematical calibration step. The Arduino's ADC (Analog-to-Digital Converter) does not read resistance directly; it reads voltage. To convert this voltage into a meaningful gas concentration, you must calculate the sensor's resistance ($R_s$) and compare it to its baseline resistance in clean air ($R_0$).
The Voltage Divider Formula
Most MQ breakout boards include a fixed load resistor ($R_L$), typically 1kΩ or 10kΩ. The circuit forms a voltage divider where the Arduino reads the voltage across the load resistor ($V_{RL}$). The supply voltage ($V_c$) is usually 5.0V.
The formula to find the sensor resistance is:
$R_s = R_L imes ((V_c / V_{RL}) - 1)$
Once you calculate $R_s$ in clean air, that value becomes your $R_0$. The ratio $R_s/R_0$ is then plotted against the logarithmic sensitivity curves provided in the manufacturer's datasheet to estimate PPM. Note: You must use the specific logarithmic regression equation for your target gas, which requires extracting the slope (a) and intercept (b) from the datasheet graph using a tool like WebPlotDigitizer.
Modern Digital Alternatives: The Shift to I2C MOX Sensors
For makers who want to avoid analog noise and complex logarithmic math, modern digital sensors like the Sensirion SGP41 represent a massive leap forward. Unlike the single-pixel MQ-135, the SGP41 features dual sensing pixels (one for VOCs, one for NOx) and communicates via I2C.
- Logic Level Compatibility: The SGP41 operates natively at 3.3V, making it perfectly safe for modern 3.3V microcontrollers like the ESP32-S3, Arduino Nano 33 IoT, and Raspberry Pi Pico, without needing logic level shifters.
- Onboard Processing: Digital sensors often include onboard ASICs that handle the heater pulsing and baseline tracking, outputting a processed 'VOC Index' rather than raw resistance.
- Humidity Compensation: MOX sensors drift wildly with changes in relative humidity. Advanced implementations pair the SGP41 with an SHT4x temperature/humidity sensor, allowing the microcontroller to apply software compensation matrices to the gas readings.
Power Delivery and Signal Conditioning Pitfalls
A frequent hardware mistake in Arduino gas detectors is power starvation. The internal heater of an MQ-135 requires 5.0V (±0.1V) and draws approximately 150mA continuously, with initial startup spikes approaching 800mA.
Critical Wiring Rule: Never power an MQ-series sensor directly from the Arduino Uno's 5V pin if the board is being powered via a standard USB cable. Most USB cables and PC ports will experience voltage sag under this load, dropping the heater voltage below 4.8V. This alters the SnO2 surface chemistry, rendering your $R_0$ calibration invalid and causing permanent data drift. Always use a dedicated 5V buck converter or external bench supply for the sensor's VCC and Heater pins.
ADC Resolution and Oversampling
Standard Arduinos (like the Uno R3) feature a 10-bit ADC, yielding only 1024 discrete steps across the 0-5V range. Because gas concentration curves are logarithmic, a small voltage change at the high-concentration end of the curve represents a massive PPM shift. To improve resolution without buying a new microcontroller, implement software oversampling. By taking 64 analog reads, summing them, and dividing by 64, you can mathematically increase your effective ADC resolution by roughly 3 bits, smoothing out transient electrical noise from the heater circuit.
Edge Cases and Sensor Failure Modes
Even with perfect wiring and calibration, environmental factors can destroy gas sensors. Understanding these failure modes is crucial for long-term deployments.
- Siloxane Poisoning: If you are 3D printing an enclosure for your gas detector or using silicone sealants, beware. Siloxanes (found in many silicones and some 3D printer resins) will permanently coat the catalytic surface of MOX and electrochemical sensors, rendering them completely blind to gases. Always use ABS, PETG, or mechanical fasteners for sensor enclosures.
- High-Altitude NDIR Drift: NDIR sensors (like the MH-Z19B for CO2) measure the absorption of infrared light by gas molecules. Because they rely on molecule density, moving an NDIR sensor from sea level to a high-altitude location (e.g., Denver, CO) will cause it to under-report CO2 levels unless you apply a barometric pressure compensation formula in your Arduino sketch.
- Electrochemical Drying: Electrochemical sensors (used for toxic gases like CO or H2S) contain a liquid electrolyte. If deployed in environments with consistently low humidity (below 20% RH) for months, the electrolyte will evaporate, permanently destroying the sensor. They require periodic exposure to normal humidity levels to survive.
Summary: Choosing Your Architecture
If your goal is a low-cost educational project to learn about analog circuits and logarithmic calibration, the MQ-series is an excellent starting point. If you are building a commercial-grade smart home air quality monitor requiring 3.3V I2C integration and dual-gas tracking, invest in the Sensirion SGP41. For strict safety applications involving CO2 or Carbon Monoxide, bypass semiconductor sensors entirely and invest in NDIR or Electrochemical modules paired with precision operational amplifiers. By matching the sensor physics to your specific environmental constraints, your Arduino gas detector will transition from a novelty toy to a reliable analytical instrument.