
The Role of ISP in the Arduino Ecosystem
In-System Programming (ISP) is the backbone of professional AVR microcontroller deployment. While the standard Arduino bootloader is excellent for rapid prototyping via USB serial, it consumes valuable flash memory (typically 512 bytes to 2KB) and introduces a boot delay. When transitioning from a breadboard prototype to a custom PCB, or when recovering a "bricked" ATmega328P with corrupted fuse bits, an ISP programmer Arduino setup becomes mandatory. This compatibility guide breaks down the hardware options available in 2026, detailing voltage tolerances, AVRDUDE syntax, and edge-case troubleshooting for both dedicated programmers and the "Arduino as ISP" fallback method.
Core ISP Programmer Hardware Compatibility Matrix
Choosing the right hardware depends on your target voltage, budget, and whether you need to program ARM-based microcontrollers alongside legacy 8-bit AVR chips. Below is a compatibility matrix comparing the most prevalent ISP solutions on the market.
| Programmer Model | Target Voltage | Provides Target Power? | Avg. Price (2026) | Best Use Case |
|---|---|---|---|---|
| USBasp (Clone) | 5V (3.3V via jumper) | Yes (up to 200mA) | $3.00 - $6.00 | Hobbyist flashing, bulk ATmega328P programming |
| USBtinyISP (Adafruit/SparkFun) | 5V only | No (Target must be powered) | $15.00 - $22.00 | Reliable breadboard programming, education |
| Atmel-ICE (Microchip) | 1.62V to 5.5V | No (Senses VCC) | $130.00 - $160.00 | Professional AVR/ARM debugging, PDI/UPDI support |
| Arduino Uno (as ISP) | 5V (or 3.3V on specific boards) | Yes (via 5V/3.3V pins) | $25.00 (Cost of Uno) | Emergency recovery, zero-budget custom PCB flashing |
Deep Dive: Dedicated Hardware Programmers
1. The USBasp: Cheap, but Requires Firmware Awareness
The USBasp is arguably the most common ISP programmer globally due to its low cost. However, the vast majority of units sold are third-party clones utilizing older firmware. When using a clone USBasp with modern AVRDUDE (version 7.0+), you will frequently encounter the warning: Warning: Firmware is out of date. This is generally benign for basic ATmega328P flashing, but it can cause synchronization failures with newer ATtiny chips (like the ATtiny412) that require UPDI or specific SPI timing.
Compatibility Note: If your target board operates at 3.3V (such as an Arduino Pro Mini 3.3V/8MHz), you must move the physical jumper on the USBasp PCB to the 3.3V position. Failing to do so will inject 5V logic into a 3.3V ATmega328P, potentially destroying the silicon.
2. USBtinyISP: The Reliable Workhorse
Unlike the USBasp, the USBtinyISP does not supply power to the target board. This is a deliberate design choice that prevents accidental over-current situations when programming custom PCBs with potential short circuits. According to the Adafruit USBtinyISP tutorial, you must ensure your target breadboard or PCB has its own stable 5V rail connected to the VCC pin of the 6-pin ICSP header. The USBtinyISP is strictly a 5V logic device; attempting to use it on 3.3V logic targets requires an external logic level shifter on the MOSI, MISO, and SCK lines.
3. Atmel-ICE: The Professional Standard
For production environments, the Microchip Atmel-ICE remains the gold standard. It supports not only legacy SPI-based ISP but also PDI, UPDI, and JTAG. It automatically senses the target voltage (from 1.62V to 5.5V) and adjusts its logic thresholds accordingly, eliminating the risk of frying 3.3V or 1.8V microcontrollers. It uses a 10-pin Cortex debug connector, so you will need a 10-pin to 6-pin adapter cable to interface with standard Arduino ICSP headers.
The "Arduino as ISP" Fallback Method
If you do not have a dedicated hardware programmer, you can use a standard Arduino Uno to program a bare ATmega chip. This method is heavily documented in the Arduino official ISP guide, but makers frequently miss one critical hardware modification: the auto-reset capacitor.
Wiring the 6-Pin ICSP Header
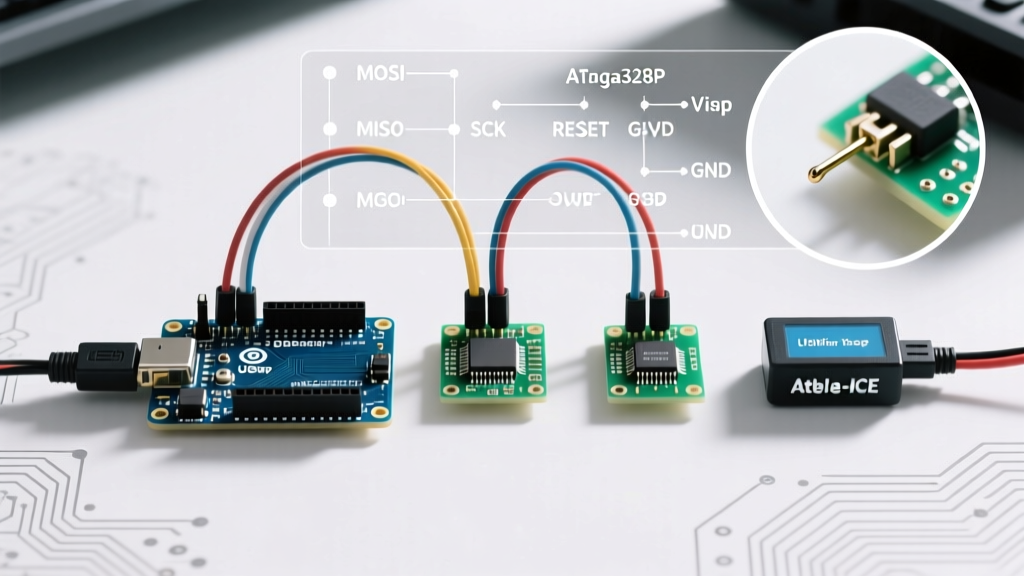
The standard AVR 6-pin ICSP pinout is as follows (Pin 1 is denoted by a small triangle on the PCB silkscreen):
- Pin 1: MISO (Master In Slave Out)
- Pin 2: VCC (5V)
- Pin 3: SCK (Serial Clock)
- Pin 4: MOSI (Master Out Slave In)
- Pin 5: RESET
- Pin 6: GND
The 10µF Capacitor Trick
When the Arduino IDE initiates an upload via AVRDUDE, it opens the serial port. On standard Arduinos, this triggers the DTR (Data Terminal Ready) line, which automatically resets the programmer Uno via a 0.1µF capacitor. If the programmer Uno resets, it drops out of the "Arduino as ISP" sketch mode and reverts to the standard bootloader, causing the upload to fail instantly.
Expert Fix: To disable auto-reset on the programmer Uno, connect a 10µF electrolytic capacitor between the RESET pin and GND on the programmer board. The positive leg goes to RESET, the negative leg to GND. This absorbs the DTR voltage spike, keeping the programmer Uno awake and ready to relay ISP commands to the target chip.
Clock Sources, Fuse Bits, and Factory Defaults
A major point of failure when using an ISP programmer with bare ATmega328P chips straight from Microchip distributors is misunderstanding factory fuse settings. Fresh from the factory, an ATmega328P is configured to use its internal 8MHz RC oscillator with the CKDIV8 fuse enabled. This means the chip is actually running at 1MHz.
If you attempt to upload a standard Arduino sketch expecting a 16MHz external crystal, the serial baud rates will be completely miscalculated, and the chip will appear dead. You must use your ISP programmer to write the correct fuse bits and burn the Optiboot bootloader. Using the AVRDUDE command line tool, the exact syntax to set the fuses for a 16MHz external crystal setup is:
avrdude -c usbasp -p m328p -U lfuse:w:0xFF:m -U hfuse:w:0xDE:m -U efuse:w:0xFD:mThis command tells the AVR to disable CKDIV8, enable the external crystal oscillator (XTAL1/XTAL2), and set the bootloader size to 512 words. Once these fuses are written via ISP, the chip will ignore the internal oscillator and rely on the physical 16MHz crystal on your custom PCB.
Troubleshooting Common ISP Sync Failures
Even with perfect compatibility, ISP programming is prone to specific hardware-level errors. Here is how to diagnose the most common AVRDUDE failures.
Error: avrdude: initialization failed, rc=-1
Cause: The programmer cannot establish SPI communication with the target.
Solution: Check your VCC and GND connections. If using a USBtinyISP or Atmel-ICE, the target board must be powered independently. Use a multimeter to verify that exactly 5V (or 3.3V) is reaching Pin 2 of the ICSP header on the target PCB. Also, verify that the target chip has a valid clock source; if the crystal is unsoldered or broken, the SPI interface will not clock data.
Error: avrdude: Device signature = 0x000000
Cause: MISO and MOSI lines are swapped, or the RESET line is not being pulled low.
Solution: Swap the MISO and MOSI wires at the target header. Unlike UART serial (TX/RX), SPI requires MISO to connect to MISO, and MOSI to connect to MOSI when using standard ICSP headers. Additionally, ensure the programmer is actively pulling the target RESET pin to GND during the handshake phase.
Error: invalid device signature (e.g., expecting 0x1e950f, getting 0x1e9514)
Cause: You have selected the wrong chip in the Arduino IDE or AVRDUDE config.
Solution: The signature 0x1e950f belongs to the ATmega328P. If you receive 0x1e9514, you are actually programming an ATmega328 (non-P pico-power variant) or an older ATmega328A. Update your avrdude.conf or select the correct board definition in the Arduino Boards Manager to match the physical silicon.
Summary
Selecting the right ISP programmer for your Arduino projects requires matching the hardware's voltage tolerances and power delivery capabilities to your specific target board. For casual hobbyists and bulk flashing of 5V ATmega328P chips, the $5 USBasp clone is unbeatable despite its firmware quirks. For 3.3V logic and professional debugging, the Atmel-ICE is a necessary investment. Regardless of the hardware, mastering AVRDUDE fuse commands and understanding the 6-pin ICSP pinout will ensure your custom PCBs transition smoothly from prototype to production.