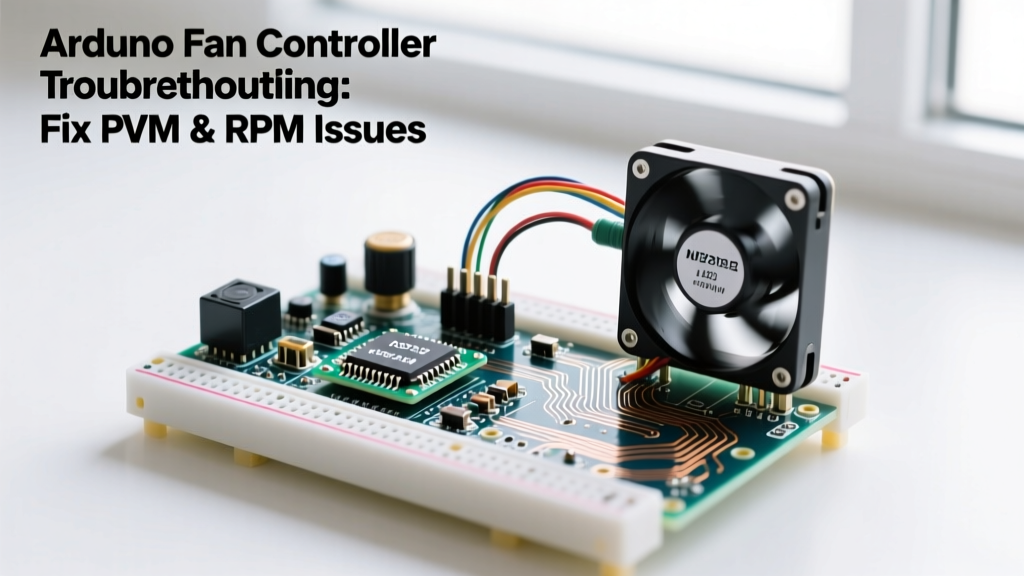

The Reality of Custom Cooling: Why Your Arduino Fan Controller is Failing
Building a custom arduino fan controller for server racks, 3D printer enclosures, or high-end PC cases is a rite of passage for makers. However, the transition from a simple LED blink sketch to driving inductive motor loads often exposes critical gaps in hardware design and microcontroller timing. In 2026, with high-static-pressure fans like the Noctua NF-A14x25 G2 pushing advanced fluid dynamic bearings, the tolerance for poor PWM signals and noisy tachometer feedback is lower than ever.
If your fans are whining, stuttering at low RPM, or your Arduino is reading ghost RPM values in the tens of thousands, you are likely dealing with one of four fundamental engineering mismatches: timer frequency, open-drain pull-ups, logic-level gate thresholds, or inductive kickback. This guide provides deep-level troubleshooting protocols to rescue your build.
The 25kHz Mandate: Solving PWM Whine and Stutter
The most common failure in DIY arduino fan controller projects is audible motor whine and erratic low-speed behavior. This is almost always caused by a PWM frequency mismatch.
The ATmega328P Timer Problem
By default, the Arduino Uno (ATmega328P) outputs PWM signals at approximately 490Hz on pins 3, 9, 10, and 11, and 980Hz on pins 5 and 6. According to the Intel 4-Wire PWM Controller specification, modern PC cooling fans require a 25kHz PWM signal. Running a 4-pin fan at 490Hz forces the fan's internal driver IC to switch at an audible frequency, resulting in a high-pitched whine and potential thermal degradation of the fan's internal MOSFETs over time.
The Fix: Overriding Timer1
To achieve a silent, ultrasonic switching frequency, you must manipulate the Arduino's hardware timers directly. By adjusting the prescaler on Timer1, you can push pins 9 and 10 to ~31.3kHz. This is close enough to the 25kHz standard to eliminate acoustic noise and ensure smooth commutation.
void setup() {
  // Set pins 9 and 10 as outputs
  pinMode(9, OUTPUT);
  pinMode(10, OUTPUT);

  // Clear Timer1 control registers
  TCCR1A = 0;
  TCCR1B = 0;

  // Set Fast PWM mode, non-inverting on OC1A and OC1B
  TCCR1A = (1 << COM1A1) | (1 << COM1B1) | (1 << WGM11);

  // Set prescaler to 1 (no prescaling) -> 31.3kHz frequency
  TCCR1B = (1 << WGM13) | (1 << WGM12) | (1 << CS10);

  // Set TOP value for 8-bit resolution (0-255)
  ICR1 = 255;
}

void loop() {
  // Set fan to 50% duty cycle
  analogWrite(9, 127);
}
Note: Altering Timer0 will break the millis() and delay() functions. Always use Timer1 (pins 9/10) or Timer2 (pins 11/3) for fan control. For deeper insights into hardware timers, refer to the official Arduino PWM documentation.
Tachometer (RPM) Ghost Readings and Signal Drops
If your serial monitor is reporting RPM values like 65,432 or dropping to zero intermittently, your tachometer circuit is floating. The tachometer (yellow or white wire) on standard 3-pin and 4-pin fans is an open-collector (or open-drain) output. It pulls the signal to ground when the motor poles pass the Hall effect sensor, but it does not actively drive the signal HIGH.
The Pull-Up Resistor Requirement
Without a pull-up resistor, the Arduino's digital input pin acts as an antenna, picking up electromagnetic interference (EMI) from the spinning motor and adjacent PWM lines. This causes the hardware interrupts to trigger thousands of times per second.
- The Hardware Fix: Solder a 10kΩ resistor between the tachometer signal wire and the Arduino's 5V rail.
- The Software Fix: Alternatively, enable the internal pull-up resistor in your sketch using
pinMode(tachPin, INPUT_PULLUP);. However, the internal ~20kΩ-50kΩ resistor can sometimes be too weak in high-EMI environments like server racks. An external 10kΩ physical resistor is the gold standard.
Dealing with Interrupt Bouncing
Some budget fans (often found in bulk 2026 surplus lots) have noisy Hall effect sensors that cause signal bounce. If your RPM reads exactly double what it should be, implement a software debounce or use a 0.1µF ceramic capacitor between the tach pin and GND to filter high-frequency noise.
MOSFET Selection: Why Your IRF520 is Overheating
When controlling 3-pin DC fans via PWM (switching the 12V ground path), makers frequently default to the IRF520 MOSFET because it is cheap and ubiquitous in starter kits. This is a critical error that leads to thermal runaway and melted breadboards.
| MOSFET Model | Vgs(th) (Gate Threshold) | Rds(on) @ 5V | Max Current @ 25°C | Verdict for Arduino |
|---|---|---|---|---|
| IRF520 | 2.0V - 4.0V | Not Guaranteed (High) | 9.2A (at 10V Vgs) | AVOID. Will overheat at 5V logic. |
| IRLZ44N | 1.0V - 2.0V | ~0.022Ω | 47A | Excellent. Fully saturated at 5V. |
| IRLB8721 | 1.3V - 2.3V | ~0.0045Ω | 62A | Best. Ultra-low resistance, runs cool. |
The IRF520 requires 10V at the gate to fully turn on (low Rds(on)). At the Arduino's 5V output, it operates in the linear (ohmic) region, acting as a resistor rather than a switch. Even driving a single 0.3A 120mm fan, the IRF520 will dissipate excess heat, potentially damaging your Arduino's GPIO pin via back-feeding if a gate resistor isn't used. Always spend the extra $0.80 for a true logic-level MOSFET like the IRLZ44N or IRLB8721. For comprehensive thermal management strategies, review Mouser's thermal design application notes.
Inductive Kickback: The Flyback Diode Necessity
A DC fan is an inductive load. When your MOSFET switches off the ground path during the PWM cycle, the collapsing magnetic field inside the fan's motor generates a massive reverse voltage spike (inductive kickback). If this spike exceeds the MOSFET's drain-source breakdown voltage (Vdss), it will punch through the silicon and permanently short the component.
Proper Diode Placement
While many modern 4-pin PWM fans have internal flyback diodes and transient voltage suppressors (TVS), 3-pin DC fans and older blower fans often do not. You must install a flyback diode across the fan's power terminals.
- Use a standard 1N4007 rectifier diode or a fast-recovery UF4007 for high-frequency PWM.
- Orient the cathode (the silver stripe) toward the 12V positive wire.
- Orient the anode toward the MOSFET's drain (the switched ground side).
Expert Warning: Never place the flyback diode across the MOSFET's drain and source. It must be placed directly across the inductive load (the fan) to clamp the voltage spike at the source of generation.
Ground Loops and USB Isolation Failures
When powering the Arduino via USB while simultaneously reading sensors and driving fans from a separate 12V ATX or Mean Well power supply, ground loops can corrupt your I2C sensors (like BME280 temperature/humidity modules) and cause the Arduino to randomly reset.
The Fix: Ensure that the 12V power supply's ground (0V) is tied directly to the Arduino's GND pin. The Arduino needs a common ground reference to read the 5V tachometer signal and to properly bias the MOSFET gate. However, if you are experiencing USB disconnects when the fans spin up (due to inrush current dragging down the 5V rail), power the Arduino via the barrel jack or VIN pin from a dedicated 7V-9V buck converter, isolating it from the PC's USB 5V rail.
Quick Diagnostic Matrix
Use this matrix to quickly identify the root cause of your arduino fan controller anomalies:
| Symptom | Probable Cause | Required Action |
|---|---|---|
| Audible high-pitched whine from fan motor | PWM frequency is 490Hz instead of 25kHz | Override Timer1 prescaler to achieve 31.3kHz |
| RPM reads 60,000+ or random spikes | Floating tachometer pin (missing pull-up) | Add 10kΩ external pull-up resistor to 5V |
| MOSFET gets too hot to touch | Using standard IRF520 with 5V logic | Replace with logic-level IRLZ44N or IRLB8721 |
| Fan stutters or fails to start at low PWM | PWM duty cycle below fan's start-up threshold | Implement a 100% duty cycle 'kickstart' for 500ms in code |
| Arduino resets when fans spin up | Voltage sag on 5V rail due to inrush current | Add 1000µF bulk capacitor on 12V rail; isolate Arduino power |
Conclusion
Designing a robust arduino fan controller requires respecting the electrical characteristics of inductive loads and the strict timing requirements of modern brushless DC motors. By enforcing a 25kHz PWM signal, properly biasing open-drain tachometers, selecting true logic-level MOSFETs, and clamping inductive spikes, you will transition your project from a noisy prototype to a reliable, silent thermal management system. For further reading on advanced fluid dynamic bearing fans and their specific PWM tolerances, consult the Noctua technical support library.