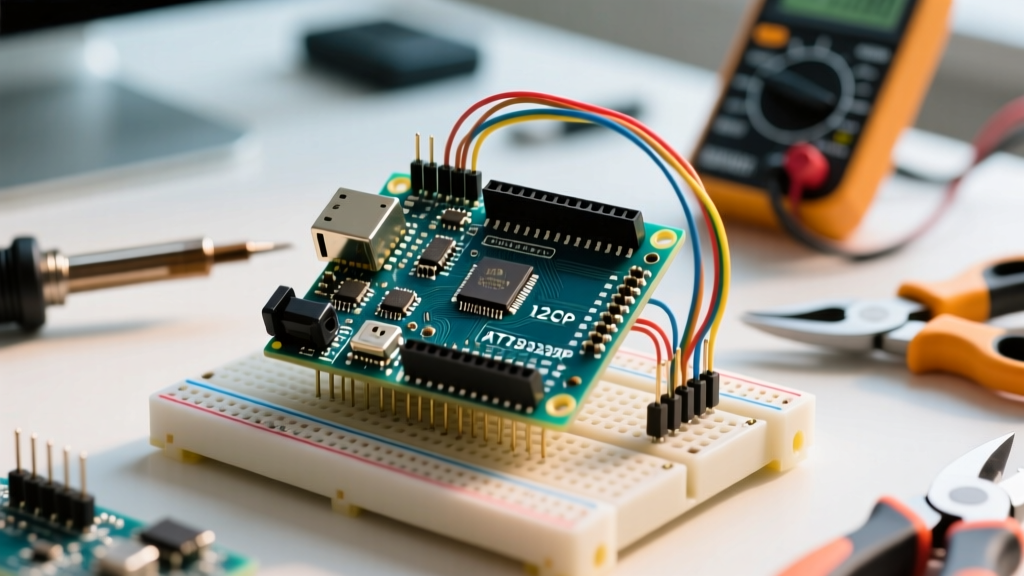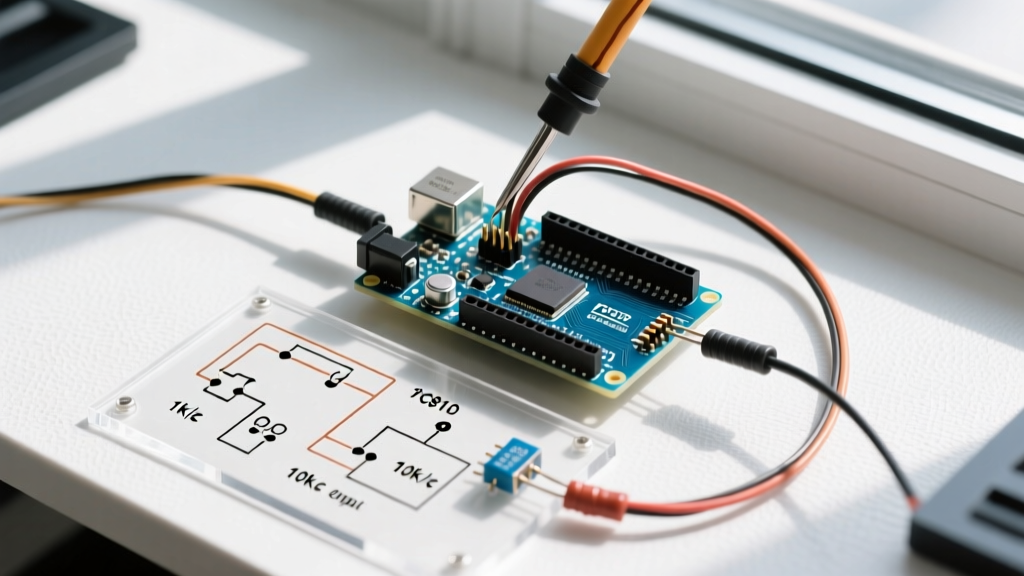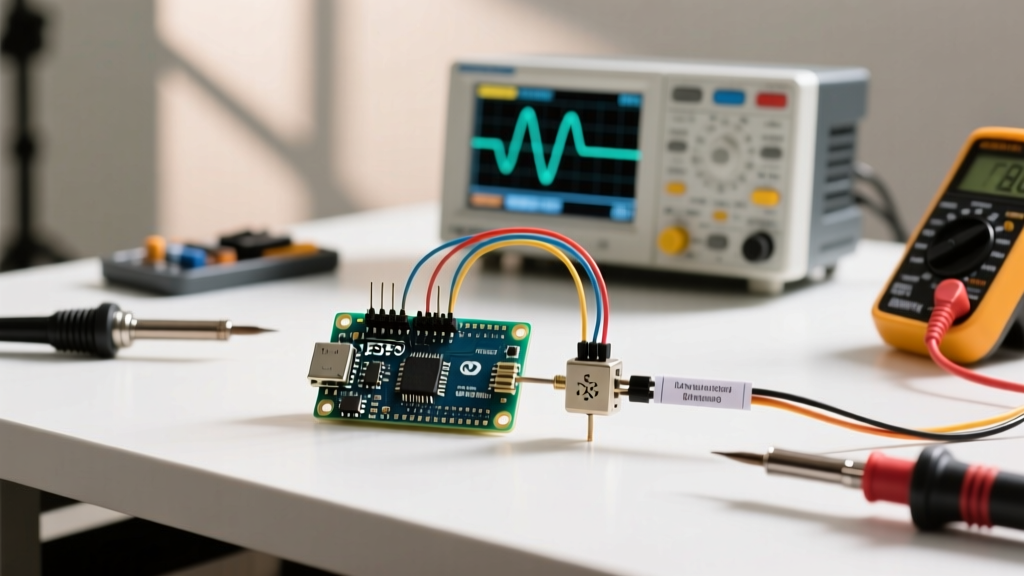

Microphone Arduino Troubleshooting: Fix Static, Noise, and No Signal
Integrating audio into microcontroller projects is notoriously unforgiving. Whether you are building a voice-activated relay, an FFT spectrum analyzer, or an environmental noise logger, audio signals are highly susceptible to interference, clock jitter, and impedance mismatches. When your microphone Arduino setup outputs a flatline, a wall of 60Hz hum, or clipped distortion, the root cause usually falls into one of three categories: analog grounding flaws, digital I2S/PDM clock misconfigurations, or ADC sampling bottlenecks.
This comprehensive troubleshooting guide dissects the most common failures across popular analog modules (MAX9814, KY-038) and digital MEMS microphones (INMP441, SPH0645LM4H), providing exact hardware fixes and software workarounds for 2026 maker setups.
1. Analog Microphone Failures: Hum, Hiss, and Clipping
Analog electret and amplified modules convert acoustic waves into continuous voltage variations. Because the signal amplitude is often in the millivolt range, any electromagnetic interference (EMI) or power rail noise will be amplified alongside the audio.
Issue A: 50Hz/60Hz Mains Hum and High-Frequency Hiss
If your serial plotter shows a thick, oscillating sine wave (hum) or a fuzzy, wide band of noise (hiss) even in a quiet room, you are dealing with power rail injection or ground loops.
- The Fix (Decoupling): Place a 10µF electrolytic capacitor in parallel with a 100nF (0.1µF) ceramic capacitor directly across the VCC and GND pins of the microphone module. The electrolytic handles low-frequency power droops, while the ceramic shorts high-frequency switching noise from the Arduino's voltage regulator to ground.
- The Fix (Star Grounding): Never daisy-chain ground connections. Run a dedicated ground wire from the microphone module's GND pin directly to the Arduino's GND pin, separate from the ground paths of motors, relays, or LED strips.
Pro-Tip: If you are using a switching power supply (like a generic 5V buck converter) to power your Arduino, the switching frequency (typically 50kHz–200kHz) will bleed into your analog audio. Always use a linear regulator (like an LM7805 or AMS1117-5.0) for analog audio projects to ensure a clean DC rail.
Issue B: Severe Clipping and Distortion on Loud Sounds
Clipping occurs when the audio signal exceeds the Arduino's ADC reference voltage (usually 5V or 3.3V), resulting in a flattened waveform and harsh digital distortion.
- MAX9814 Auto-Gain Control (AGC): The Adafruit MAX9814 (~$14.95) features a hardware AGC. If your audio is clipping, check the AGC pin. Tying it to GND sets the gain to 40dB, VCC sets it to 20dB, and leaving it floating defaults to 30dB. For loud environments, wire the AGC pin to VCC to enforce the 20dB minimum gain limit.
- KY-038 Trim Potentiometer: The cheap KY-038 modules (~$1.50) feature a blue trim potentiometer. Use a small flathead screwdriver to turn the pot counter-clockwise while monitoring the serial plotter until the baseline sits at roughly 512 (for 10-bit ADC) and peaks do not hit 0 or 1023.
Issue C: The "Flatline at 512" (No Signal)
If your ADC reads a constant ~512 (or 0) regardless of noise levels, the issue is usually a broken DC bias or incorrect analog reference.
- Verify the module has an amplifier. Raw electret capsules require a bias resistor and coupling capacitor; they will not output a readable signal directly to an Arduino analog pin.
- Check the
analogReference()setting in your sketch. If you accidentally set it toINTERNAL(1.1V on ATmega328P) but your microphone is biased at 2.5V, the ADC will instantly saturate and read a flat 1023.
2. Digital I2S & PDM Microphone Failures
Digital MEMS microphones bypass the ADC entirely, outputting a serial bitstream via I2S or PDM. While immune to analog noise, they introduce strict timing and synchronization challenges.
Issue A: I2S Channel Swap and Bit-Shifting (INMP441)
The INMP441 (~$3.50) is a highly popular I2S MEMS microphone. A frequent error is receiving audio data only on the "wrong" stereo channel, or reading complete silence.
- The L/R Pin Logic: The L/R (Channel Select) pin dictates when the microphone outputs data relative to the Word Select (WS) clock.
- Tie L/R to GND: Microphone outputs data on the Left channel (when WS is LOW).
- Tie L/R to 3.3V: Microphone outputs data on the Right channel (when WS is HIGH).
- Voltage Warning: The INMP441 is strictly a 3.3V device. Connecting its VDD to a 5V Arduino pin will destroy the internal MEMS element instantly.
Issue B: The SPH0645LM4H LSB Bit-Shift Bug
If you are using the SPH0645LM4H module with an ESP32, you may notice a harsh, metallic ringing in the audio playback. According to Adafruit's I2S MEMS Microphone guide, early hardware revisions of the SPH0645 exhibit a timing quirk where the data is shifted left by one bit, corrupting the Least Significant Bit (LSB) and effectively halving the resolution.
The Software Fix: In your audio processing loop, apply a bitwise right-shift to the incoming 32-bit integer buffer before casting to 16-bit PCM:
int32_t raw_sample = i2s_buffer[i];
int16_t corrected_sample = (int16_t)(raw_sample >> 9); // Shift right to align 24-bit data and drop corrupted LSB
3. Software Bottlenecks: Aliasing and Jitter
Even with perfect hardware, poor software sampling will ruin your audio. According to the official Arduino analogRead() documentation, a standard analogRead() call on an ATmega328P takes approximately 100 microseconds. This hard-limits your maximum sampling rate to roughly 9,600 Hz, which is barely enough for narrowband voice and entirely insufficient for music or FFT analysis.
Fixing the ADC Prescaler for High-Speed Sampling
To achieve 22kHz or 44.1kHz sample rates on a 16MHz Arduino Uno, you must manually adjust the ADC prescaler bits in the ADCSRA register. By dropping the prescaler from 128 to 16, you increase the ADC clock to 1MHz, reducing conversion time to ~13µs.
void setup() {
  // Set ADC prescaler to 16 (16MHz / 16 = 1MHz ADC clock)
  // Clear ADPS2, ADPS1, ADPS0 bits, then set ADPS2
  ADCSRA = (ADCSRA & 0xF8) | (1 << ADPS2);
  Serial.begin(115200);
}
Note: Running the ADC at 1MHz reduces the effective resolution from 10 bits to roughly 8 bits due to internal capacitor charging limits, but this is an acceptable trade-off for high-frequency audio sampling.
Microphone Module Comparison Matrix
Selecting the right sensor prevents 90% of troubleshooting headaches. Below is a 2026 comparison of the most common maker microphone modules.
| Module / IC | Interface | Signal-to-Noise (SNR) | Approx. Price (2026) | Best Application |
|---|---|---|---|---|
| MAX9814 | Analog (Amplified) | 64 dB | $14.50 - $16.00 | AGC voice recording, loud environments |
| KY-038 / LM393 | Analog / Digital | ~45 dB (Poor) | $1.00 - $2.00 | Clap switches, envelope threshold triggers |
| INMP441 | Digital (I2S) | 61 dB | $3.00 - $4.50 | ESP32 Wi-Fi streaming, high-fidelity FFT |
| SPH0645LM4H | Digital (I2S) | 65.5 dB | $5.00 - $7.00 | Wide frequency response, acoustic sensors |
| MP34DT06JTR (Nano 33 BLE) | Digital (PDM) | 66 dB | $42.00 (Integrated Board) | Edge AI, TinyML keyword spotting |
Diagnostic Quick-Check Flowchart
Use this rapid diagnostic sequence when your microphone Arduino project fails to register audio:
- Verify Power Rails: Use a multimeter to check VCC at the module pins. Analog modules need 5V (or 3.3V if specified); I2S MEMS modules strictly require 3.3V.
- Check the Baseline: Read the raw ADC or I2S buffer in silence.
- Analog 10-bit: Should hover around 512 ± 10.
- Analog 12-bit: Should hover around 2048 ± 40.
- I2S 32-bit: Should hover around 0 (if DC-biased digitally) or a stable low integer.
- Inject a Test Tone: Play a 1kHz sine wave from a smartphone speaker at a distance of 10cm. If the serial plotter shows no periodic wave, your hardware bias or I2S clock (BCLK/WS) wiring is inverted or disconnected.
- Isolate the Ground: If the 1kHz tone is visible but buried in a thick fuzzy band, disconnect all USB peripherals, motors, and relays. Power the Arduino via a clean linear battery bank to rule out PC USB ground loops.
For deeper hardware integration details, always consult Adafruit's MAX9814 Hookup Guide or your specific microcontroller's datasheet regarding I2S peripheral clock tree configurations. Audio troubleshooting is a process of elimination; by isolating the power, the clock, and the code, you can reliably extract clean acoustic data from even the noisiest maker environments.