
The Anatomy of an Arduino Serial Input Failure
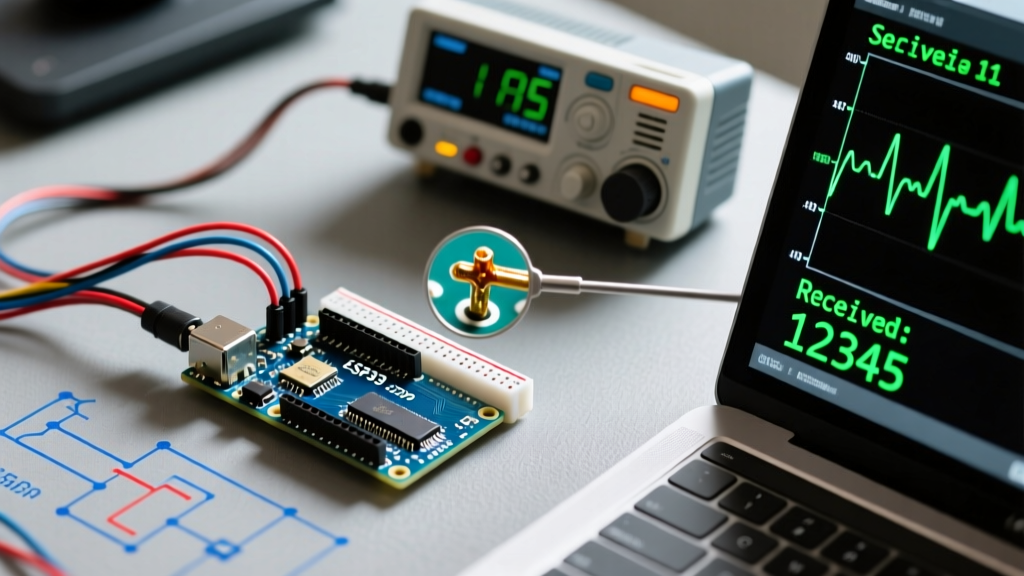
Serial communication remains the foundational protocol for microcontroller debugging, sensor integration, and peripheral control. However, when your sketch fails to parse incoming data, hangs indefinitely, or outputs garbled characters to the Serial Monitor, the root cause is rarely obvious. Diagnosing arduino serial input errors requires a systematic teardown of both the physical hardware layer and the logical software layer.
In 2026, the maker ecosystem features a fragmented mix of legacy 5V AVR boards (like the classic Uno R3) and modern 3.3V ARM/ESP32 architectures (like the Uno R4 Minima and Nano ESP32). This hardware diversity introduces complex edge cases regarding logic levels, USB-CDC virtualization, and clock drift. This guide provides a deep-dive diagnostic framework to isolate and resolve serial input failures.
Hardware & Wiring Faults: The Physical Layer
Before blaming your C++ code, you must verify the physical integrity of the UART (Universal Asynchronous Receiver-Transmitter) signal. Garbled input is most frequently a symptom of physical layer degradation.
1. Logic Level Mismatches (The 3.3V vs 5V Trap)
Connecting a 5V TX line from a legacy sensor or an older Arduino Uno directly into the RX pin of a 3.3V board (such as the Arduino Nano ESP32 or Teensy 4.1) is a critical error. While some modern MCUs feature 5V-tolerant pins, the ESP32-S3 on the Nano ESP32 is strictly 3.3V. Overvoltage on the RX pin will cause floating input errors, phantom triggers, or permanent silicon damage.
- Diagnostic Check: Use a multimeter to verify the idle state voltage of the TX line. It should match the VCC of the receiving MCU.
- Solution: Implement a bidirectional logic level converter (e.g., a Texas Instruments SN74AVCH4T245-based module, typically costing around $2.50 to $3.95). Avoid simple resistor voltage dividers for high-speed serial (>38400 baud), as parasitic capacitance will round the square wave edges, causing framing errors.
2. USB-CDC vs. Hardware UART Confusion
A massive source of diagnostic confusion stems from the difference between hardware UART and native USB-CDC (Communication Device Class).
- Hardware UART (Uno R3, Mega2560): The
Serialobject maps directly to physical pins 0 (RX) and 1 (TX). Data is handled by the ATmega16U2 USB-to-Serial bridge chip. - Native USB-CDC (Leonardo, Micro, Uno R4 Minima, Nano ESP32): The
Serialobject maps to the virtual USB port. Physical pins 0 and 1 are actually mapped toSerial1. If you wire a GPS module to pins 0/1 on a Uno R4 Minima but writeSerial.read()in your sketch, you will receive zero input because you are listening to the USB cable, not the hardware pins.
Baud Rate Mismatch & Clock Drift Matrix
Garbled characters (e.g., receiving ÿ or ??? instead of readable text) almost always indicate a baud rate mismatch or excessive clock drift. UART relies on both devices agreeing on the exact timing of each bit. According to Texas Instruments application notes on UART design, a combined timing error exceeding 4.5% between transmitter and receiver will result in framing errors and corrupted bytes.
The classic ATmega328P running at 16MHz cannot perfectly divide its clock for all standard baud rates. Here is the diagnostic matrix for hardware UART on a 16MHz AVR:
| Target Baud Rate | Actual Baud Rate (16MHz) | Error Margin | Symptom / Diagnostic Result |
|---|---|---|---|
| 9600 | 9615 | +0.16% | Flawless. Recommended for long wire runs. |
| 38400 | 38461 | +0.16% | Flawless. Excellent balance of speed and reliability. |
| 57600 | 58823 | +2.12% | Generally stable, but may drop packets on noisy lines. |
| 115200 | 111111 | -3.55% | High risk of framing errors. Often results in garbled input if cable capacitance is high. |
Expert Fix: If you require 115200 baud with zero drift on an AVR, switch to a board with a 20MHz crystal (where 115200 has a 0% error) or migrate to an ARM-based MCU like the Arduino Zero, which uses a fractional baud rate generator for perfect timing.
Diagnosing Software & Buffer Errors: The Logical Layer
If your hardware is sound and your baud rates match, the failure lies in how your sketch manages the serial buffer. The official Arduino Serial Reference outlines the core functions, but misusing them is the primary cause of dropped data and frozen loops.
The 64-Byte Hardware Buffer Limit
On standard AVR boards, the hardware RX buffer is strictly 64 bytes. If your incoming data stream sends 100 bytes, and your loop() contains a delay(1000) or blocking sensor reads, the buffer will overflow. The 65th byte is silently discarded.
Diagnostic Rule of Thumb: Never use
delay()in a sketch that relies on continuous serial input. Implement non-blocking timing usingmillis()to ensureSerial.read()is called frequently enough to drain the buffer.
The Blocking Trap: readString() vs. readBytesUntil()
Using Serial.readString() is a common beginner mistake. This function blocks the main thread until the serial timeout expires (default 1000ms). If you are sending rapid-fire commands, your sketch will feel sluggish and unresponsive.
Furthermore, string parsing often fails due to hidden delimiter characters. When you type 'ON' in the Arduino IDE Serial Monitor and hit Enter, the IDE actually sends ON\r\n (Carriage Return + Line Feed) or just ON\n, depending on your dropdown settings.
If your code checks if (input == "ON"), it will fail because the variable actually holds "ON\r\n".
The Robust Solution: Use Serial.readBytesUntil() with explicit trimming.
char buffer[32];
int bytesRead = Serial.readBytesUntil('\n', buffer, sizeof(buffer) - 1);
if (bytesRead > 0) {
    buffer[bytesRead] = '\0'; // Null-terminate
    // Strip trailing carriage returns
    if (buffer[bytesRead - 1] == '\r') {
        buffer[bytesRead - 1] = '\0';
    }
    if (strcmp(buffer, "ON") == 0) {
        // Execute command
    }
}
Step-by-Step Diagnostic Flowchart
When faced with a complete failure of arduino serial input, follow this isolation sequence to identify the fault domain:
- The Loopback Test: Disconnect all external wiring. Connect a jumper wire directly from the TX pin to the RX pin on the MCU. Open the Serial Monitor and type characters. If they echo back perfectly, your hardware UART and USB bridge are functional. The fault is in your external wiring or peripheral.
- Verify the Ground Reference: A surprisingly common error is forgetting to connect the GND pin between the Arduino and the external UART device (like a Raspberry Pi or a GSM module). Without a common ground, the RX pin floats, picking up EMI and generating garbage data.
- Check DTR/RTS Auto-Reset: On native USB boards, opening the Serial Monitor toggles the DTR line, which resets the MCU. If your script opens and closes the serial port rapidly (e.g., a Python logging script), it will continuously reboot the Arduino, preventing it from ever processing input. Disable auto-reset by placing a 10µF capacitor between RESET and GND (for Uno R3) or using software flags to ignore DTR.
- Logic Analyzer Verification: If the loopback test fails or external data is still garbled, connect a $15 USB logic analyzer (like a Saleae clone) to the RX pin. Use PulseView or Sigrok to decode the UART signal. This will visually confirm if the baud rate matches and if the start/stop bits are framing correctly.
Advanced Edge Case: SoftwareSerial Limitations
If you are using the SoftwareSerial library to create a secondary serial port on digital pins, be aware of its severe limitations. SoftwareSerial disables interrupts while listening for incoming bits. This means it cannot transmit and receive simultaneously, and it will block PWM outputs and interrupt-driven sensors (like rotary encoders) while receiving data. For reliable multi-port serial input in 2026, always select an MCU with multiple hardware UARTs (like the Arduino Mega2560, which has 4 hardware UARTs, or the Teensy 4.1 with 8).
Frequently Asked Questions
Why does my Arduino serial input work in the IDE but fail in Python?
Python's pyserial library often opens the port with different default parity, stop bits, or flow control settings than the Arduino IDE. Ensure your Python script explicitly sets parity=serial.PARITY_NONE and stopbits=serial.STOPBITS_ONE. Additionally, Python may buffer the input line; use ser.flushInput() after opening the port to clear stale data.
How do I prevent Serial.parseInt() from returning 0 on text input?
Serial.parseInt() skips leading non-numeric characters and stops at the first non-numeric character. If it times out before finding a number, it returns 0. To diagnose this, ensure your sender is appending a delimiter (like a newline) and use Serial.setTimeout() to reduce the blocking wait time from the default 1000ms to 10ms for faster loop execution.
Can long wires cause serial input drops?
Yes. Standard UART is not a differential signaling protocol like RS-485. Running 5V TTL serial over wires longer than 2 feet (60cm) invites capacitive loading and electromagnetic interference, rounding the sharp edges of the digital signal. For long-distance serial input, use an RS-485 transceiver module (e.g., MAX485), which allows reliable communication over thousands of feet.
For further reading on foundational serial protocols and hardware wiring, refer to the comprehensive SparkFun Serial Communication Tutorial, which covers the electrical engineering principles underlying UART framing and timing.