
The Anatomy of Encoder Jitter and Erratic Counts
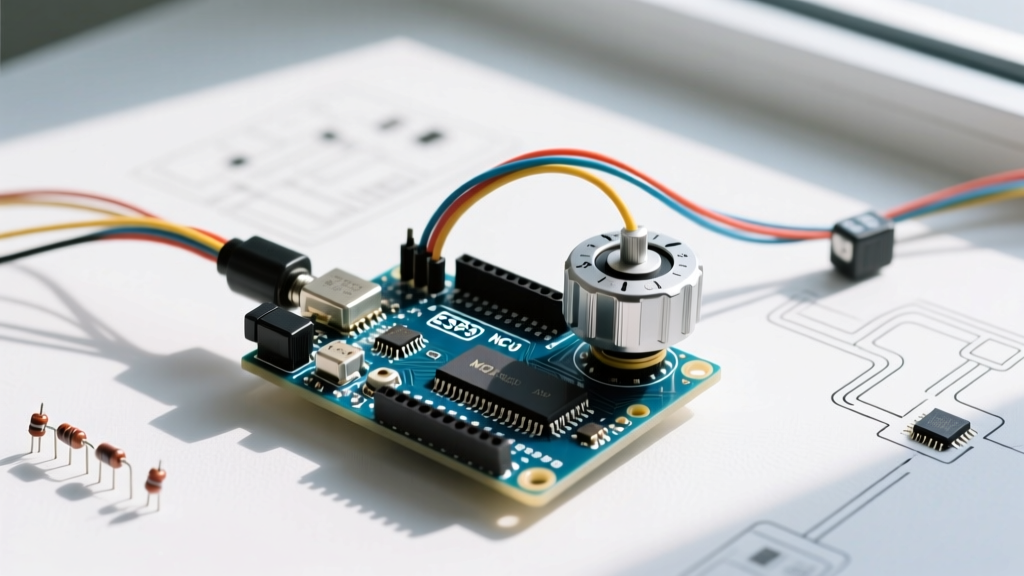
There are few things more frustrating in embedded systems design than building a precision menu interface or a digital volume knob, only to have your Arduino rotary encoder jump from a value of 10 to 42, and then immediately back down to 5. This phenomenon—commonly known as jitter, skipping, or contact bounce—is the bane of makers working with quadrature encoders.
When you rotate the shaft of a mechanical encoder, internal carbon or metal contacts slide across a segmented stator to generate two out-of-phase square waves (Channel A and Channel B, often labeled CLK and DT on hobbyist modules). Ideally, these signals transition cleanly between HIGH and LOW. In reality, mechanical contacts physically bounce against the stator for microseconds before settling, generating dozens of false electrical pulses that your microcontroller dutifully counts as rapid rotations.
This troubleshooting guide dissects the root causes of Arduino rotary encoder failures, moving from physical layer hardware fixes to advanced software state-machine implementations, ensuring your projects respond with buttery-smooth precision in 2026 and beyond.
Hardware Diagnostics: Fixing the Physical Layer
Before blaming your C++ code, you must eliminate electrical noise and signal degradation. Over 80% of encoder jitter issues originate in the hardware wiring and passive component selection.
1. The Pull-Up Resistor Fallacy
Most generic KY-040 encoder modules include 10kΩ surface-mount pull-up resistors on the CLK and DT lines. While this allows you to use standard INPUT pin modes on your Arduino, 10kΩ is often too weak to quickly pull the line HIGH in electrically noisy environments, especially when running long wires (over 6 inches) or operating near DC motors and switching power supplies.
- The Fix: Bypass the module's onboard pull-ups (if possible) or configure your Arduino pins using
INPUT_PULLUP. The internal pull-ups on an ATmega328P are typically around 30kΩ to 50kΩ, which is actually worse for noise immunity. - Best Practice: Solder external 4.7kΩ resistors between the CLK/DT pins and your 5V (or 3.3V for ESP32) rail. This provides a much stiffer, faster-rising edge that is highly resistant to electromagnetic interference (EMI).
2. Implementing an RC Low-Pass Filter (Capacitive Debounce)
If your Arduino is reading dozens of phantom ticks per detent, hardware debouncing via an RC (Resistor-Capacitor) network is the most reliable solution. By placing a ceramic capacitor across the signal line and ground, you create a low-pass filter that absorbs the high-frequency microsecond bounces while letting the actual rotational pulses pass through.
Pro-Tip: Do not use electrolytic capacitors for debouncing. Their equivalent series resistance (ESR) and inductance make them unsuitable for high-frequency digital filtering. Always use multilayer ceramic capacitors (MLCC).
The Math: The cutoff frequency of an RC filter is calculated as f_c = 1 / (2 * π * R * C). If you use a 10kΩ pull-up resistor and a 0.1µF (100nF) ceramic capacitor, your time constant (τ) is 1 millisecond. This perfectly filters out the typical 50µs to 200µs mechanical bounce of a cheap switch without introducing noticeable latency to the user's rotation input. Solder the 0.1µF capacitors directly between the CLK/GND and DT/GND pins on the microcontroller side of the circuit.
3. Wiring and Grounding Topologies
Daisy-chaining ground wires across a breadboard introduces ground loops and voltage sag. When an encoder shares a ground rail with a high-current component like a stepper motor driver (e.g., A4988 or TMC2209), the ground potential can fluctuate, causing the Arduino to misread the encoder's LOW state.
Actionable Fix: Route a dedicated ground wire directly from the encoder module's GND pin to the Arduino's GND pin, utilizing a star-ground topology. Keep CLK and DT signal wires physically separated from motor power cables by at least 2 inches to prevent capacitive crosstalk.
Software Diagnostics: Interrupts vs. Polling
If your hardware is pristine but the count still drifts, your software architecture is likely the bottleneck. Reading encoder states inside the main loop() using digitalRead() is a recipe for disaster.
The Problem with Polling
If your main loop takes 5 milliseconds to execute (perhaps due to a blocking delay(), an LCD screen refresh, or a sensor read), any encoder transition that occurs and resolves within that 5ms window will be completely missed. Furthermore, if you poll only on a HIGH or LOW state rather than the transition, you will inevitably count the same detent multiple times.
The Solution: Hardware Interrupts
Hardware interrupts pause the main program execution the exact microsecond a pin changes state, guaranteeing no pulses are missed. According to the official Arduino Interrupt Reference, you must use the attachInterrupt() function with the CHANGE mode to capture both rising and falling edges of the quadrature signal.
However, writing a raw interrupt service routine (ISR) that correctly decodes quadrature phase shifts using XOR logic is prone to edge-case bugs. Instead, leverage highly optimized, community-tested libraries.
Library Comparison: Stoffregen vs. Hertel
When troubleshooting software, the choice of library dictates your success. Here is how the two industry-standard libraries compare for fixing jitter:
| Library | Author | Methodology | Best Use Case | Jitter Handling |
|---|---|---|---|---|
| Encoder | Paul Stoffregen | Direct port manipulation via interrupts | High-RPM motor control, robotics | Excellent. Ignores invalid state transitions. |
| RotaryEncoder | Matthias Hertel | Finite State Machine (FSM) | UI menus, volume knobs, low-speed inputs | Superior. Requires valid state sequences to register a step. |
For UI navigation and menu systems where a single skipped or doubled tick ruins the user experience, Matthias Hertel's state-machine approach is vastly superior. It maps the 4-bit history of the CLK and DT pins to a lookup table, ensuring that only mathematically valid quadrature sequences result in a count increment. You can find Stoffregen's implementation and detailed pin-mapping charts on the Encoder GitHub Repository.
Component Selection: Upgrading from the KY-040
If you have applied RC filters, external pull-ups, and state-machine libraries, but your encoder still behaves erratically, the fault lies with the physical component itself. The ubiquitous KY-040 module (often sold in 5-packs for under $4) uses low-tolerance carbon contacts that degrade rapidly. For professional or long-lasting maker projects, consider upgrading your hardware.
| Encoder Model | Technology | Avg. Price (2026) | Resolution | Lifespan & Jitter Profile |
|---|---|---|---|---|
| Generic KY-040 | Mechanical (Carbon) | $0.50 | 20 PPR (Detents) | Low lifespan. High jitter. Requires heavy software/hardware debouncing. |
| Bourns PEC11R | Mechanical (Metalized) | $3.50 - $4.50 | 24 PPR | 30,000 cycles. Crisp detents. Minimal bounce with basic RC filtering. |
| CUI Devices AMT103 | Capacitive (Optical alternative) | $22.00 - $26.00 | 2048 PPR | Infinite mechanical life. Zero contact bounce. Requires 5V logic level shifting for 3.3V MCUs. |
As noted in SparkFun's comprehensive encoder hookup guide, transitioning to a capacitive encoder like the AMT103 completely eliminates mechanical bounce because there are no physical contacts rubbing together. The sensor reads changes in capacitance through a patterned rotor, outputting pristine, perfectly clean square waves that require zero debouncing in software or hardware.
Step-by-Step Diagnostic Flowchart
When faced with a malfunctioning Arduino rotary encoder, follow this exact diagnostic sequence to isolate the failure mode:
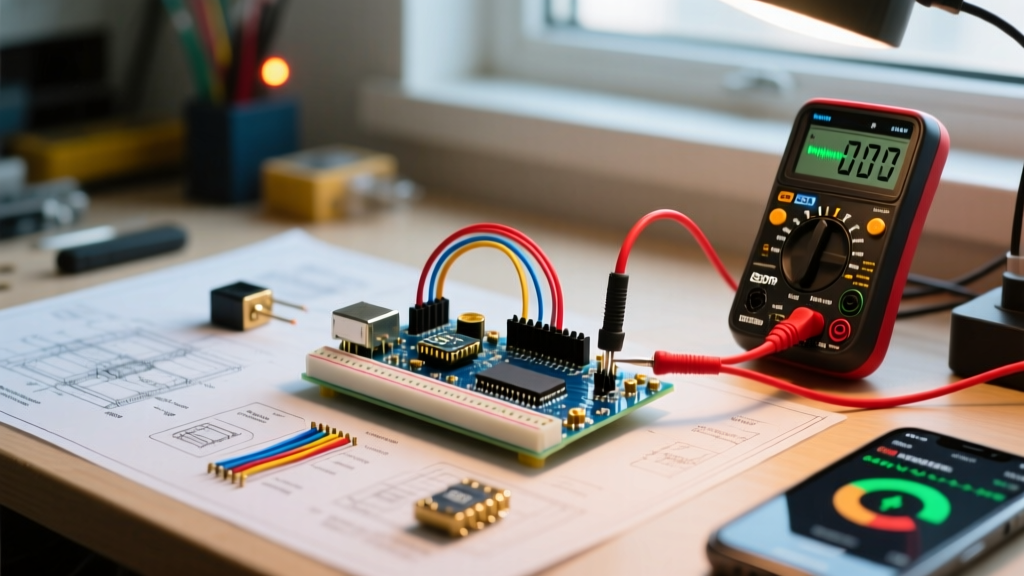
- Verify Voltage Levels: Use a multimeter to ensure the VCC pin on the encoder is receiving a stable 5.0V (or 3.3V). A drop below 4.5V on the 5V rail will cause the ATmega328P's logic thresholds to misinterpret the signals.
- Test with an Oscilloscope or Logic Analyzer: If you have access to a $12 USB logic analyzer (like the Saleae clone), capture the CLK and DT lines while rotating the shaft slowly. Look for the 'stair-step' bounce patterns on the edges.
- Apply the RC Filter: Solder 10kΩ pull-ups and 0.1µF capacitors. Retest with the logic analyzer. The edges should now appear slightly rounded but completely free of high-frequency chatter.
- Implement the State Machine: Flash the microcontroller with Hertel's
RotaryEncoderlibrary example sketch. Ensure theDIR_CWandDIR_CCWconstants map correctly to your physical rotation direction. If the direction is inverted, simply swap the CLK and DT pins in your code or on the breadboard. - Isolate EMI Sources: If jitter only appears when a relay clicks or a motor spins, you have an EMI injection issue. Add ferrite beads to the encoder wires or switch to shielded twisted-pair (STP) cabling for the signal lines.
Final Thoughts on Precision Inputs
Troubleshooting an Arduino rotary encoder is rarely about finding a single 'magic line of code.' It requires a holistic approach that respects both the laws of physics governing mechanical contacts and the real-time execution constraints of microcontrollers. By stiffening your pull-up resistors, filtering out microsecond bounce with ceramic capacitors, and delegating quadrature decoding to finite state machines, you can transform a frustrating, jittery dial into a precision input device worthy of commercial-grade electronics.