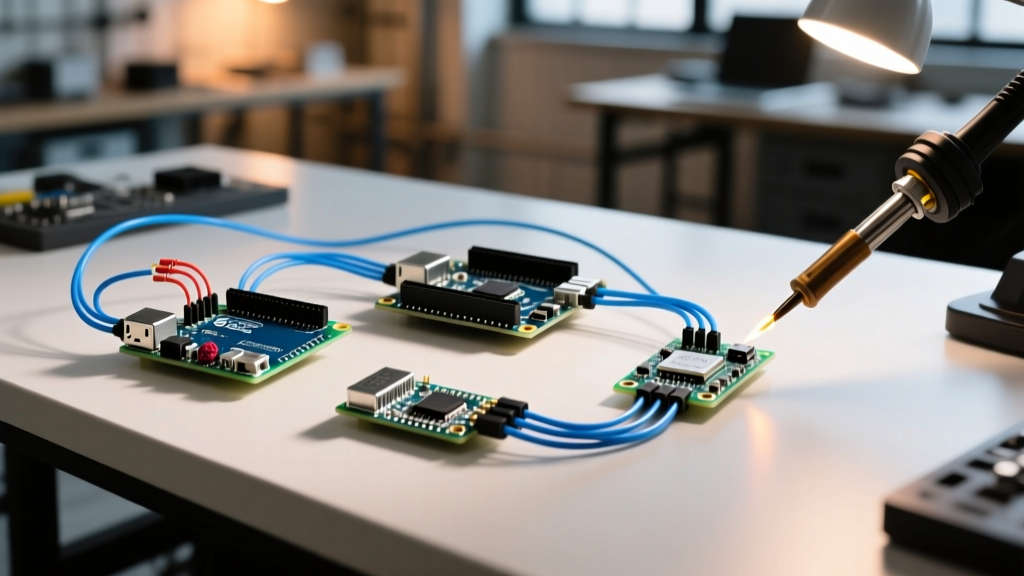

The Core Dilemma: Outgrowing the 8-Bit and 32-Bit MCU
Every maker eventually hits a hardware ceiling. Whether you are maxing out the 256KB flash on an Arduino Uno R4 WiFi or exhausting the SRAM on a classic ATmega328P, the need for more compute, memory, or networking inevitably triggers an Arduino Raspberry ecosystem migration. As of 2026, the migration path generally splits into two distinct directions: upgrading to a Raspberry Pi Pico 2 (RP2350) for advanced bare-metal microcontroller tasks, or migrating to a full Raspberry Pi 5 Single Board Computer (SBC) for Linux-based edge computing.
This guide provides a comprehensive, engineer-level framework for migrating your hardware, translating your logic levels, and porting your firmware to modern environments. According to the official Arduino hardware documentation, understanding the boundary between microcontrollers and microprocessors is the first step in avoiding catastrophic hardware failures during migration.
Hardware Comparison Matrix: Choosing Your Upgrade Path
Before rewriting a single line of code, you must select the correct target hardware. The table below contrasts the standard 2026 upgrade targets against the legacy Arduino baseline.
| Feature | Arduino Uno R4 WiFi | Raspberry Pi Pico 2 W (RP2350) | Raspberry Pi 5 (8GB SBC) |
|---|---|---|---|
| Primary Role | Baseline MCU / IoT Node | Advanced MCU / RTOS / DSP | Linux Edge Computer / Gateway |
| Processor Core | Arm Cortex-M4 (Renesas RA4M1) | Dual Arm Cortex-M33 @ 150MHz | Quad Arm Cortex-A76 @ 2.4GHz |
| RAM / Flash | 32KB SRAM / 256KB Flash | 520KB SRAM / 4MB Flash | 8GB LPDDR4X / MicroSD (TB scale) |
| I/O Logic Level | 5V (Tolerant) | 3.3V (Strict) | 3.3V (Strict) |
| Real-Time Jitter | Microsecond precision | Nanosecond precision (PIO) | Millisecond variance (Linux OS) |
| Approx. 2026 Price | $27.50 USD | $7.00 USD | $80.00 USD |
Scenario 1: The MCU-to-MCU Upgrade (Migrating to Pico 2)
If your project requires hard real-time control, low power consumption, or custom communication protocols, migrating to the Raspberry Pi Pico 2 is the correct choice. The RP2350 chip introduces enhanced security features and a more robust Programmable I/O (PIO) subsystem compared to the older RP2040.
Translating Arduino Sketches to the Pico Environment
You can continue using the Arduino IDE 2.x by installing the Arduino-Pico core by Earle Philhower. However, to truly leverage the Pico 2, migrating to MicroPython or C/C++ via the Pico SDK is recommended. The Raspberry Pi Microcontroller documentation heavily emphasizes the use of PIO for offloading timing-critical tasks from the main CPU cores.
- Timing Functions: Replace
delay()withsleep_ms()in MicroPython, or utilize hardware timers in C++ to prevent blocking the secondary core. - Analog Read: The Pico 2 features a 12-bit ADC (0-4095) compared to the Uno R4's 14-bit ADC. You must scale your sensor mapping algorithms accordingly to avoid data truncation.
- PWM Generation: The Pico's PWM hardware is vastly superior. Instead of software-based
analogWrite(), configure the hardware PWM slices for true zero-jitter motor control.
Scenario 2: The MCU-to-Linux Migration (Raspberry Pi 5 SBC)
When your project demands computer vision, heavy cryptographic operations, database logging, or a full web server, you must migrate to a Raspberry Pi SBC. This is not just a hardware swap; it is a fundamental shift from bare-metal firmware to a multitasking operating system.
Software Porting: C++ to Python
Most makers migrating to a Pi SBC transition from Arduino C++ to Python using the gpiozero library. Below is a direct translation of a basic sensor polling loop.
// Legacy Arduino C++ Sketch
const int sensorPin = A0;
void setup() {
  Serial.begin(115200);
}
void loop() {
  int val = analogRead(sensorPin);
  Serial.println(val);
  delay(500);
}
# Modern Raspberry Pi Python (using gpiozero & MCP3008 ADC)
from gpiozero import MCP3008
from time import sleep
# Pi lacks native ADC; requires external SPI ADC like MCP3008
sensor = MCP3008(channel=0)
while True:
# gpiozero returns a float between 0.0 and 1.0
voltage = sensor.value * 3.3
print(f"Sensor Voltage: {voltage:.2f}V")
sleep(0.5)The Real-Time Latency Trap
Expert Warning: Linux is not a Real-Time Operating System (RTOS). If your Arduino sketch relied on micros() to bit-bang a protocol like WS2812B (NeoPixels) or to read high-speed rotary encoders, moving this logic to a Raspberry Pi 5 will result in catastrophic timing jitter. The OS scheduler will interrupt your Python script to handle background network or USB tasks, corrupting the data stream. Always offload microsecond-critical tasks to a secondary Pico or an Arduino via UART/SPI.
Hardware Integration: The 5V to 3.3V Logic Level Crisis
The most common failure mode during an Arduino Raspberry Pi migration is frying the Pi's GPIO pins. Standard Arduinos operate at 5V logic. Raspberry Pis (both Pico and SBC) operate at strict 3.3V logic. Feeding a 5V signal into a Pi GPIO pin will destroy the silicon.
Implementing Bidirectional Logic Level Shifters
Do not rely on simple resistor voltage dividers for high-speed buses like SPI or I2C; the RC time constant will round off your square waves, causing data corruption at speeds above 100kHz. Instead, use dedicated MOSFET-based level shifters.
- For I2C and UART (Low Speed): Use a BSS138 N-channel MOSFET breakout board. Wire the
LVside to the Pi's 3.3V pin, and theHVside to the Arduino's 5V pin. Connect the grounds together. - For SPI and High-Speed Data: Use an active IC like the Texas Instruments TXS0108E or Nexperia NXS0108E. These ICs feature edge-rate accelerators that maintain sharp signal transitions up to 50Mbps. As noted in Adafruit's comprehensive level-shifting guide, ensuring proper decoupling capacitors (100nF) on both voltage rails is critical to prevent transient voltage spikes.
The I2C Pull-Up Resistor Hazard
Arduino boards often have 10kΩ or 4.7kΩ pull-up resistors wired directly to the 5V rail on the A4/A5 pins. If you connect an I2C bus directly to a Pi (even through some basic shifters), the 5V pull-ups can backfeed current into the Pi's 3.3V regulator. Actionable Fix: Physically remove the 5V pull-up resistors from the Arduino side, and rely solely on 2.2kΩ pull-ups tied to the 3.3V rail on the Raspberry Pi side for optimal 400kHz Fast-Mode I2C performance.
Real-World Edge Cases & Failure Modes
When migrating from an MCU to an SBC, you must engineer around the inherent flaws of embedded Linux.
- SD Card Corruption: Arduinos can be power-cycled instantly without damage. A Raspberry Pi writing to a FAT32/ext4 filesystem will corrupt the SD card if power is cut during a write cycle. Solution: Implement a read-only root filesystem and use
log2ramto buffer logs in RAM, syncing to disk only during graceful shutdowns. - Boot Time Latency: An Arduino executes code roughly 1 second after power is applied. A Raspberry Pi 5 running a full desktop OS can take 15 to 30 seconds to boot and initialize GPIO daemons. Solution: If your system requires instant-on safety interlocks, keep an Arduino Uno as a "watchdog" supervisor that holds the Pi in reset via a GPIO pin until the Pi's OS has fully booted and pinged the Arduino over UART.
- USB Power Surges: Migrating 5V sensors that previously drew power from the Arduino's 5V pin to the Pi's GPIO header can trigger the Pi's polyfuse. The Pi's 3.3V GPIO pins can only safely source a combined total of ~50mA. Always use external buck converters (like the LM2596) to power 5V sensor arrays, sharing only the ground and data lines with the Pi.
Expert Verdict: Structuring Your 2026 Architecture
The most robust industrial and advanced maker projects in 2026 do not choose between Arduino and Raspberry Pi; they combine them. The optimal architecture utilizes a Raspberry Pi 5 as the central brain—handling MQTT brokering, local databases, and machine learning inference—while delegating a cluster of Raspberry Pi Pico 2s or Arduino Nano ESP32s to handle the dirty work of motor control, analog sensor polling, and real-time safety interlocks. By mastering the logic-level translation and understanding the software boundaries between RTOS and Linux, your migration will result in a vastly superior, production-ready system.