
The Evolution of Making on ChromeOS
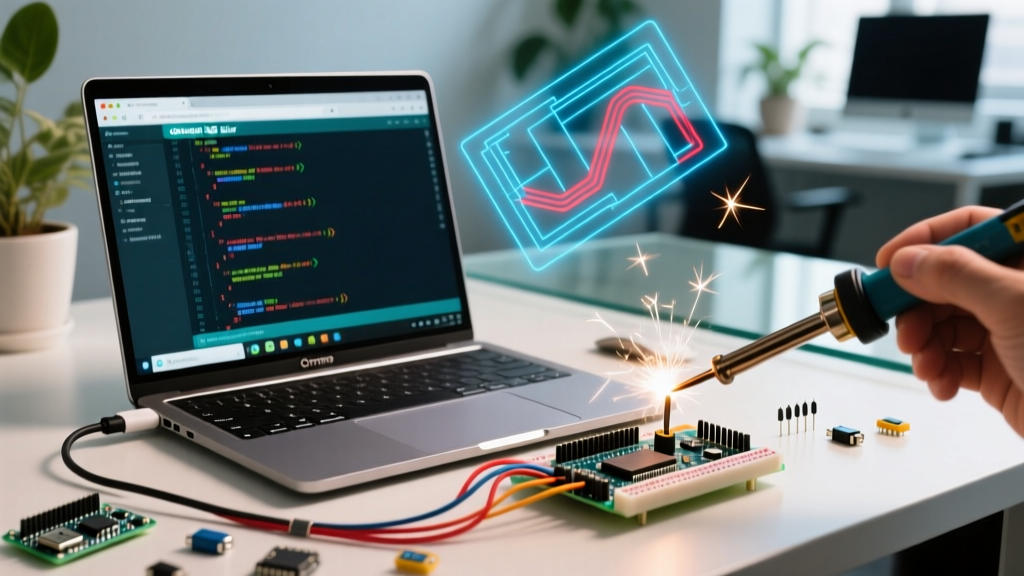
For years, makers and students faced a frustrating paradox: Chromebooks are affordable, portable, and secure, but they were notoriously hostile to local hardware development. If you wanted to run an Arduino on Chromebook, you were largely restricted to cloud-based workarounds or complex dual-boot hacks. Today, the landscape has completely shifted. With the maturation of Crostini (the Linux development environment on ChromeOS) and the robust Arduino Cloud ecosystem, configuring your device for seamless microcontroller programming is easier than ever.
However, 'easier' does not mean 'automatic.' The most common failure modes in 2026 still revolve around USB serial passthrough, Linux container permissions, and clone board driver recognition. This configuration guide will walk you through the two primary methods for getting your sketches uploaded, with a heavy emphasis on solving the deep-level Linux permission errors that trap most beginners.
Method 1: Arduino Cloud Web Editor (The Quick Path)
If you are working with standard Arduino boards (like the Uno R4 WiFi or Nano ESP32) and have a reliable internet connection, the Arduino Cloud Web Editor is the path of least resistance. It requires zero local compilation and bypasses the Linux container entirely.
- Navigate to the official Arduino getting started guide and create your Arduino Cloud account.
- Install the Arduino Create Agent Chrome extension. This lightweight background service acts as a bridge between your browser and the local USB ports.
- Plug in your board. The Web Editor should automatically detect the COM port via the Agent.
Pro Tip: The Create Agent occasionally fails to wake from ChromeOS sleep states. If your port disappears after closing the laptop lid, unplug the USB cable, wait three seconds, and plug it back in to force the Agent to re-enumerate the device.
Method 2: Local Arduino IDE 2.x via Crostini (The Pro Path)
For offline development, heavy sketch compilation, or working with third-party cores (like STM32 or custom ESP32 boards), you need the local Arduino IDE 2.x running inside the ChromeOS Linux container. This method requires precise configuration to ensure the IDE can 'see' your hardware.
Step 1: Provisioning the Linux Container
Before installing the IDE, you must allocate sufficient resources to the Linux environment. Compilation of large ESP32 sketches can easily consume 2GB+ of RAM.
- Open your Chromebook Settings and navigate to Advanced > Developers.
- Turn on the Linux development environment. (For a deeper dive on container architecture, refer to Google's official Chromebook Linux support documentation).
- Click Customize during setup. Allocate at least 10 GB of storage (Board Manager cores eat space quickly) and 4 GB of RAM if your Chromebook has 8GB total. If you are on a 4GB Chromebook, leave the RAM at the default 2GB, but expect slower compilation times for complex MCU targets.
Step 2: Downloading and Installing the AppImage
ChromeOS's Linux container runs a Debian-based distribution (currently Debian 12 'Bookworm' as of 2026). The most stable way to install the IDE without dealing with broken `apt` dependencies is via the official AppImage.
- Open the Terminal app and launch the 'penguin' Linux shell.
- Download the latest Arduino IDE 2.x AppImage from the Arduino IDE v2 documentation page.
- Move the downloaded `.AppImage` file from your 'Downloads' folder into the 'Linux files' directory so the container can access it.
- Make the file executable and launch it via the terminal:
chmod a+x arduino-ide_2.*.*_Linux_64bit.AppImage
./arduino-ide_2.*.*_Linux_64bit.AppImage
The Crucial Hurdle: USB Serial Passthrough & Permissions
This is where 90% of users fail when configuring an Arduino on Chromebook. Even if ChromeOS successfully passes the USB device to the Linux container, the Debian environment will block the IDE from accessing the serial port due to strict user group permissions. You will see the dreaded 'Permission denied' or 'Port not found' error in the IDE output console.
Fixing the 'Permission Denied' Port Error
To fix this, you must add your Linux user to the dialout and plugdev groups, which govern serial and USB access.
- Open your Linux Terminal.
- Run the following commands to append your user to the required groups:
sudo usermod -a -G dialout $USER sudo usermod -a -G plugdev $USER - Critical Step: Group changes do not apply to the current session. You must completely shut down the Linux container to apply them. Open the ChromeOS
croshterminal (PressCtrl + Alt + T) and type:
Then, reopen your standard Linux Terminal app to restart the container with the new permissions.vmc stop termina
Handling Clone Boards (CH340/CP2102)
If you are using budget-friendly Arduino clones from Amazon or AliExpress, they likely use the CH340 or CH341 USB-to-Serial chip instead of the official Atmega16U2. While Debian 12 includes the ch341 kernel module by default, ChromeOS's USB passthrough layer sometimes struggles to bind the driver automatically.
If your clone board shows up in lsusb but not in the Arduino IDE port list, force the module to load by running sudo modprobe ch341 in the Linux terminal before plugging the board in.
Comparison Matrix: Cloud vs. Local Configuration
| Feature | Arduino Cloud Web Editor | Local IDE 2.x (Crostini) |
|---|---|---|
| Setup Time | ~5 Minutes | ~20 Minutes |
| Offline Capability | No (Requires Internet) | Yes (Full offline compilation) |
| Third-Party Cores | Limited (Curated list only) | Unrestricted (Custom JSON URLs) |
| USB Passthrough | Handled by Chrome Extension | Handled by Crostini + Linux udev |
| Best For | Students, Quick Prototyping | Engineers, Complex ESP32/STM32 Projects |
Advanced Troubleshooting & Edge Cases
Port Grayed Out After Sleep/Wake
ChromeOS aggressively suspends USB ports to save battery. When the Chromebook wakes from sleep, the Crostini container often fails to re-bind the USB device node (/dev/ttyUSB0 or /dev/ttyACM0).
The Fix: Do not rely on the IDE's refresh button. Instead, open the Linux terminal and run dmesg | grep tty to see if the kernel recognizes the device. If it doesn't, physically unplug the USB cable, wait for the ChromeOS system tray notification to disappear, and plug it back in. You can also create a custom udev rule to prevent USB autosuspend for specific Arduino vendor IDs, though this requires editing /etc/udev/rules.d/ inside the container.
ESP32/ESP8266 Board Manager JSON Failures
When adding the Espressif Systems JSON URL to the Board Manager in the Linux IDE, you might encounter SSL certificate errors during the download phase. This happens if the container's CA certificates are outdated.
The Fix: Update the certificate authority package in your Linux terminal before opening the IDE:
sudo apt update
sudo apt install --reinstall ca-certificates
This ensures the IDE can securely handshake with the raw.githubusercontent.com servers hosting the board definitions.
Teensy and HID Devices Not Enumerating
Boards that rely on HID (Human Interface Device) protocols, like the Teensy 4.1, require specific udev rules to allow non-root users to upload firmware. Because Crostini isolates the USB bus, you must download the official Teensy udev rules file, place it in /etc/udev/rules.d/00-teensy.rules, and reload the rules using sudo udevadm control --reload-rules. Without this, the upload will compile successfully but fail at the final 'Rebooting' stage.
Final Thoughts on ChromeOS Development
Configuring an Arduino on Chromebook in 2026 is a highly viable workflow, provided you respect the boundary between the ChromeOS host and the Debian container. By properly provisioning your RAM, mastering the dialout group permissions, and understanding how Crostini handles USB enumeration, you transform a lightweight laptop into a formidable embedded systems workstation. Whether you are flashing a simple ATmega328P or compiling a massive dual-core ESP32-S3 firmware, the local Linux environment offers the stability and depth that cloud editors simply cannot match.