
The Deceptive Simplicity of the Arduino Pushbutton
If you ask any veteran maker on the r/arduino subreddit or the ElectricalFlux Discord what the most common point of failure in a beginner's circuit is, the answer is rarely the microcontroller itself. It is almost always the humble pushbutton. Selecting the right button for Arduino projects seems trivial until you encounter contact bounce, floating pins, or fretting corrosion. In 2026, the market is flooded with options ranging from $0.02 bulk clones to $45 industrial panel-mount switches. This community resource roundup synthesizes real-world field data, forum recommendations, and electrical engineering principles to help you choose the exact switch for your next build.
Community Favorites: 4 Button Categories Evaluated
1. The Breadboard Standard: Tactile Micro-Switches
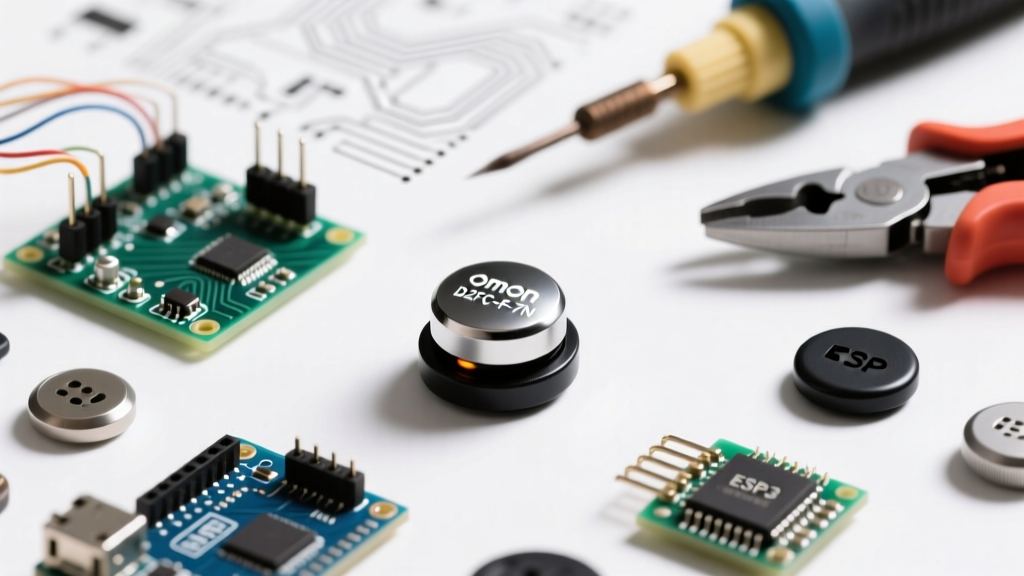
The 6x6mm through-hole tactile switch is the undisputed king of prototyping. However, not all tactile switches are created equal. The community heavily favors the Omron B3F series (specifically the B3F-1000 with 160gf actuation force) or the C&K PTS645 series.
- The Good: Extremely cheap ($0.04 to $0.40 per unit), fits standard 0.1-inch breadboards perfectly, and provides crisp tactile feedback.
- The Bad: Generic, unbranded clones often suffer from poor contact plating. In low-voltage, low-current DC circuits (like an Arduino's 5V/20mA digital pin), cheap switches are prone to fretting corrosion—an oxidation layer that builds up because the electrical arc isn't strong enough to 'clean' the contacts. This results in 'ghost' presses or total failure after a few months.
- Pro-Tip: Always buy switches with silver-clad or gold-plated contacts for low-energy logic circuits. Expect a contact bounce time of 1ms to 5ms.
2. The Macro-Pad Upgrade: Mechanical Keyboard Switches
For custom macro pads, stream decks, and MIDI controllers, the maker community has overwhelmingly pivoted to mechanical keyboard switches. Using a hot-swap socket (like the Kailh MX Hot Swap Socket) wired to your Arduino Pro Micro or RP2040 allows for infinite customization.
- Top Pick: Cherry MX Brown (45gf actuation, tactile bump) or Gateron Pro 3.0 Yellows (linear, budget-friendly at ~$0.25/ea).
- Electrical Specs: These switches typically handle up to 5V DC and 10mA, making them perfectly safe for direct MCU GPIO connection. Contact bounce is generally higher than micro-tactiles, hovering around 5ms to 10ms due to the heavier mass of the internal leaf spring.
- Use Case: High-actuation-count interfaces where user experience and replaceability are paramount.
3. Panel-Mount & Industrial: Sealed Pushbuttons
When your Arduino project leaves the desk and enters a garage, greenhouse, or factory floor, breadboard tactiles will fail. For enclosures, the community standard is the 22mm industrial pushbutton, with the Schneider Electric XB4 (metal) or XB5 (plastic) series being the gold standard.
- Specifications: Rated for IP67 (dust tight and waterproof), these switches use internal micro-switch blocks rated for 10A at 120VAC, but they work flawlessly at 5VDC logic levels.
- Cost: $12 to $35 per assembly.
- Edge Case Warning: Many industrial buttons are 'maintained' (latching) rather than 'momentary'. Ensure you are ordering the momentary (spring-return) contact blocks (e.g., Schneider ZB4BZ101) for standard input triggers.
4. The Solid-State Route: Capacitive Touch Modules
Moving parts wear out. For projects requiring completely sealed, waterproof enclosures without drilling holes for mechanical buttons, the TTP223 capacitive touch module is a community staple. Priced around $0.80, these breakout boards output a clean digital HIGH/LOW signal and can sense touches through 3-5mm of plastic or glass.
Head-to-Head: Switch Specification Matrix
| Switch Type | Actuation Force | Avg Bounce Time | Unit Cost (2026) | Best Application |
|---|---|---|---|---|
| Generic 6x6mm Tactile | 160gf - 260gf | 2 - 5ms | $0.02 - $0.05 | Disposable prototypes |
| Omron B3F / C&K PTS645 | 100gf - 250gf | 1 - 3ms | $0.25 - $0.45 | Production PCBs, reliable gear |
| Cherry MX Brown (Mech) | 45gf (Actuation) | 5 - 10ms | $0.40 - $0.70 | Macro pads, MIDI, UI panels |
| Schneider XB4 (22mm) | ~300gf (Heavy) | < 1ms (Micro-switch) | $15.00 - $35.00 | Industrial, outdoor, enclosures |
| TTP223 Capacitive | N/A (Touch) | 0ms (Solid State) | $0.60 - $1.00 | Sealed enclosures, wet areas |
Solving the 'Ghost Press': Debouncing Strategies
When mechanical contacts close, they do not make a clean connection. The metal leaves bounce against each other like a tuning fork, creating a rapid series of HIGH/LOW spikes that your Arduino reads as multiple button presses. According to the official Arduino Debounce Tutorial, ignoring this physical reality will ruin state-machine logic.
Software Debouncing (The Modern Standard)
The community consensus in 2026 is to avoid writing custom `delay()` based debounce loops, which block the MCU's main thread. Instead, use a non-blocking library. The Bounce2 Library by Thomas Ouellet Fredericks is the undisputed champion for this. It uses state-change timing to filter out noise without halting your code.
#include <Bounce2.h>
Bounce myButton = Bounce();

void setup() {
  pinMode(2, INPUT_PULLUP);
  myButton.attach(2);
  myButton.interval(5); // 5ms debounce interval
}
Hardware Debouncing (The RC Filter)
If you are designing a custom PCB and want to save CPU cycles, implement a hardware RC (Resistor-Capacitor) low-pass filter. Place a 100nF (0.1µF) ceramic capacitor in parallel with the switch, and use a 10kΩ pull-up resistor.
Engineering Note: The time constant (τ) is R × C. With 10kΩ and 100nF, τ = 1ms. It takes roughly 3τ to 5τ for the capacitor to charge/discharge past the logic threshold, giving you a natural 3-5ms hardware debounce that perfectly masks standard tactile switch bounce.
Wiring Pitfalls: Floating Pins and Burnt Traces
A recurring issue highlighted in comprehensive wiring guides by Adafruit is the 'floating pin' phenomenon. If you wire a button to a digital pin without a pull-up or pull-down resistor, the pin acts as an antenna, picking up electromagnetic interference and triggering random inputs.
The INPUT_PULLUP Advantage
Stop wiring external 10kΩ resistors to ground for every button. The ATmega328P (Arduino Uno) and RP2040 chips feature internal pull-up resistors (typically 20kΩ to 50kΩ) that can be activated via software.
- Wire one leg of the button to the Arduino Digital Pin (e.g., Pin 3).
- Wire the other leg directly to GND.
- In your code, use
pinMode(3, INPUT_PULLUP);
Logic Inversion: Remember that with internal pull-ups, the pin reads HIGH when unpressed, and LOW when pressed. This saves board space, reduces component count, and guarantees a stable logic state.
The Deadly Short Circuit Mistake
Never wire a button directly between 5V and GND without a load or resistor in between. Pressing the button will create a dead short across your power supply, instantly tripping the Arduino's polyfuse or, in severe cases, frying the voltage regulator and the USB port on your host machine. Always route your switching logic through a digital I/O pin.
Final Verdict: What Should You Stock in 2026?
If you are building a temporary proof-of-concept, the generic 6x6mm tactile switches are perfectly adequate. However, for any project intended to survive beyond the prototyping phase, upgrade to Omron B3F or C&K PTS645 tactiles to avoid oxidation failures. For user-facing interfaces like custom game controllers or smart home dashboards, invest in Cherry MX switches and hot-swap sockets. Finally, respect the physics of the switch: always use INPUT_PULLUP and leverage the Bounce2 library to ensure your code responds to human intent, not mechanical vibration.