
The Architecture Behind the ESP32 WROOM 32 Pinout
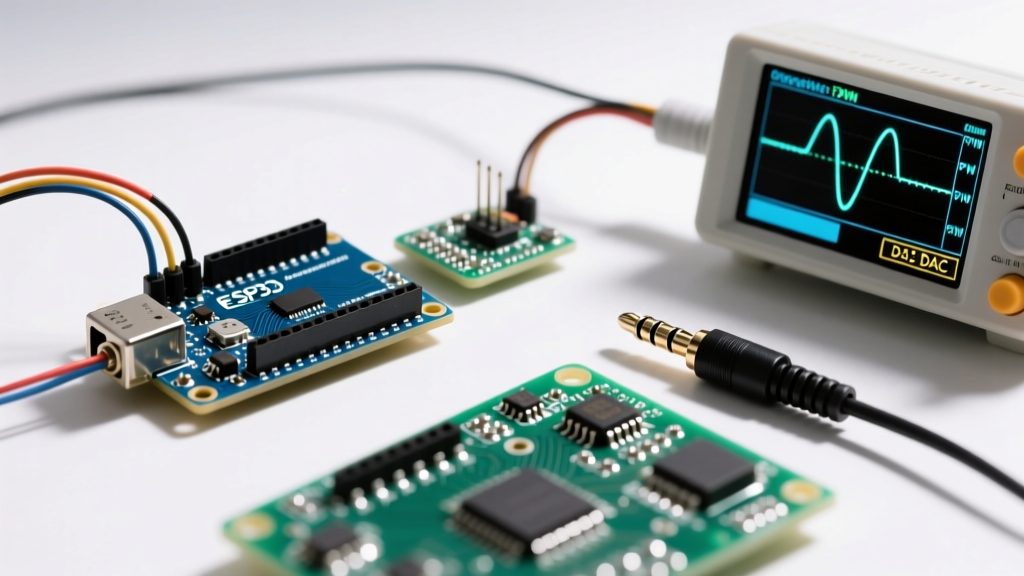
When transitioning from simple 8-bit microcontrollers to the dual-core powerhouse that is the ESP32, makers quickly realize that not all General Purpose Input/Output (GPIO) pins are created equal. The official Espressif ESP32 datasheet reveals a complex System-on-Chip (SoC) architecture where pins are heavily multiplexed. Understanding the ESP32 WROOM 32 pinout is less about memorizing a colorful diagram and more about grasping the underlying hardware constraints, boot sequences, and peripheral routing matrices.
The GPIO Matrix Concept
Unlike the ATmega328P found in the Arduino Uno, where hardware peripherals like I2C, SPI, and UART are hardcoded to specific physical pins, the ESP32 utilizes a highly flexible GPIO Matrix. This internal routing hub allows you to map almost any peripheral signal to almost any digital pin via software. While this offers immense design flexibility, it also means the physical pinout on a development board is largely arbitrary. The true constraints of the ESP32 WROOM 32 pinout are dictated by internal silicon connections, boot-time sampling, and shared analog resources.
The Danger Zone: Pins You Must Avoid
A common trap for beginners is treating every exposed pin on a 30-pin or 38-pin DevKit as a usable GPIO. The ESP32-WROOM-32 module integrates its own SPI flash memory (and sometimes PSRAM) directly on the metal shield. The pins used to communicate with this onboard memory are hardwired and cannot be repurposed without causing immediate system instability.
| GPIO Pin(s) | Internal Connection | Consequence of Use |
|---|---|---|
| GPIO 6 to 11 | Integrated SPI Flash | Instant crash, boot loops, or flash corruption. |
| GPIO 16 & 17 | PSRAM (on specific variants) | Memory allocation failures if PSRAM is enabled. |
If you attempt to use GPIO 6 through 11 for reading sensors or driving LEDs, the ESP32 will interpret your signals as flash memory commands. This results in the infamous Guru Meditation Error or a continuous reboot cycle. Always cross-reference your specific module variant, as boards with 8MB of PSRAM will also lock out GPIO 16 and 17.
Strapping Pins: The Boot Sequence Explained
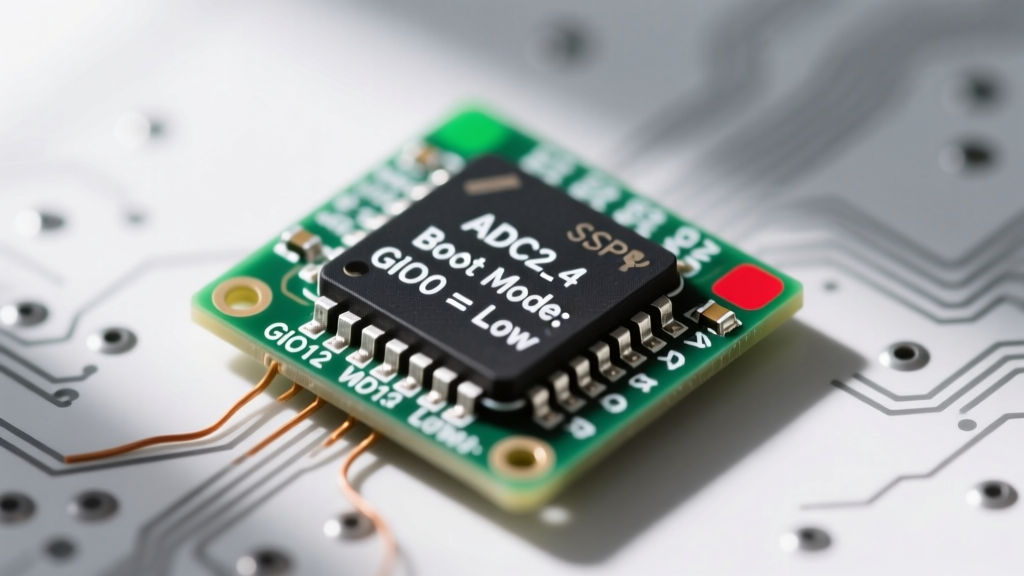
Strapping pins are the most critical concept in the ESP32 WROOM 32 pinout explainer. During a power-on reset or when the EN (Enable) pin is triggered, the ESP32 samples the voltage levels of specific pins to determine its boot mode. These pins have internal weak pull-up or pull-down resistors that are active only during the reset phase.
Real-World Failure Mode: If you wire a relay or a low-impedance sensor to a strapping pin and it pulls the pin to the wrong state during boot, your ESP32 will silently fail to start your sketch, often entering UART download mode or SDIO boot mode instead.
The Big Four Strapping Pins
- GPIO 0: Determines boot source. Must be HIGH (or floating) to boot from SPI flash. Pulled LOW to enter serial bootloader mode. Avoid wiring external pull-downs here unless you are designing a dedicated flash button.
- GPIO 2: Must be LOW or floating to boot from flash. If pulled HIGH, the chip attempts to boot from an SDIO interface, which will fail on standard WROOM modules.
- GPIO 12 (MTDI): This is the silent project killer. GPIO 12 selects the flash voltage. The WROOM-32 uses 3.3V flash. If GPIO 12 is pulled HIGH during boot, the ESP32 switches the internal voltage regulator to 1.8V, resulting in a brownout and immediate boot failure. Keep this pin LOW or floating at startup.
- GPIO 15: Controls boot log printing to the UART. HIGH enables debug logs, LOW silences them. This is generally safe to use, but be aware of the brief serial output on startup if pulled HIGH.
Analog to Digital Conversion (ADC) Quirks
The ESP32 features two ADC units, but they are not functionally identical. Understanding the difference between ADC1 and ADC2 is vital for analog sensor integration.
The WiFi vs. ADC2 Conflict
ADC2 is shared with the WiFi radio subsystem. When the WiFi radio is active (which is almost always in IoT applications), the radio takes priority. If you attempt to use analogRead() on an ADC2 pin while WiFi is connected, the reading will fail or return garbage data. Therefore, always prioritize ADC1 pins (GPIO 32, 33, 34, 35, 36, 39) for analog sensors in connected projects.
Non-Linearity and Usable Range
While the ESP32 boasts a 12-bit ADC (0-4095), the ESP-IDF ADC documentation notes significant non-linearity at the extremes of the voltage range. Readings below 150mV and above 3.1V are highly noisy and inaccurate. For precision applications, use a voltage divider to keep your analog signals within the 0.2V to 2.8V sweet spot, and utilize the analogSetAttenuation(ADC_11db) function in the Arduino IDE to configure the full-scale range to ~3.3V.
Input-Only Pins and Touch Sensors
The ESP32 WROOM 32 pinout includes four pins that are strictly input-only: GPIO 34, 35, 36 (VP), and 39 (VN). These pins lack internal pull-up and pull-down resistors. If you use them for digital inputs (like reading a push button), you must provide an external 10kΩ pull-up or pull-down resistor, otherwise, the pin will float and trigger phantom interrupts.
Conversely, the ESP32 features 10 capacitive touch pins (GPIO 0, 2, 4, 12, 13, 14, 15, 25, 26, 27). These are highly sensitive to electrical capacitance changes and are excellent for creating touch-sensitive buttons without external hardware. More importantly, touch pins can be configured as wake-up sources from Deep Sleep mode, making them invaluable for ultra-low-power battery-operated sensors.
Practical Decision Framework for Pin Assignment
To ensure robust hardware design, follow this sequential framework when assigning the ESP32 WROOM 32 pinout for your next PCB or breadboard build:
- Assign Critical Peripherals First: Reserve GPIO 1 (TX) and 3 (RX) strictly for serial debugging. Do not use them for general I/O.
- Allocate ADC1 for Analog: Map all analog sensors to GPIO 32, 33, 34, 35, 36, or 39. Remember to add external pull resistors for 34, 35, 36, and 39 if used digitally.
- Blacklist the Danger Zone: Mentally cross out GPIO 6-11 (and 16-17 if using PSRAM) from your schematic.
- Handle Strapping Pins with Care: If you must use GPIO 0, 2, or 12 for runtime I/O, ensure your external circuitry does not force a conflicting state during the 50ms boot window. Use high-impedance paths or tri-state buffers if necessary.
- Map I2C and SPI via Software: Utilize the GPIO matrix to assign I2C (SDA/SCL) and SPI (MOSI/MISO/SCK) to safe, easily routable pins on your custom PCB, avoiding the default pins if they conflict with your physical layout.
By understanding the architectural 'why' behind the ESP32 WROOM 32 pinout, you move beyond trial-and-error wiring and begin designing resilient, production-ready IoT hardware. For further community-tested wiring diagrams and code examples, Random Nerd Tutorials remains an excellent supplementary visual resource alongside the official Espressif documentation.