
The 2026 Simulator Landscape: Choosing Your Engine
Deploying untested firmware to physical microcontrollers is a fast track to fried components and wasted debugging hours. An arduino coding simulator bridges the gap between writing C++ and seeing hardware react, but only if configured correctly. In 2026, the simulation ecosystem has matured significantly, moving beyond basic LED blinking to full RTOS support, custom silicon injection, and deep IDE integration.
Before configuring your environment, you must select the right engine for your project scope. Below is a comparison matrix of the dominant platforms used by makers and engineering teams today.
| Simulator Platform | Cost (2026) | Primary MCU Support | Custom Part Injection | IDE Integration |
|---|---|---|---|---|
| Wokwi | Free / $9/mo (Private) | ESP32-S3/C3, Uno R4, Pi Pico | High (JS/JSON API) | Native (PlatformIO/VS Code) |
| Tinkercad Circuits | Free | Arduino Uno R3, ATtiny85 | None (Fixed Library) | None (Web-only) |
| SimulIDE | Free (Open Source) | AVR, PIC, ARM Cortex-M | Moderate (XML Subcircuits) | External (Arduino CLI) |
| Proteus VSM | ~$345+ (Pro License) | Extensive (AVR, ARM, PIC) | High (SPICE Models) | Moderate (Hex file import) |
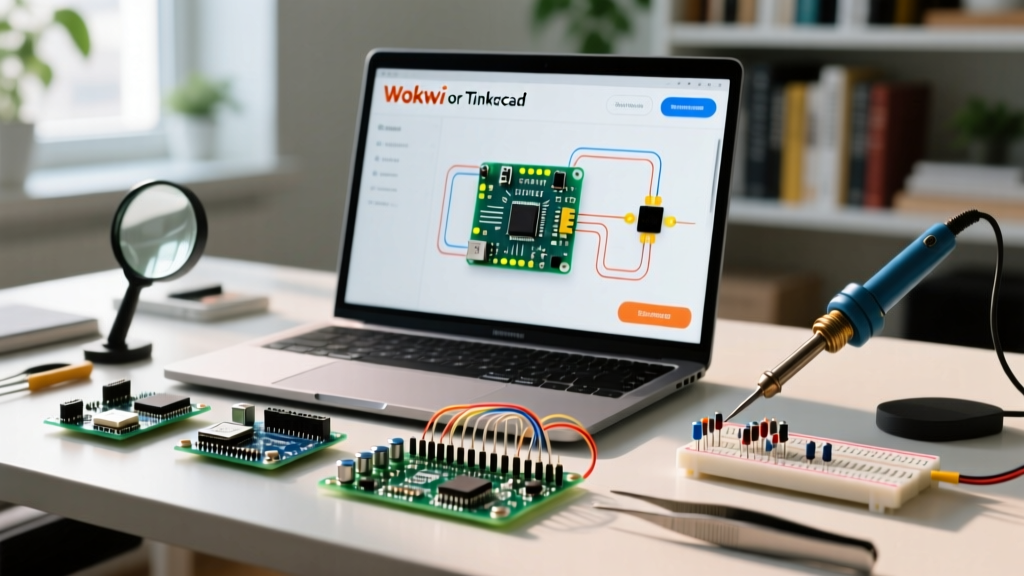
For modern IoT and advanced maker projects, Wokwi is the undisputed industry standard due to its ESP32 and Arduino Uno R4 WiFi support. For educational basics and simple 5V logic, Tinkercad remains the go-to. This guide focuses heavily on configuring these two platforms for real-world deployment.
Configuring Wokwi for Advanced ESP32 and Arduino Uno R4
Wokwi operates differently than legacy simulators. Instead of manually drawing schematics and uploading hex files via a web UI, Wokwi integrates directly into your local development environment using configuration files. This allows you to simulate your exact project structure, including custom libraries and partition tables.
Step 1: PlatformIO and wokwi.toml Integration
To configure Wokwi with PlatformIO in VS Code, you must map the compiled firmware and ELF files to the simulator. Create a wokwi.toml file in your project root directory. This file tells the Wokwi VS Code extension where to find your compiled binary and how to configure the serial output.
[wokwi]
version = 1
firmware = '.pio/build/esp32-s3-devkitc-1/firmware.bin'
elf = '.pio/build/esp32-s3-devkitc-1/firmware.elf'
# Enable serial monitor forwarding
rfc2217ServerPort = 4000
Crucial Detail: The elf path is mandatory for advanced debugging. Without the ELF file, Wokwi cannot map memory addresses to your C++ source code, rendering breakpoints and variable inspection useless.
Step 2: Wiring Custom I2C Sensors via diagram.json
Hardware topology in Wokwi is defined in a diagram.json file. If you are simulating an environmental monitor using a BME280 sensor and an SSD1306 OLED on an Arduino Uno R4 WiFi, your JSON configuration must explicitly define the I2C bus routing and pull-up states.
{
  "version": 1,
  "author": "Electrical Flux",
  "parts": [
    { "type": "wokwi-arduino-uno-r4-wifi", "id": "uno", "attrs": {} },
    { "type": "wokwi-bme280", "id": "env1", "attrs": { "temperature": "22.5" } },
    { "type": "wokwi-ssd1306-i2c", "id": "oled1", "attrs": {} }
  ],
  "connections": [
    ["uno:A4", "env1:SDI", "blue", []],
    ["uno:A5", "env1:SCK", "green", []],
    ["uno:A4", "oled1:SDA", "blue", []],
    ["uno:A5", "oled1:SCL", "green", []],
    ["uno:5V", "env1:VCC", "red", []],
    ["uno:GND", "env1:GND", "black", []]
  ]
}
For comprehensive component attributes and wiring schemas, always refer to the official Wokwi Documentation. The simulator automatically applies internal I2C pull-ups, but be aware of how this translates to physical hardware (discussed in the failure modes section below).
Tinkercad Circuits: Configuration for Education and Basic Uno R3
While Tinkercad lacks ESP32 support, its visual interface is unparalleled for configuring basic 5V AVR logic and teaching electronics. Configuring Tinkercad requires a different workflow, heavily reliant on its web-based serial monitor and block-to-text code transitions.
Workspace and Component Configuration
- Power Rail Isolation: By default, Tinkercad's breadboard power rails are continuous. For dual-voltage projects (e.g., mixing 5V Uno logic with 3.3V sensors), you must click the center of the breadboard power rails to split them, preventing simulated magic smoke.
- Serial Monitor Baud Rate Matching: Tinkercad's serial monitor does not auto-detect baud rates. You must manually configure the dropdown in the Serial Monitor UI to match your
Serial.begin(9600)declaration. Mismatching this results in garbled ASCII output. - Library Injection: Tinkercad does not support external ZIP library imports like the Arduino IDE. You must configure your code by manually copying and pasting the contents of
.hand.cppfiles into separate tabs within the Tinkercad code editor.
For educators setting up classrooms, the Tinkercad Circuits portal allows you to configure "Starters"—pre-wired templates with locked components, ensuring students only modify the C++ logic without accidentally deleting ground wires.
Advanced Configuration: Injecting Custom Silicon
A major limitation of older simulators was the inability to test obscure ICs. If your project relies on a specific multiplexer, DAC, or motor driver not natively supported by the simulator, you can configure custom chips.
In Wokwi, this is achieved via the Custom Chips API. You write a JavaScript/TypeScript class that defines the pin states and internal logic of the IC, then compile it to WebAssembly. For example, if you are using a TLC5940 PWM driver, you can configure a custom chip definition in your diagram.json:
{
  "type": "chip-tlc5940",
  "id": "pwm1",
  "attrs": { "buildScript": "tlc5940.js" }
}
This level of configuration allows hardware engineers to validate SPI/I2C timing sequences against custom silicon before the physical PCB is even manufactured.
Bridging the Gap: Simulation vs. Physical Hardware Failure Modes
Configuring an arduino coding simulator is only half the battle. The most critical skill for a maker is understanding where the simulator diverges from physical reality. Below are the most common edge cases and failure modes you must account for when transitioning from simulation to physical silicon.
1. The I2C Pull-Up Resistor Discrepancy
Simulator Behavior: Wokwi and Tinkercad often simulate I2C buses with implicit, perfect pull-up resistors. Your code will read sensors perfectly.
Physical Reality: Real I2C buses require physical 4.7kΩ pull-up resistors on the SDA and SCL lines to VCC. Without them, the bus floats, resulting in intermittent NaN sensor readings or complete bus lockups.
Actionable Fix: Always configure your physical schematic with external pull-ups, even if the simulator doesn't strictly require them.
2. Interrupt Latency and JS Event Loop Drift
Simulator Behavior: Browser-based simulators rely on the JavaScript event loop. High-frequency interrupts (e.g., reading a rotary encoder at 10kHz) may be batched or dropped due to JS thread starvation.
Physical Reality: An ATmega328P or ESP32 handles hardware interrupts at the silicon level with microsecond precision.
Actionable Fix: If your project relies on tight timing loops or high-frequency encoders, use the simulator to validate logic flow, but rely on an oscilloscope or logic analyzer (like a Saleae Logic Pro 8) for physical timing validation.
3. Memory Boundary Enforcement
Simulator Behavior: Simulators allocate memory based on your host machine's RAM. You can accidentally overflow the 2KB SRAM limit of an Arduino Uno R3 without triggering a simulated crash.
Physical Reality: Exceeding SRAM causes stack collisions, overwriting the heap, and resulting in unpredictable reboots.
Actionable Fix: Configure your IDE to show memory usage. In PlatformIO, enable the check_stack build flag, and use the FreeMemory() function in your sketch to log available SRAM during runtime.
Frequently Asked Questions
Can I simulate WiFi and Bluetooth connectivity in an Arduino coding simulator?
Yes, but with caveats. Wokwi supports simulated WiFi for ESP32 boards. You can configure a virtual access point within the simulator's UI, allowing your code to execute HTTP GET requests or connect to MQTT brokers (like Mosquitto) running on your local host machine. However, Bluetooth Low Energy (BLE) simulation is highly limited and usually requires physical hardware testing.
How do I configure custom libraries in Tinkercad?
Tinkercad does not have a library manager. To use a library like Adafruit_NeoPixel, you must locate the library's source code on GitHub, copy the contents of the .h and .cpp files, and paste them into new tabs within the Tinkercad code editor. Ensure you include the custom headers in your main .ino file using quotes (#include "myLibrary.h") instead of angle brackets.
Is Proteus VSM worth the cost for hobbyists in 2026?
For 95% of hobbyists and makers, no. The $345+ price tag is geared toward enterprise engineering teams requiring deep SPICE-level analog simulation alongside digital MCU logic. For standard Arduino and ESP32 digital logic, Wokwi's free tier combined with a $15 physical ESP32-S3 dev board offers a vastly superior and more modern workflow.