
The Anatomy of an Arduino If and Else Failure
When building embedded systems, the arduino if and else control structures are the foundational building blocks of decision-making. Whether you are reading a temperature sensor, debouncing a mechanical switch, or managing a complex state machine, your sketch relies on conditional logic to interact with the physical world. However, a frequent source of frustration for both beginners and seasoned makers is when the code compiles perfectly, yet the hardware behaves erratically. The microcontroller executes exactly what it is told, but what it is told is often flawed by hardware realities, syntax traps, or timing mismanagement.
In this comprehensive diagnostic guide, we will dissect the most common failure modes associated with conditional logic in the Arduino IDE (including the modern IDE 2.x environment). We will move beyond basic syntax and explore the intersection of C++ logic, microcontroller memory architecture, and physical electrical noise.
1. The 'Ghost Trigger': Floating Inputs and EMI
The most common reason an arduino if and else block appears to trigger randomly is not a software bug, but a hardware oversight: the floating pin. When you configure a pin as INPUT and read it via digitalRead(), the microcontroller's internal CMOS circuitry presents a very high impedance (often >100 MΩ on the ATmega328P). If the pin is not tied to a definitive voltage rail (VCC or GND), it acts as an antenna.
Diagnosing the Symptom
Your serial monitor shows the condition evaluating to HIGH and LOW rapidly, even when no button is pressed. This is often caused by Electromagnetic Interference (EMI) from nearby components like switching power supplies, relays, or even fluorescent lighting.
The Diagnostic Fix
Never leave a conditional input floating. You have two primary solutions:
- External Pull-Down/Pull-Up: Wire a 10kΩ resistor between the input pin and GND (pull-down) or VCC (pull-up). This provides a definitive default state while allowing a switch to override it.
- Internal Pull-Up: Utilize the microcontroller's internal resistors. On the ATmega328P, these range from 20kΩ to 50kΩ. Change your setup code to
pinMode(pin, INPUT_PULLUP);. Note that this inverts your logic: the pin readsHIGHwhen open, andLOWwhen the button connects it to GND.
For ESP32-S3 or ESP8266 boards, internal pull-ups are significantly weaker (often 45kΩ to 80kΩ) and some pins lack them entirely. For high-noise environments, always default to external 4.7kΩ to 10kΩ resistors to ensure a stiff logic threshold.
2. The Assignment Trap: '=' vs '=='
C++ inherits a notorious quirk from C: the assignment operator (=) is an expression that returns the assigned value. This leads to one of the most insidious syntax errors in conditional statements.
// The Bug
int sensorThreshold = 500;
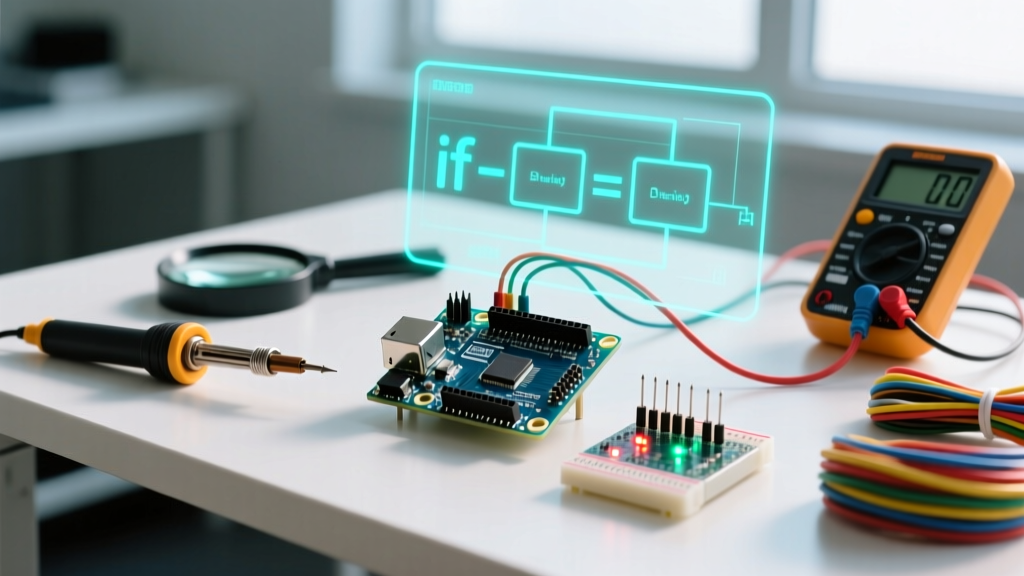
if (sensorValue = sensorThreshold) {
  // This block will ALWAYS execute if sensorThreshold is non-zero!
  triggerAlarm();
}
In the example above, sensorValue is overwritten with 500. The if statement then evaluates the result of the assignment (500). Since any non-zero integer evaluates to true in C++, the if block executes unconditionally, and your else block becomes dead code.
Diagnostic Workflow
Modern compilers in Arduino IDE 2.x (which uses clangd and GCC backend) will often throw a warning: 'suggest parentheses around assignment used as truth value'. However, if you have warnings disabled or ignore them, this bug will slip through. To diagnose this, use the 'Yoda Condition' paradigm during development: place the constant on the left side of the comparison.
// Yoda Condition - Prevents accidental assignment
if (500 == sensorValue) { ... }
If you accidentally type if (500 = sensorValue), the compiler will throw a hard error because you cannot assign a value to a literal constant, immediately catching the bug.
3. Mechanical Bounce: When One Press Equals Ten Triggers
Physical switches and pushbuttons do not make clean electrical connections. When the metal contacts close, they physically bounce, creating a series of rapid HIGH and LOW transitions lasting anywhere from 1ms to 50ms. A microcontroller executing millions of instructions per second will read this bounce as multiple distinct button presses.
If your arduino if and else logic is designed to toggle an LED or increment a counter, a single physical press might increment the variable by 15. For a deep dive into the electrical physics of this phenomenon, refer to the official Arduino Debounce Tutorial.
Implementing a Software Debounce
Do not rely on delay() to fix this, as it blocks the main loop. Instead, track the time of the last state change using millis().
unsigned long lastDebounceTime = 0;
unsigned long debounceDelay = 50; // 50ms threshold

if (reading != lastButtonState) {
  lastDebounceTime = millis();
}

if ((millis() - lastDebounceTime) > debounceDelay) {
  if (reading != buttonState) {
    buttonState = reading;
    // Execute your core logic here safely
  }
}
lastButtonState = reading;
4. Blocking Code Inside Conditional Branches
A critical error in state-machine design is placing blocking functions like delay() or synchronous serial reads inside an if or else block. When the condition is met, the entire microcontroller halts further execution until the delay finishes. This causes missed sensor readings, dropped serial bytes, and unresponsive UI inputs.
The Fix: Use non-blocking timing patterns. Set a boolean flag or a timestamp inside the if statement, and handle the timed action in the main loop scope.
5. Short-Circuit Evaluation and Side Effects
In complex arduino if and else statements utilizing logical AND (&&) or OR (||), C++ employs short-circuit evaluation. If the first condition of an AND statement is false, the second condition is never evaluated. If you place a function with a side-effect (like reading a sensor or incrementing a variable) in the second position, it will fail to execute when the first condition fails.
// Dangerous: readSensor() might not execute
if (systemArmed == false && readSensor() > 100) { ... }
Diagnostic Rule: Never place functions with side-effects inside compound conditional evaluations. Read the sensor into a variable first, then evaluate the variables.
Diagnostic Matrix: Symptoms vs. Root Causes
| Observed Symptom | Probable Root Cause | Diagnostic Action |
|---|---|---|
| Condition triggers randomly without physical input. | Floating pin / EMI noise. | Enable INPUT_PULLUP or add external 10kΩ pull-down resistor. |
The else block never executes, regardless of input. |
Accidental assignment (=) instead of comparison (==). |
Check operator syntax; enable 'All Compiler Warnings' in IDE Preferences. |
Single button press triggers the if block multiple times. |
Mechanical switch bounce. | Implement a 50ms millis() based software debounce algorithm. |
| System freezes or ignores other inputs after condition is met. | Blocking delay() inside the conditional branch. |
Refactor to use non-blocking millis() state-machine architecture. |
Variable inside if block seems to 'forget' its value. |
Variable shadowing / improper scope declaration. | Ensure variables are declared globally or static if persistence is required. |
Advanced Debugging: Beyond Serial.print()
While Serial.println() is the default debugging tool, it can alter the timing of your sketch and flood the serial buffer, causing latency. When diagnosing complex arduino if and else timing errors, upgrade your diagnostic toolkit:
- Arduino IDE 2.x Serial Plotter: Instead of text, graph your boolean states. Assign
HIGHto 1 andLOWto 0, and plot the condition's result alongside the raw sensor data to visually identify latency and bounce. - Logic Analyzers: For sub-millisecond timing issues, use a tool like the Saleae Logic 8 or a budget DSLogic Plus. Toggle a spare digital pin
HIGHexactly when yourifcondition evaluates to true. This allows you to measure the exact execution time and hardware-level latency of your conditional logic against physical electrical signals. - Static Analysis: Utilize tools like Cppcheck integrated into your workflow to catch uninitialized variables that often lead to unpredictable
elsebranch executions.
Conclusion
Mastering the arduino if and else structure requires looking past the C++ syntax and understanding the physical environment in which the microcontroller operates. By systematically eliminating floating inputs, avoiding assignment traps, managing mechanical bounce, and adhering to non-blocking design patterns, you can transform erratic, unreliable sketches into robust, industrial-grade embedded systems. Always validate your logic against the hardware realities of your specific microcontroller architecture, whether it is a classic 5V ATmega328P or a modern 3.3V ARM Cortex-M4.
For further reading on microcontroller input structures, consult the Arduino Language Reference for Control Structures and the SparkFun Pull-Up Resistor Tutorial to solidify your hardware-software integration skills.