
The Case for Upgrading: Why Migrate to Rust?
For over a decade, the Arduino ecosystem has been dominated by C++ (via the Wiring framework). While accessible, C++ on microcontrollers is notoriously unforgiving. Null pointer dereferences, buffer overflows, and data races in Interrupt Service Routines (ISRs) are common sources of silent failures in maker projects and industrial prototypes alike. Enter Rust Arduino development—a paradigm shift that brings memory safety, fearless concurrency, and modern tooling to embedded systems.
Migrating your workflow from the Arduino IDE to a Rust-based toolchain is not just a syntax change; it is a fundamental upgrade in how you architect firmware. According to the Rust Embedded Working Group, the language's strict borrow checker eliminates entire classes of bugs at compile time, saving hours of oscilloscope debugging. However, the migration requires navigating hardware constraints, particularly regarding SRAM limits and toolchain configuration.
Migration Reality Check: Rust's safety guarantees come with a slight overhead in binary size and RAM usage. While an Arduino Uno R3 (ATmega328P) can run Rust, modern makers upgrading in 2026 are strongly advised to transition to ARM Cortex-M boards like the Arduino Uno R4 Minima for a frictionless embedded Rust experience.
The 2026 Hardware Reality: AVR vs. ARM Cortex-M
Before writing a single line of Rust, you must evaluate your target hardware. The classic Arduino Uno R3 relies on the 8-bit ATmega328P microcontroller. While the avr-hal crate provides excellent community-driven support for AVR chips, the official Rust compiler (rustc) classifies AVR as a Tier 3 target. This means you must compile the standard library from source using the build-std feature.
If you are planning a serious migration, upgrading your hardware to a 32-bit ARM Cortex-M board is highly recommended. Below is a compatibility and migration matrix for popular Arduino-branded boards.
| Board Model | MCU & Architecture | SRAM | Rust Ecosystem Status | Migration Verdict |
|---|---|---|---|---|
| Arduino Uno R3 | ATmega328P (8-bit AVR) | 2 KB | Tier 3 (avr-hal) | Good for learning; constrained by 2KB SRAM. |
| Arduino Uno R4 Minima | Renesas RA4M1 (Cortex-M4) | 32 KB | Tier 2 (embassy / cortex-m) | Highly Recommended. Ideal for async Rust. |
| Nano 33 BLE Sense | nRF52840 (Cortex-M4F) | 256 KB | Tier 2 (nrf-hal / embassy) | Excellent for low-power IoT and BLE projects. |
| Portenta H7 | STM32H747 (Dual Cortex-M7/M4) | 1 MB | Tier 2 (stm32-hal) | Overkill for basic tasks; great for DSP/Vision. |
Step-by-Step Toolchain Migration
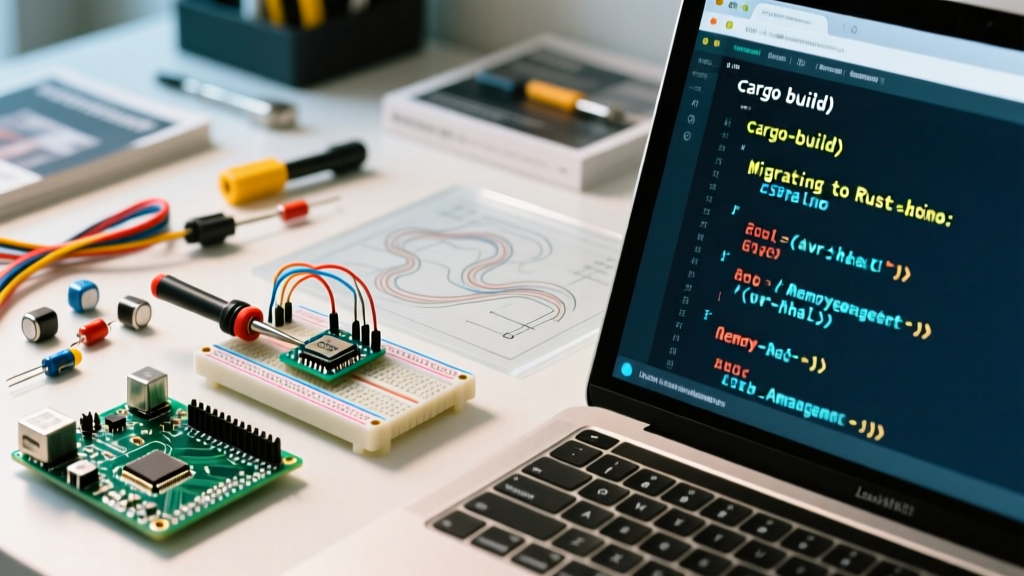
Abandoning the Arduino IDE means adopting cargo, Rust's package manager and build system. Follow these steps to configure your environment for AVR development.
- Install the Rust Toolchain: Ensure you have
rustupinstalled. You will need the nightly compiler for AVR targets, as standard library building is required.rustup toolchain install nightly rustup component add rust-src --toolchain nightly - Initialize Your Project: Create a new binary crate.
cargo new rust-arduino-blink cd rust-arduino-blink - Configure Cargo for AVR: Create a
.cargo/config.tomlfile in your project root to specify the target and linker.[build] target = "avr-atmega328p.json" [unstable] build-std = ["core"] - Install avr-gcc: Rust uses the system's AVR GCC linker to finalize the binary. On Ubuntu, install it via
sudo apt install gcc-avr avr-libc. On macOS, usebrew tap osx-cross/avr && brew install avr-gcc. - Add Dependencies: In your
Cargo.toml, add the hardware abstraction layer and panic handler.[dependencies] avr-hal = { git = "https://github.com/Rahix/avr-hal.git" } panic-halt = "0.2.0"
Translating Your First Sketch: Blink
The "Hello World" of microcontrollers is the Blink sketch. Let us compare the classic C++ approach with the Rust equivalent using avr-hal.
Classic C++ (Arduino IDE)
void setup() {
  pinMode(LED_BUILTIN, OUTPUT);
}

void loop() {
  digitalWrite(LED_BUILTIN, HIGH);
  delay(1000);
  digitalWrite(LED_BUILTIN, LOW);
  delay(1000);
}
Rust (avr-hal)
#![no_std]
#![no_main]

use panic_halt as _;
use arduino_hal::prelude::*;

#[arduino_hal::entry]
fn main() -> ! {
    let dp = arduino_hal::Peripherals::take().unwrap();
    let pins = arduino_hal::pins!(dp);
    let mut led = pins.d13.into_output();

    loop {
        led.toggle();
        arduino_hal::delay_ms(1000);
    }
}
Key Differences: Notice the #![no_std] and #![no_main] attributes. Rust embedded firmware does not link to the standard OS library. The -> ! return type indicates that the main function never returns (a diverging function), which perfectly models the infinite loop required by microcontroller firmware.
Navigating the SRAM Bottleneck
The most common failure mode for makers migrating to Rust on an ATmega328P is SRAM exhaustion. The ATmega328P has only 2,048 bytes of SRAM. Rust's default panic handler includes formatting logic (core::fmt) that can easily consume 1,500+ bytes of flash and require significant stack space, leading to silent stack overflows.
The Solution: Lightweight Formatting
Never use the standard println! macro on an 8-bit AVR. Instead, use the ufmt crate, which is specifically designed for memory-constrained embedded systems. Combine this with panic-halt (which simply stops the CPU on panic) or panic-abort to keep your binary footprint under control.
- Use
ufmt: Replaces standard formatting with a lightweight alternative. - Avoid Heap Allocation: The
alloccrate requires a global allocator, which fragments the tiny 2KB SRAM. Rely entirely on the stack and statically sized arrays. - Optimize Release Builds: Always add
lto = true,opt-level = "s", andpanic = "abort"to your[profile.release]inCargo.toml.
Handling Interrupts and Unsafe Blocks
In C++, configuring an Interrupt Service Routine (ISR) involves global variables and the volatile keyword. In Rust, global mutable state is strictly forbidden by the borrow checker to prevent data races.
To handle hardware interrupts (like a rotary encoder or a limit switch), you must use the avr-device crate's interrupt macros alongside core::cell::Cell or atomic types. Because you are interacting directly with hardware memory addresses, you will encounter the unsafe keyword. This is not a flaw; it is Rust's way of making you explicitly acknowledge that the compiler cannot guarantee the safety of raw hardware manipulation. According to Arduino's official hardware documentation, understanding register-level interrupts is crucial for real-time control, and Rust forces you to document these boundaries clearly.
Frequently Asked Questions
Can I use existing Arduino C++ libraries in Rust?
Not directly. Rust cannot seamlessly link to C++ classes due to name mangling and ABI differences. However, you can use the bindgen tool to wrap C libraries, or rewrite the logic using pure Rust crates. For common sensors (BME280, MPU6050), the embedded-hal ecosystem already provides robust, driver-agnostic Rust crates.
Is the build time significantly slower than the Arduino IDE?
The initial compilation of a Rust project will take longer (often 30-60 seconds) because cargo compiles the core library from source for your specific target. Subsequent builds are heavily cached and typically complete in under 2 seconds, which is often faster than the Arduino IDE's underlying GCC pipeline.
Should I use async Rust on an Arduino Uno?
No. Async Rust (using the embassy framework) requires a hardware timer and sufficient RAM to manage task contexts. The 2KB SRAM on the Uno R3 is inadequate for an async executor. If you want to write asynchronous, non-blocking firmware, upgrade to an ARM Cortex-M board like the Arduino Nano 33 BLE or the Uno R4 Minima.