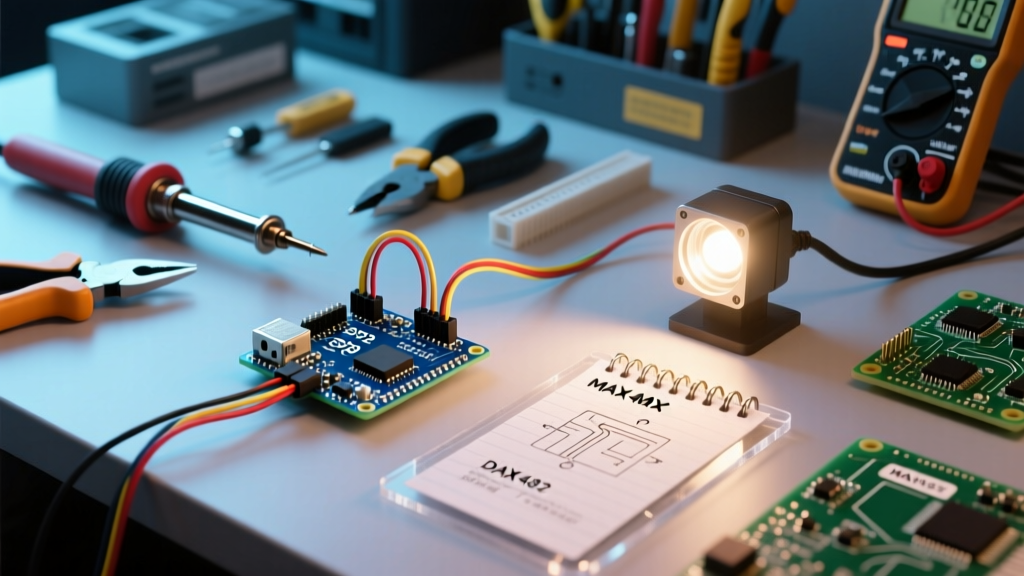

Introduction to DMX512 and Microcontrollers
Commercial DMX lighting consoles are powerful, but they often cost upwards of $500 and lack the flexibility to integrate with external sensors, MQTT networks, or custom physical interfaces. Learning how to control DMX with Arduino bridges this gap, allowing makers and stage technicians to build custom, programmable lighting controllers for under $40. Whether you are building an interactive art installation, a reactive LED stage setup, or a custom architectural lighting controller, the Arduino platform provides the perfect brain.
The DMX512 protocol (Digital Multiplex) is the industry standard for digital communication networks that are commonly used to control stage lighting and effects. Under the hood, DMX relies on the RS-485 physical layer standard, transmitting serial data at 250 kbit/s. Because the Arduino operates at TTL logic levels (0-5V), it cannot natively output the differential signals required by RS-485. Therefore, this tutorial will guide you through using a MAX485 transceiver module to translate the Arduino's serial output into a robust, balanced DMX signal.
Bill of Materials (BOM) and Project Costs
Before diving into the wiring, gather the following components. Prices reflect typical 2026 market rates for genuine or high-quality clone components:
- Microcontroller: Arduino Uno R4 Minima ($27.60) or standard Uno R3 ($22.00). The R4 is recommended for its superior hardware serial stability.
- Transceiver Module: MAX485 TTL to RS-485 Interface Module ($3.50 - $5.00).
- Connectors: 3-pin or 5-pin Female XLR Chassis Mount ($4.00). Note: While professional DMX uses 5-pin XLR, 90% of budget and mid-tier fixtures accept standard 3-pin XLR.
- Resistors: One 120Ω (ohm) resistor for termination, and two 560Ω resistors for failsafe biasing ($1.00).
- Wiring: 22 AWG stranded hook-up wire and a 3-pin XLR cable.
Understanding the RS-485 Physical Layer
DMX512 is essentially an RS-485 serial stream with a specific timing structure. According to the ESTA Control Protocol Working Group, a standard DMX universe consists of a break condition, a mark-after-break (MAB), a start code, and up to 512 data slots. Each slot is transmitted at 250,000 baud, utilizing 1 start bit, 8 data bits, and 2 stop bits.
Expert Insight: Never use standard microphone cables for long DMX runs. Microphone cables have a characteristic impedance of roughly 60-70Ω, whereas the DMX standard requires 110Ω to 120Ω twisted pair cable. Using mic cables over 50 feet will cause signal reflections, resulting in flickering fixtures.
Step-by-Step Wiring Guide
Proper wiring is the most critical step when setting up DMX with Arduino. A floating signal or missing termination will cause erratic behavior in your lighting fixtures.
1. The MAX485 to Arduino Connection
The MAX485 module has several pins. Because we are only transmitting DMX data from the Arduino to the fixtures (not receiving), we can hardwire the module into permanent transmit mode.
| MAX485 Pin | Arduino Uno Connection | Function / Notes |
|---|---|---|
| VCC | 5V | Powers the transceiver chip |
| GND | GND | Common ground reference |
| DI (Data In) | Pin 1 (TX) | Receives TTL serial data from Arduino |
| DE (Driver Enable) | 5V | Tied HIGH to enable transmit mode |
| RE (Receiver Enable) | 5V | Tied HIGH (active low, so this disables receive) |
| RO (Receiver Out) | Not Connected | Leave floating to avoid serial conflicts |
2. The XLR Output and Failsafe Biasing (Crucial Step)
Most basic tutorials skip failsafe biasing, which leads to the infamous "flickering lights on boot" issue. When the Arduino resets or boots up, the TX pin (Pin 1) floats before the serial port is initialized. The MAX485 interprets this electrical noise as valid DMX data, causing connected fixtures to flash randomly.
To fix this, we apply failsafe biasing to the RS-485 A and B lines to hold the line in a valid "mark" (idle) state when the Arduino is not actively driving it.
- Connect the MAX485 A pin to XLR Pin 3 (Non-inverting / Data +).
- Connect the MAX485 B pin to XLR Pin 2 (Inverting / Data -).
- Connect XLR Pin 1 to the Arduino GND (Signal Common).
- Biasing: Solder a 560Ω resistor between the A line (XLR Pin 3) and 5V.
- Biasing: Solder a 560Ω resistor between the B line (XLR Pin 2) and GND.
- Termination: Solder a 120Ω resistor directly across XLR Pin 2 and Pin 3. This matches the cable impedance and prevents signal reflection at the end of the chain.
Software Configuration and Library Selection
While you can theoretically bit-bang the DMX protocol using timers, it is highly recommended to use a hardware-serial-based library for reliability. The DMXSerial library by Matthias Hertel is the gold standard for Arduino DMX transmission. It leverages the hardware UART, freeing up the main CPU loop for sensor reading and logic processing.
Install the library via the Arduino IDE Library Manager (Sketch > Include Library > Manage Libraries) by searching for DMXSerial. Ensure you are using version 1.6.0 or newer for compatibility with the Arduino Uno R4 architecture.
Complete Arduino DMX Transmitter Code
The following sketch initializes the DMX output and creates a simple chase effect across the first three channels (typically Pan, Tilt, and Dimmer/Color on moving heads or RGB wash lights). For more on hardware serial configurations, refer to the Arduino Serial Reference documentation.
#include <DMXSerial.h>

// Define the pins for status LED (optional)
const int STATUS_PIN = 13;

void setup() {
  pinMode(STATUS_PIN, OUTPUT);

  // Initialize DMXSerial in transmitter mode
  // Default is 512 channels, Universe 1
  DMXSerial.init(DMXTransmitter);

  // Set initial values to zero (blackout)
  for (int i = 1; i <= 512; i++) {
    DMXSerial.write(i, 0);
  }
}

void loop() {
  // Simple 3-channel chase effect
  // Channel 1: Red / Pan
  DMXSerial.write(1, 255);
  DMXSerial.write(2, 0);
  DMXSerial.write(3, 0);
  delay(500);

  // Channel 2: Green / Tilt
  DMXSerial.write(1, 0);
  DMXSerial.write(2, 255);
  DMXSerial.write(3, 0);
  delay(500);

  // Channel 3: Blue / Dimmer
  DMXSerial.write(1, 0);
  DMXSerial.write(2, 0);
  DMXSerial.write(3, 255);
  delay(500);

  // Blink status LED to indicate loop is running
  digitalWrite(STATUS_PIN, !digitalRead(STATUS_PIN));
}
Advanced Troubleshooting Matrix
Even with perfect code, physical layer issues can disrupt your DMX with Arduino setup. Use this diagnostic matrix to resolve common field issues.
| Symptom | Probable Cause | Engineering Solution |
|---|---|---|
| Fixtures flicker wildly when Arduino resets or powers on | Floating TTL TX line during boot sequence | Verify the 560Ω failsafe bias resistors are correctly installed on A and B lines. |
| Signal drops or fixtures behave erratically after 30+ feet | Signal reflection due to missing termination or high cable capacitance | Ensure the 120Ω termination resistor is on the LAST fixture in the daisy chain. Switch to 110Ω twisted pair DMX cable. |
| Arduino locks up or USB disconnects when plugging in XLR | Ground loop or voltage spike from fixture's switching power supply | Break Pin 1 (Ground) on the XLR connector, or use an opto-isolated RS-485 module instead of the standard MAX485. |
| No output; fixtures remain completely dark | Incorrect baud rate or wrong TX pin mapping | Confirm DI is connected to Pin 1 (TX), not Pin 0 (RX). Verify DMXSerial is set to DMXTransmitter mode. |
Scaling Up: Beyond 512 Channels
A single Arduino UART can reliably drive one DMX universe (512 channels). If your installation requires more channels, you will need to either use an Arduino Mega (which features multiple hardware serial ports) or transition to an ESP32 utilizing the Art-Net or sACN (E1.31) protocols over Wi-Fi, converting network packets to DMX via multiple RS-485 shields. However, for localized, single-universe interactive projects, the Uno R4 and MAX485 combination remains the most robust and cost-effective architecture available in 2026.