
The Great 8-Bit Debate: Nano vs Uno Arduino
Even in 2026, with the market flooded by 32-bit powerhouses like the ESP32-S3 and Raspberry Pi RP2040, the classic 8-bit AVR boards remain the undisputed champions of 5V logic, educational deployments, and straightforward DIY electronics. But when you are starting a new build, the nano vs uno arduino decision inevitably arises. Both boards are built around the legendary ATmega328P microcontroller, yet their physical layouts, USB interfaces, and community ecosystems dictate entirely different use cases.
In this community resource roundup, we have synthesized insights from the Arduino Forum, Reddit’s r/arduino, and seasoned maker logs to break down exactly how these two boards compare in real-world scenarios, clone market realities, and IDE troubleshooting.
Community Consensus Summary
The Uno is the undisputed king of the workbench. Its DIP-28 socketed chip and shield-compatible headers make it perfect for learning, rapid iteration, and stacking modular hardware.
The Nano is the breadboard specialist and the permanent-installation hero. Its TQFP-32 surface-mount chip and compact footprint make it ideal for embedding inside enclosures and spanning standard solderless breadboards.
Silicon & Specs: What the Datasheets Actually Say
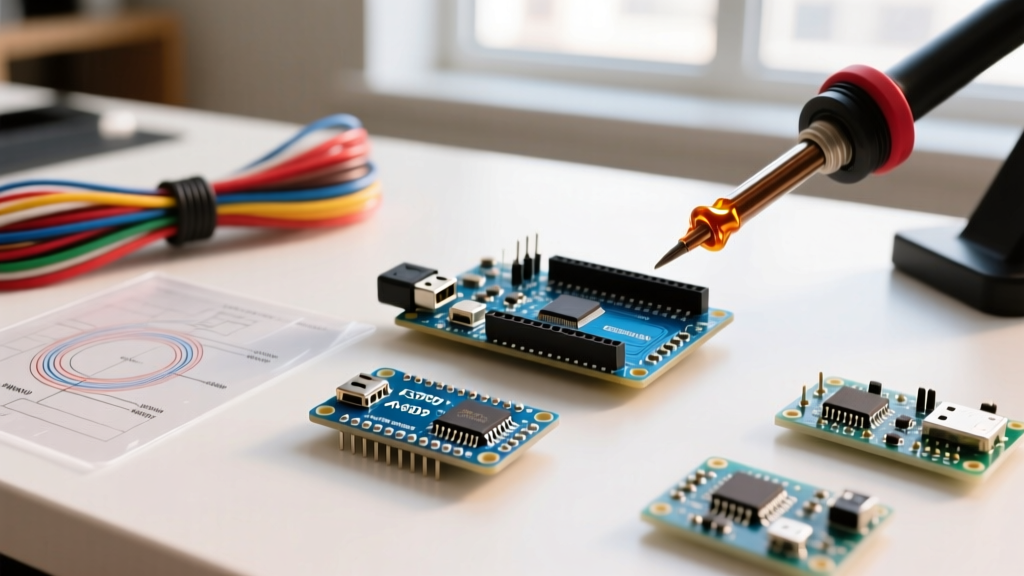
At their core, the Arduino Uno R3 and Arduino Nano V3 share the same brain. However, the supporting circuitry reveals their distinct design philosophies. According to the official Arduino Uno Rev3 documentation, the Uno utilizes a through-hole DIP-28 package for the main MCU, while the Arduino Nano documentation confirms the use of a surface-mount TQFP-32 package.
| Feature | Arduino Uno R3 (Original) | Arduino Nano V3 (Original) | Typical Nano/Uno Clone |
|---|---|---|---|
| Microcontroller | ATmega328P-PU (DIP-28) | ATmega328P-AU (TQFP-32) | ATmega328P-AU (TQFP-32) |
| USB-to-Serial Chip | ATmega16U2 | FT232RL | CH340G / CH340C |
| Flash Memory | 32 KB (0.5 KB used by Optiboot) | 32 KB (0.5 KB used by Optiboot) | 32 KB (Varies by bootloader) |
| DC Current per I/O Pin | 20 mA | 20 mA | 20 mA |
| Analog Inputs | 6 (A0 - A5) | 8 (A0 - A7) | 8 (A0 - A7) |
| Average Price (2026) | $27.60 | $22.00 | $3.50 - $8.00 |
The Analog Pin Trap: A6 and A7
One of the most frequent "gotchas" discussed in community threads is the Nano’s extra analog pins. Because the TQFP-32 package exposes more pins than the DIP-28, the Nano breaks out A6 and A7. However, on the ATmega328P architecture, these two specific pins are strictly analog inputs. They lack internal digital pull-up resistors and cannot be used with digitalRead() or digitalWrite(). Beginners often waste hours debugging Nano circuits, only to realize they wired a digital sensor to A6.
Form Factor & Prototyping Realities
The physical dimensions of these boards dictate how you will prototype and deploy them.
- The Uno (68.6 x 53.4 mm): Designed for the Arduino shield ecosystem. If your project requires stacking a motor driver, a GPS module, and an LCD display, the Uno is mandatory. However, plugging an Uno directly into a standard solderless breadboard is impossible due to its width and the placement of its headers.
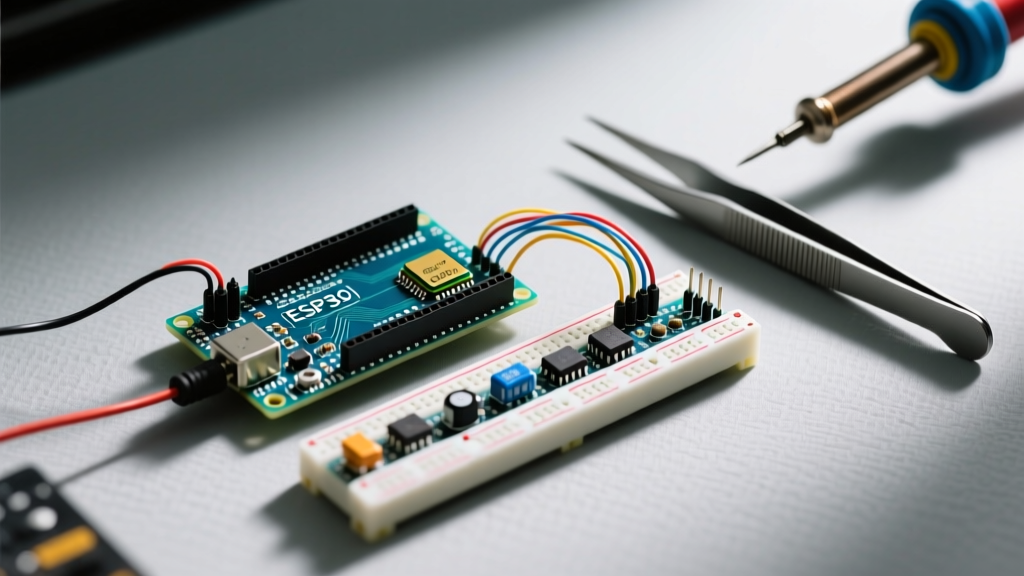
- The Nano (45 x 18 mm): Designed for the breadboard trench. When you plug a Nano into a standard 830-tie-point breadboard, it spans the center power rail trench perfectly. Crucially, it leaves exactly one row of holes exposed on either side. This allows you to plug in male-to-male jumper wires directly adjacent to the Nano's pins without needing a custom shield or a messy web of female-to-male cables.
The USB-to-Serial Chip Lottery (Clone Market Insights)
In 2026, the vast majority of makers are buying third-party clone boards rather than official Arduino hardware, primarily due to supply chain shifts and the sheer cost-effectiveness of bulk buying. This brings us to the USB-to-Serial interface, which is a massive point of divergence.
Originals vs. CH340 Clones
Official Unos use the ATmega16U2 programmed as a USB-to-Serial converter, while official Nanos use the FTDI FT232RL. Both are plug-and-play on modern operating systems. However, almost all budget clones (priced between $3 and $6 on Amazon or AliExpress) utilize the WCH CH340G or CH340C chip.
"I bought a 5-pack of Nano clones for a high school robotics class. Plugged them into the lab's Windows 11 machines, and nothing happened. No COM port. The CH340 driver isn't bundled with Windows by default like the 16U2 is. Always keep the WCH driver installer on your USB stick." — u/RoboticsTeacher88, r/arduino
If you are deploying Nano clones in a classroom or kiosk environment, you must pre-install the CH340 drivers. The most reliable, up-to-date, and malware-free source for these drivers is the official WCH-IC GitHub repository. Avoid random driver download sites, as they frequently bundle adware.
IDE Troubleshooting: The "Old Bootloader" Trap
If you have ever selected the Nano in the Arduino IDE, hit upload, and been met with a wall of red text reading avrdude: stk500_recv(): programmer is not responding, you have encountered the community's most infamous rite of passage.
Older Nanos (and many cheap clones that copied older factory images) ship with the legacy ATmega168 bootloader or an older version of the Optiboot bootloader. The default "Arduino Nano" selection in Arduino IDE 2.x assumes the modern Optiboot baud rate.
The 10-Second Community Fix
- Open the Arduino IDE and load your sketch.
- Navigate to Tools > Board and ensure Arduino Nano is selected.
- Next, go to Tools > Processor.
- Change the selection from "ATmega328P" to "ATmega328P (Old Bootloader)".
- Recompile and upload. The IDE will now use the correct 57600 baud rate instead of 115200, and your sketch will upload flawlessly.
Power Delivery & Failure Modes
When moving from a breadboard to a permanent enclosure, power delivery becomes a critical differentiator in the nano vs uno arduino debate.
- The Uno's Polyfuse: The Uno features a resettable PTC polyfuse on the USB VBUS line. If your shield or external circuit draws more than 500mA (or creates a short), the fuse trips, protecting your computer's USB port. Once the fault is removed, the fuse resets.
- The Nano's Vulnerability: The Nano lacks this polyfuse. If you accidentally short a 5V pin to ground while powered via USB, you risk pulling excessive current directly from your host machine's USB controller, potentially damaging the Nano's USB traces or your computer's port.
- Voltage Regulator Limits: Both boards typically use a linear regulator (like the NCP1117 on originals or AMS1117 on clones) to drop external VIN (7-12V) down to 5V. Because it is a linear regulator, the excess energy is burned as heat. Community thermal imaging tests show that drawing more than 150mA from the 5V pin while powering the board via 12V on the VIN pin will cause the regulator to overheat and trigger thermal shutdown. For high-current 5V loads, always use a dedicated buck converter module (like the LM2596) rather than relying on the onboard regulator.
Community Project Showcase: When to Use Which
Choose the Uno When:
- Building a Modular Rover: You need to stack a motor shield, a sensor shield, and a Bluetooth module without soldering.
- Classroom Environments: The DIP-28 socketed chip allows students to swap out a fried ATmega328P for $5 rather than replacing the entire board.
- Heavy I/O Shielding: You are utilizing off-the-shelf relay shields or CNC shields that are physically dimensioned for the Uno's mounting holes.
Choose the Nano When:
- Custom PCB Integration: You are designing a custom shield and want to socket the Nano, allowing the "brain" to be easily removed for firmware updates or repurposing.
- Wearable or Compact Enclosures: The 45x18mm footprint fits inside standard Altoids tins, 3D-printed drone payloads, and custom guitar pedal housings.
- Permanent Breadboard Prototypes: You want to leave the circuit assembled on a breadboard for weeks of testing without the bulk of the Uno getting in the way of your hands and oscilloscope probes.
Final Verdict from the Makers
The nano vs uno arduino argument isn't about which board is superior; it is about selecting the right physical interface for your project's lifecycle. The Uno is the ultimate development and shield-stacking platform, offering socketed chip replacement and robust power protection. The Nano is the master of spatial efficiency, offering breadboard perfection and extra analog pins for sensor-heavy, compact builds. By understanding the quirks of clone USB chips and bootloader baud rates, you can leverage either board to its fullest potential in your 2026 maker projects.