
The Evolution of Mobile Microcontroller Development
In the modern maker ecosystem, being tethered to a bulky laptop is no longer a requirement. By 2026, the processing power of mid-range smartphones easily rivals the desktop machines that originally birthed the maker movement. For field engineers, robotics hobbyists, and IoT developers, deploying code directly from a mobile device is a massive workflow upgrade. However, finding reliable arduino software android solutions requires navigating a maze of driver compatibility, USB power limits, and mobile OS permission structures.
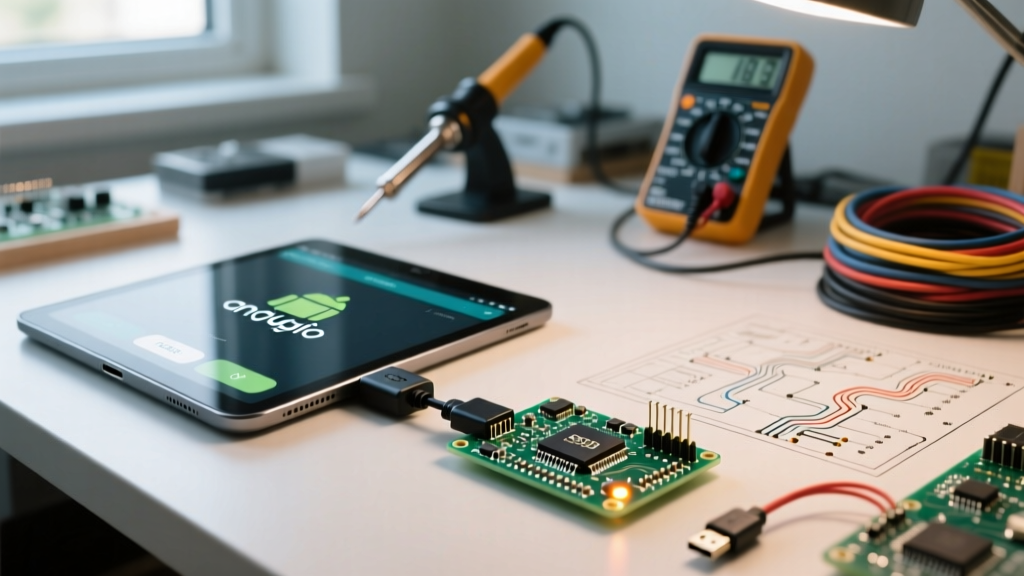
This comprehensive tutorial will walk you through the exact hardware, applications, and configuration steps required to compile, flash, and debug Arduino sketches directly from your Android smartphone or tablet using a USB On-The-Go (OTG) connection.
Hardware Prerequisites: Beyond the Basic Cable
The physical bridge between your Android device and your microcontroller is the USB OTG adapter. Do not rely on cheap, unbranded gas-station adapters; they often lack the proper internal wiring for data transmission and suffer from severe voltage drops.
Selecting the Right OTG Adapter
You need an adapter that supports USB 2.0 data lines (D+ and D-) and can handle at least 500mA of current draw. We recommend the UGREEN USB-C to USB-A 3.0 OTG Adapter (typically priced around $8 to $12). Its braided shielding prevents electromagnetic interference (EMI) from disrupting the serial data packets during the avrdude upload process.
Pro-Tip on Cable Length: Keep your total USB cable run (OTG adapter + Arduino USB cable) under 0.75 meters. Longer runs on unpowered hubs cause voltage drops that can trigger the ATmega328P's Brown-Out Detection (BOD), resulting in a corrupted bootloader or an infinite reset loop during flashing.
Microcontroller Board Compatibility Matrix
Not all Arduino boards play nicely with Android's native USB host drivers. The USB-to-Serial converter chip on the board dictates your success rate.
| Microcontroller Board | USB Interface Chip | Android OTG Compatibility | Idle Power Draw |
|---|---|---|---|
| Arduino Uno R3 (Genuine) | ATmega16U2 | Excellent (Native CDC-ACM) | ~45mA |
| Arduino Nano V3.0 (Clone) | CH340G / CH340C | Moderate (Requires App Driver) | ~20mA |
| Arduino Mega 2560 | ATmega16U2 | Good (High power draw warning) | ~75mA |
| ESP32-DevKitC | CP2102 / CH340 | Poor (Use WiFi/BLE OTA instead) | ~80mA |
For the most frictionless experience, genuine boards utilizing the ATmega16U2 chip are highly recommended, as Android natively recognizes them as CDC-ACM serial devices without requiring proprietary driver hacks.
Choosing the Best Arduino Software for Android
When searching the Play Store, you will encounter several apps claiming to offer a mobile IDE. Only two consistently maintain the toolchains required for modern C++ compilation.
1. ArduinoDroid (Recommended)
Developed by Itai Agmon, ArduinoDroid is the gold standard for mobile AVR development. It packages a localized gcc-avr compiler and avrdude uploader, meaning standard sketches compile entirely offline. The free version supports the Uno and Nano but includes ads. Upgrading to the Premium tier (a one-time $5.99 purchase) unlocks the Mega, Leonardo, and custom library imports via ZIP files.
2. Bluino Loader
Bluino Loader is a solid alternative, particularly if you are working with Bluetooth (HC-05/HC-06) modules. While its offline compilation engine is slightly slower on older ARM processors, it features a streamlined UI for pushing code over serial Bluetooth connections, bypassing the need for a physical cable entirely.
Step-by-Step: Flashing a Sketch via USB OTG
Follow this precise sequence to ensure your Android device correctly mounts the Arduino and grants the necessary permissions.
- Prepare the Sketch: Open ArduinoDroid and write your code. For this test, use the standard
Blink.inosketch to minimize compilation time and isolate hardware variables. - Physical Connection: Plug the USB-A end of your Arduino's cable into the OTG adapter, and plug the USB-C end into your Android device.
- Grant USB Permissions: Android 14 and 15 enforce strict USB accessory permissions. A prompt will appear asking: 'Allow ArduinoDroid to access [USB Device]?' Check the box that says 'Always open this app when device is connected' and tap OK. Failing to check this box will cause the upload to fail silently on subsequent attempts.
- Select the Board and Port: In the app's top menu, navigate to Settings > Board Type and select 'Arduino Uno'. Then, go to Settings > Serial Port and select the active USB device (usually listed as
/dev/bus/usb/001/002or similar). - Compile and Upload: Tap the lightning bolt icon to compile. Check the console for '0 Errors'. Once compiled, tap the upload arrow. You will see the familiar
avrdude: writing flash...terminal output.
Monitoring Serial Data on the Go
Debugging in the field requires a reliable Serial Monitor. ArduinoDroid includes a built-in terminal, but for heavy data logging (such as parsing NMEA sentences from a GPS module), we recommend pairing your workflow with the Serial USB Terminal app by Kai Morich.
This dedicated terminal app allows you to set precise baud rates (from 300 to 115200), configure hardware flow control (RTS/CTS), and log incoming hex or ASCII data directly to your phone's local storage. Ensure your sketch's Serial.begin(9600); matches the terminal app's configured baud rate exactly, or you will receive garbled unicode characters.
Advanced Edge Cases and Troubleshooting
Mobile development introduces unique failure modes that desktop users rarely encounter. Here is how to solve the most common roadblocks.
Brownout Resets During Upload
The Symptom: The Arduino's onboard LED flickers rapidly, the upload halts at 10%, and the app throws an avrdude: stk500_recv(): programmer is not responding error.
The Cause: Your smartphone's USB-C port is limiting current output to 100mA to preserve battery, but your Arduino (especially if a sensor shield is attached) is attempting to draw 300mA. The voltage drops below 4.3V, triggering a hardware reset.
The Fix: Disconnect all power-hungry peripherals (relays, LCD screens, motors) before uploading. If you must flash a fully assembled robot, insert a powered USB 3.0 hub between the OTG adapter and the Arduino to inject external 5V power.
CH340 Clone Driver Failures
The Symptom: The app detects a USB device, but the serial port dropdown is grayed out.
The Cause: You are using a clone Nano with a CH340G chip, and your specific Android kernel lacks the ch341.ko kernel module.
The Fix: ArduinoDroid includes a software-based fallback driver for the CH340. Go to Settings > Advanced and enable 'Force Custom USB Serial Driver'. Alternatively, swap the clone board for a genuine Arduino Nano Every, which uses native USB support.
Scoped Storage Library Errors
The Symptom: You attempt to import a custom .zip library, but the app crashes or fails to read the file.
The Cause: Modern Android versions enforce 'Scoped Storage', restricting apps from reading arbitrary directories on your SD card.
The Fix: Move your downloaded library ZIP files into the dedicated Android/data/it.agmon.androiddroid/files/libraries/ folder using a file manager like Solid Explorer before attempting the import inside the app.
Conclusion
Mastering the mobile maker workflow requires understanding the intersection of hardware power limits and mobile OS security protocols. By investing in a high-quality OTG adapter, choosing native-CDC microcontroller boards, and configuring your Android permissions correctly, you can transform your smartphone into a fully capable, pocket-sized development environment. Whether you are recalibrating a drone flight controller on a windy hillside or tweaking the timing on an automated greenhouse irrigation system, deploying Arduino software from an Android device offers unparalleled flexibility for the modern engineer.
For deeper technical specifications on mobile USB protocols, refer to the Android USB Host and Accessory APIs Documentation. Additionally, the Arduino USB Communication Guide provides excellent schematics for understanding how the ATmega16U2 bridges serial data to your mobile device.