
The Prototyping Bottleneck in Basic GPIO Workflows
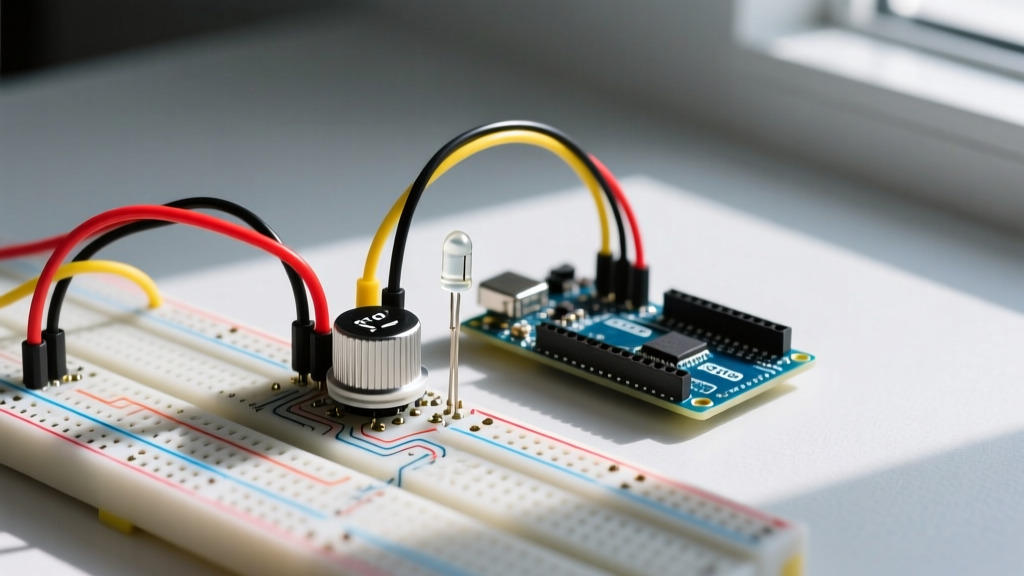
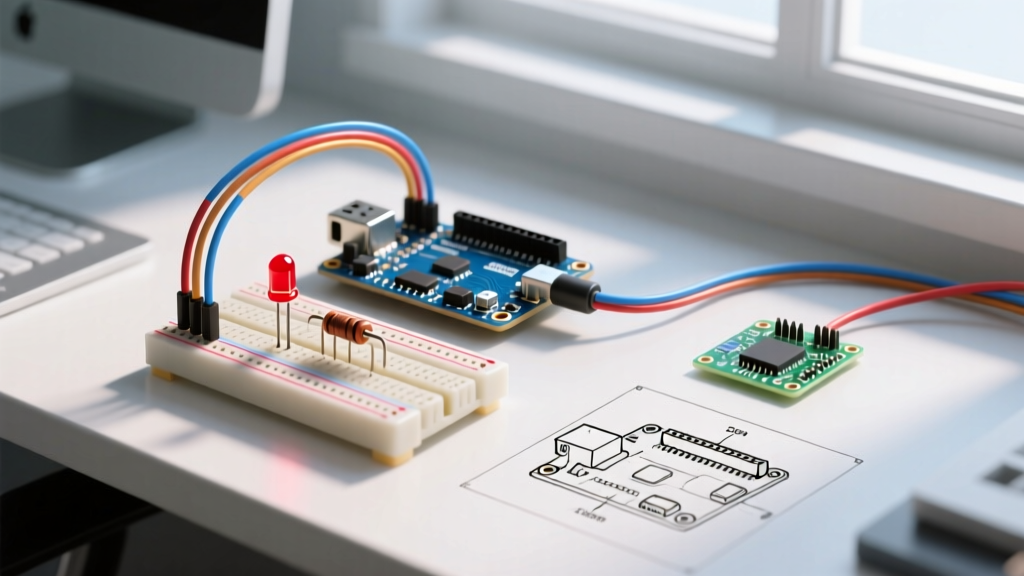
Every electronics maker begins their journey with a button with LED Arduino circuit. It is the undisputed "Hello World" of hardware prototyping. However, the vast majority of legacy tutorials teach inefficient, blocking, and hardware-heavy methodologies that do not scale to complex 2026 production environments. When you are iterating on a commercial IoT enclosure or building a complex MIDI controller, treating a simple GPIO toggle as an afterthought will introduce technical debt, wiring spaghetti, and CPU-blocking bottlenecks.
Optimizing your workflow for this fundamental circuit requires a paradigm shift. By leveraging internal microcontroller features, applying rigorous electrical math to component selection, and adopting non-blocking software architectures, you can reduce your Bill of Materials (BOM), eliminate phantom triggers, and free up your MCU to handle concurrent tasks. This guide deconstructs the button and LED circuit from a senior engineering perspective, focusing entirely on workflow optimization and edge-case mitigation.
BOM Reduction: Leveraging Internal Pull-Ups
The most common workflow error in beginner schematics is the inclusion of an external 10kΩ pull-down or pull-up resistor for every mechanical switch. This adds unnecessary BOM cost, consumes breadboard real estate, and increases wiring complexity. Modern microcontrollers, including the ATmega328P found in classic boards and the Renesas RA4M1 in the Arduino Uno R4 Minima, feature configurable internal pull-up resistors typically ranging from 20kΩ to 50kΩ.
Workflow Rule #1: Never use an external pull-down resistor for a simple tactile switch unless you are operating in a high-EMI environment with wire runs exceeding 30cm. Use the MCU's internal pull-up and invert your logic in software.
By configuring your pin mode to INPUT_PULLUP, the microcontroller internally connects the pin to VCC (5V or 3.3V) through a weak resistor. You then wire the switch directly between the digital pin and Ground (GND). When the button is open, the pin reads HIGH. When pressed, it shorts to GND and reads LOW. This simple inversion eliminates two components (the resistor and an extra jumper wire to VCC) per switch.
BOM Comparison: Traditional vs. Optimized Topology
| Topology | Components per Switch | Jumper Wires Required | Logic State (Pressed) | Breadboard Nodes Used |
|---|---|---|---|---|
| External Pull-Down | Switch + 10kΩ Resistor | 3 (VCC, GND, Signal) | HIGH | 4 |
| Internal Pull-Up | Switch Only | 2 (GND, Signal) | LOW | 2 |
Circuit Topology and Component Math
Workflow optimization also means understanding exactly why you are selecting specific passive components, rather than blindly copying legacy schematics. Let us examine the LED current-limiting resistor and the tactile switch selection.
Precision LED Current Limiting
Do not default to a 330Ω or 1kΩ resistor without calculating the target luminosity and power dissipation. Assume you are using a standard 5mm Kingbright WP7113SRD red LED with a forward voltage ($V_f$) of 1.8V and a maximum continuous forward current ($I_f$) of 20mA, powered by a 5V Uno R4 logic pin.
- Ohm's Law Calculation: $R = (V_{source} - V_f) / I_f$
- Targeting 15mA (for longevity): $R = (5.0 - 1.8) / 0.015 = 213.3Ω$
- E12 Series Standard Value: 220Ω
Using a 220Ω resistor provides an optimal balance of brightness and thermal safety, drawing exactly 14.5mA. If you are prototyping a battery-powered wearable, you might intentionally target 5mA luminosity, stepping up to a 680Ω resistor to extend battery life by 300%.
Switch Selection and Contact Ratings
For rapid prototyping, the Omron B3F-1000 series (6x6mm through-hole tactile switch) remains the industry standard. It features a SPST-NO (Single Pole, Single Throw, Normally Open) configuration with a 50mA @ 24VDC contact rating. Never route high-current loads (like a 12V relay coil or a motor) directly through these tactile switches; the resulting inductive kickback and contact arcing will weld the internal copper contacts shut within minutes. Always use the button to trigger a logic-level MOSFET or a solid-state relay.
Software Workflow: Ditching delay() for State Machines
The most detrimental habit in MCU programming is relying on the delay() function for timing and debouncing. delay() is a blocking function; it halts the CPU, preventing the microcontroller from polling sensors, updating displays, or maintaining network connections. To optimize your button with LED Arduino workflow, you must implement a non-blocking, edge-triggered state machine using millis().
An optimized software workflow tracks three variables: the previous state of the button, the current state, and the timestamp of the last valid state change. This ensures your code only executes the LED toggle logic on the exact millisecond the button transitions from HIGH to LOW (a falling edge), completely ignoring the duration the button is held down.
The Non-Blocking Edge-Detection Pattern
- Read the current digital state of the pin.
- Compare it against the stored previous state.
- If a change is detected, record the
millis()timestamp. - If the state remains stable for the debounce window (e.g., 50ms), execute the payload (toggle LED).
- Update the previous state variable for the next loop iteration.
This architecture guarantees that your main loop() executes thousands of times per second, keeping your application fully responsive to secondary inputs.
Tackling Switch Bounce: Hardware vs. Software Approaches
Mechanical switch contacts do not close cleanly. As documented in Jack Ganssle's definitive guide to debouncing, physical contacts vibrate and bounce for 1ms to 50ms before settling. If your software polls the pin at 1MHz, a single button press will register as dozens of distinct triggers.
Why Software Debouncing Wins in 2026
While hardware debouncing using an RC (Resistor-Capacitor) low-pass filter combined with a Schmitt trigger inverter (like the 74HC14) guarantees a clean square wave, it is a massive workflow bottleneck for rapid prototyping. It requires calculating RC time constants ($\tau = R \times C$), sourcing specific capacitor values, and consuming extra board space.
Software debouncing via a millis() timer is the superior workflow choice for 99% of applications. By simply ignoring any state changes that occur within 50ms of the initial trigger, you filter out the mechanical noise using zero additional hardware components. The only exception where hardware filtering is mandatory is in safety-critical industrial machinery or environments with severe Radio Frequency Interference (RFI), where a 0.1µF ceramic capacitor placed physically adjacent to the switch pins is required to shunt high-frequency noise to ground.
Edge Cases and Failure Modes in GPIO Workflows
When scaling your prototype from a messy breadboard to a wired enclosure, several edge cases will break a naive button and LED implementation.
The Floating Pin Phantom Trigger
If a wire connecting your button to the MCU breaks or loses continuity on a breadboard, the pin becomes "floating." A floating pin acts as a high-impedance antenna, picking up 50Hz/60Hz mains hum and electromagnetic noise from nearby components. This results in phantom LED toggles. Solution: Always ensure your internal pull-ups are active, and for wire runs longer than 15cm, add an external 4.7kΩ pull-up resistor at the MCU pin to lower the impedance and increase noise immunity, as recommended in SparkFun's pull-up resistor guidelines.
Inductive Kickback from Long LED Leads
If you are driving an LED array or using exceptionally long, unshielded wires to a remote panel LED, the parasitic inductance of the wire can cause voltage spikes when the GPIO pin switches LOW. While rarely fatal to a single 5mm LED, it can degrade the MCU's GPIO port over time. Twisting the LED wire pair (Signal and GND) cancels out the magnetic field and mitigates this inductive effect.
Frequently Asked Questions (FAQ)
Can I wire the LED directly to the button without an MCU pin?
Yes, this is a purely hardware-level circuit. However, doing so bypasses the microcontroller entirely, meaning you lose the ability to log the button press, trigger secondary software events, or implement complex timing sequences. For workflow optimization, always route the button through a digital input pin, and drive the LED from a separate digital output pin.
Does the Uno R4 Minima handle 5V logic for buttons safely?
The Uno R4 Minima operates on a 5V logic level via its onboard regulator, making it directly compatible with standard 5V tactile switches and LEDs. However, if you are migrating to 3.3V boards like the Arduino Nano ESP32, you must recalculate your LED current-limiting resistors ($R = (3.3 - 1.8) / 0.015 = 100Ω$) to maintain identical brightness.
How do I handle multiple buttons without running out of pins?
For workflows requiring more than 6 buttons, abandon direct GPIO wiring. Transition to an I2C GPIO expander like the MCP23017, which provides 16 additional configurable pins using only two MCU wires (SDA/SCL). This drastically optimizes your wiring harness and preserves the MCU's hardware interrupt pins for time-critical sensors.