
Understanding the Arduino Beetle Form Factor
When makers need a microcontroller for space-constrained projects, the Arduino Nano and Pro Micro usually dominate the conversation. However, the Arduino Beetle—a ultra-compact, circular development board measuring just 28mm in diameter—offers a unique alternative for wearables, macro keyboards, and embedded HID (Human Interface Device) projects. Originally popularized by DFRobot (SKU: DFR0282) and now widely available as generic ATmega32U4 clones, the Beetle packs the full power of an Arduino Leonardo into a footprint smaller than a coin.
Unlike boards based on the ATmega328P, the Beetle is built around the Microchip ATmega32U4 microcontroller. This architectural choice fundamentally changes how the board interacts with your computer, replacing the traditional USB-to-UART bridge chip with a native USB controller. In this guide, we will dissect the hardware specifications, uncover critical pinout traps that catch beginners off guard, and provide expert-level troubleshooting for native USB programming.
Hardware Specifications and Market Availability
As of 2026, the market for ATmega32U4 mini-boards has matured. While genuine DFRobot Beetles remain a staple for educational kits, generic clones are prevalent in the maker community. Below is a detailed breakdown of the core hardware specifications.
| Specification | Arduino Beetle Details |
|---|---|
| Microcontroller | ATmega32U4 (8-bit AVR) |
| Operating Voltage | 5V DC (Logic Level) |
| Clock Speed | 16 MHz |
| Flash Memory | 32 KB (4 KB reserved for bootloader) |
| SRAM | 2.5 KB |
| EEPROM | 1 KB |
| Digital I/O Pins | 20 (including shared analog/I2C/SPI pins) |
| PWM Channels | 7 (Pins 3, 5, 6, 9, 10, 11, 13) |
| Dimensions | 28mm x 28mm (Circular) |
| Typical Price (2026) | $9.00 - $12.00 (Genuine) / $3.50 - $5.50 (Clone) |
The ATmega32U4 Pinout Traps: What You Must Know
The most common point of failure when migrating from an Arduino Nano (ATmega328P) to the Arduino Beetle (ATmega32U4) is assuming the pinout mappings are identical. They are not. The 32U4 routes its internal peripherals differently, leading to two major "traps" that will leave your project non-functional if overlooked.
Trap 1: The I2C Bus Relocation
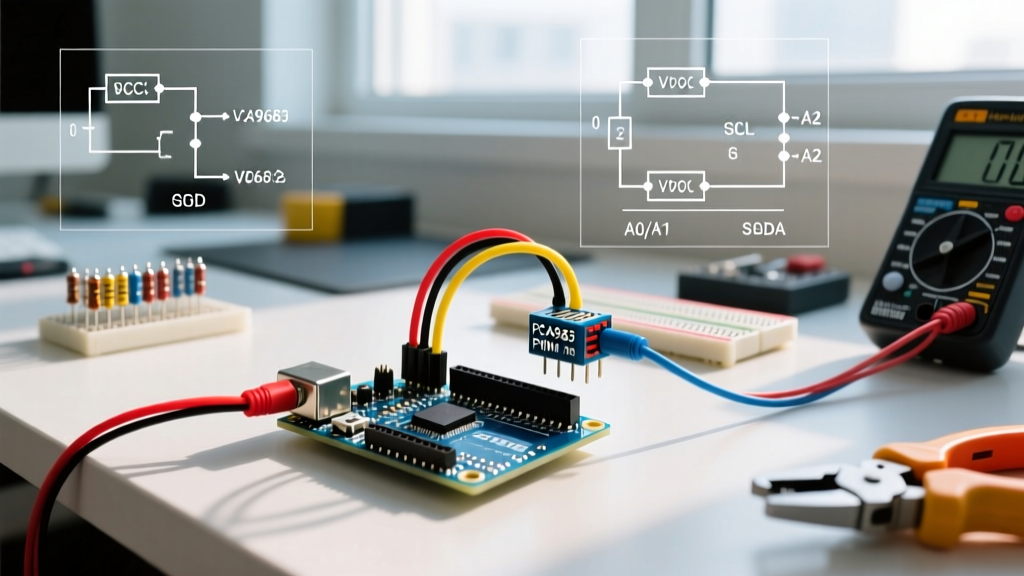
On standard 328P boards, the I2C bus (used for OLED displays, BME280 sensors, and RTC modules) is hardcoded to pins A4 (SDA) and A5 (SCL). On the Arduino Beetle, the hardware I2C bus is mapped to D2 (SDA) and D3 (SCL). If you wire an I2C sensor to A4 and A5 on a Beetle and call Wire.begin(), the microcontroller will not generate the necessary clock signals. You must physically route your SDA and SCL lines to D2 and D3, or rely on a slower software-based I2C library.
Trap 2: Serial vs. Serial1
Because the ATmega32U4 features native USB, the Serial object in your Arduino sketch does not communicate over hardware pins 0 (RX) and 1 (TX). Instead, Serial maps exclusively to the virtual USB CDC COM port. If you connect a hardware UART device—like a GPS module or a Bluetooth HC-05—to pins 0 and 1, you must use the Serial1 object in your code.
Expert Rule of Thumb: UseSerial.print()for debugging via the IDE Serial Monitor over USB. UseSerial1.print()when transmitting data to external hardware modules wired to the RX/TX pads.
Native USB and HID Capabilities
The defining feature of the Arduino Beetle is its ability to enumerate as a native USB device. Because the USB controller is built directly into the silicon, the board can mimic standard peripherals without requiring third-party drivers on modern operating systems. This makes it the premier choice for Human Interface Device (HID) projects.
Using the built-in Arduino Keyboard and Mouse Libraries, you can program the Beetle to act as a plug-and-play macro pad, a media controller, or an automated keystroke injector. Unlike boards that require firmware flashing to change their USB descriptors (like the CH32V003 or standard STM32 boards), the 32U4 handles HID reporting dynamically within the user sketch.
Example: 3-Key Macro Pad Configuration
When building a macro pad with the Beetle, you do not need external diodes if you are only using three buttons, as you can wire them directly to digital pins with internal pull-up resistors enabled. Here is the structural logic for a reliable HID macro setup:
- Initialize the HID stack using
Keyboard.begin()in thesetup()loop. - Configure button pins as
INPUT_PULLUPto eliminate the need for external 10kΩ pulldown resistors. - Implement a 20ms software debounce delay to prevent mechanical switch bounce from registering as double-keystrokes.
- Use
Keyboard.press()followed byKeyboard.releaseAll()rather thanKeyboard.write()to safely handle modifier keys (like Ctrl, Shift, or Alt).
Troubleshooting the "Bricked" COM Port Edge Case
Every maker working with the Arduino Leonardo and 32U4 architecture will eventually encounter the "disappearing COM port" issue. This is not a hardware defect; it is a quirk of how the bootloader and user code share the USB stack.
Why Does the Port Disappear?
When you plug the Beetle into your PC, the bootloader runs for approximately 8 seconds, checking for a new sketch upload. If no upload is detected, it hands control over to your user sketch. If your sketch contains a bug that crashes the USB stack (e.g., an infinite loop flooding the HID buffer without delays, or a memory leak corrupting the SRAM), the microcontroller fails to enumerate as a USB device. The OS drops the COM port, and the Arduino IDE 2.x will throw an "Upload Failed" or "Port Not Found" error.
The "Double-Tap" Recovery Method
You do not need an external ISP programmer to fix this. You can manually force the board back into bootloader mode using the reset pad:
- Step 1: Open your corrected sketch in the Arduino IDE and click Upload.
- Step 2: Watch the IDE console at the bottom of the screen. Wait for the text to change from "Compiling sketch..." to "Uploading...".
- Step 3: The exact millisecond you see "Uploading...", take a jumper wire and briefly short the RST pad to the GND pad twice in rapid succession.
- Step 4: This double-tap bypasses the user code and forces the bootloader into its 8-second listening window, allowing the IDE to push the fixed sketch over USB.
To prevent this issue in future HID projects, always include a delay(1000); at the very beginning of your setup() function. This gives the USB stack time to initialize and ensures you always have a window to upload new code before your HID loops begin executing.
Power Delivery and Wearable Integration
The Arduino Beetle operates at 5V logic, making it directly compatible with standard 5V sensors and WS2812B addressable LEDs. However, for wearable applications, powering the board requires careful consideration. The onboard voltage regulator can accept up to 12V on the VIN pad, but it lacks a heatsink. Supplying more than 7V will cause the linear regulator to overheat rapidly, triggering thermal shutdown.
For lithium-polymer (LiPo) wearable projects, the 3.7V nominal voltage of a single-cell LiPo is technically below the 5V requirement. While the ATmega32U4 can run at 16MHz on 3.7V in marginal conditions, it violates the Microchip datasheet specifications for stable clocking, leading to erratic USB enumeration. The professional approach is to pair the Beetle with a 5V USB power bank or use a tiny MT3608 boost converter module to step a 3.7V LiPo cell up to a stable 5.0V before feeding it into the Beetle's VCC and GND pads.
Summary
The Arduino Beetle remains an exceptional choice for makers who need native USB HID capabilities in the smallest possible footprint. By understanding the distinct differences in I2C routing, mastering the Serial1 hardware UART, and knowing how to recover from USB stack crashes, you can leverage this tiny ATmega32U4 board to build robust, professional-grade embedded devices.