
Beyond the Breadboard: Evolving Your DIY Security Node
Many makers begin their home automation journey by asking how to build an Arduino-based alarm system using a standard Arduino Uno and a basic passive infrared (PIR) sensor. While this legacy 5V setup is perfect for learning digital logic, it falls short in real-world deployment. Standard PIR sensors trigger false alarms from HVAC drafts, and USB-powered microcontrollers fail the moment the grid drops. In 2026, a reliable DIY security node requires robust edge computing, millimeter-wave (mmWave) presence detection, and failover power architectures.
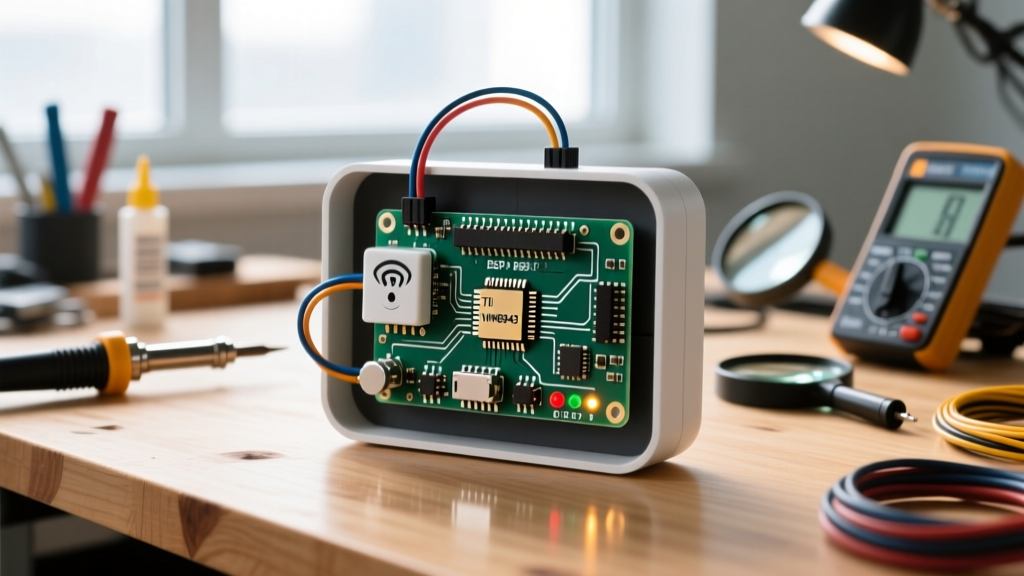
This migration guide transitions your prototype from a fragile 8-bit breadboard circuit into a deployment-ready, IoT-connected security system using the ESP32-S3 ecosystem. According to the NIST IoT Cybersecurity Guidelines, modern edge devices must incorporate secure network communication and hardware-level failovers to be considered viable for residential security.
Migration Prerequisites: Before tearing down your legacy Uno setup, ensure you have a 12V sealed lead-acid (SLA) battery for backup, a USB-to-UART programmer for the ESP32, and access to a local MQTT broker (like Eclipse Mosquitto or Home Assistant).Phase 1: Microcontroller Migration (Uno R3 to ESP32-S3)
The Arduino Uno R3, based on the ATmega328P, lacks native wireless capabilities and operates strictly at 16 MHz. To support encrypted MQTT payloads and local OTA (Over-The-Air) updates, we migrate to the ESP32-S3. The Espressif ESP32-S3 Technical Reference highlights its dual-core 240 MHz architecture and dedicated vector instructions for AI workloads, which are increasingly used for local acoustic anomaly detection in modern alarm systems.
| Feature | Legacy Arduino Uno R3 | Upgraded ESP32-S3-DevKitC-1 |
|---|---|---|
| Processing Core | 8-bit ATmega328P (16 MHz) | Dual-core Xtensa LX7 (240 MHz) |
| Connectivity | None (Requires bulky shields) | Native Wi-Fi 4 & Bluetooth 5 (LE) |
| Operating Voltage | 5V Logic | 3.3V Logic (Requires level shifting) |
| Deep Sleep Current | ~15 mA (Unusable for battery backup) | ~10 µA (Ideal for UPS failover) |
| Approx. Cost (2026) | $28.00 (Official) / $14.00 (Clone) | $6.50 - $8.50 |
Handling 3.3V Logic Level Shifting
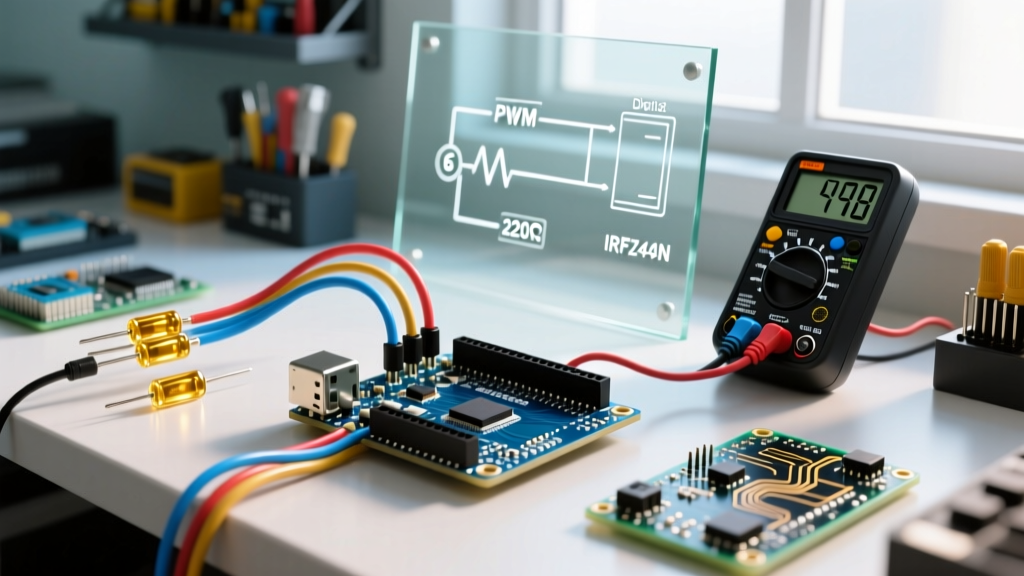
A critical edge case during this migration is the voltage mismatch. Legacy 5V relays and sirens will not trigger reliably on the ESP32's 3.3V GPIO pins. Instead of using a logic level shifter for every pin, upgrade your relay modules to opto-isolated 3.3V trigger boards, or use a dedicated N-channel MOSFET (like the 2N7000) to drive 5V relay coils safely.
Phase 2: Sensor Upgrades (PIR to mmWave Radar)
The HC-SR501 PIR sensor detects changes in infrared signatures. While cheap ($2), it is notorious for false positives caused by sunlight, pets, and heating vents. Furthermore, PIR cannot detect a stationary intruder. The modern standard for DIY security is the HLK-LD2410 24GHz mmWave Radar Sensor (approx. $4.50).
- Doppler Effect Detection: Detects micro-movements, including human breathing and heartbeats, up to 6 meters away.
- Configurable Gating: Using the manufacturer's Bluetooth app, you can map out 'blind zones' to ignore ceiling fans or moving curtains.
- UART Communication: Unlike the simple digital HIGH/LOW of a PIR, the LD2410 outputs real-time distance and energy data via UART at 256,000 baud.
Expert Wiring Tip: Connect the LD2410 TX/RX pins to the ESP32-S3's hardware UART2 pins (GPIO 16 and 17). Do not use SoftwareSerial on the ESP32-S3 for high-baud-rate sensors, as interrupt conflicts with the Wi-Fi radio stack will cause dropped radar frames and missed intrusions.
Phase 3: Power Supply & Failover Architecture
An alarm system that dies during a power outage is a critical security failure. Relying on a standard 5V USB wall wart is unacceptable. We must design a continuous 12V-to-5V UPS architecture.
- Primary Source: A 12V 2A AC/DC wall adapter.
- Backup Source: A 12V 7Ah Sealed Lead-Acid (SLA) battery connected in parallel via a blocking diode (e.g., 1N5408) to prevent back-feeding.
- Step-Down Regulation: Use a high-efficiency buck converter like the Pololu 2110 D24V10F5 ($6.50). This module steps the 12V-14V input down to a clean 5V at up to 1A, handling the massive current spikes required when the ESP32-S3 transmits Wi-Fi data.
Calculating the Power Budget
When sizing your backup battery, you must account for the system's active draw. The ESP32-S3 draws roughly 80mA at idle, spiking to 350mA during Wi-Fi transmission. The HLK-LD2410 draws a constant 70mA. A 7Ah SLA battery, derated by 50% to preserve its lifespan, provides 3.5Ah of usable capacity. At an average continuous draw of 200mA, this yields over 17 hours of runtime during a grid failure.
Phase 4: Software Logic & Edge Case Mitigation
Migrating the codebase requires moving away from simple delay() loops to a non-blocking Finite State Machine (FSM). The Arduino Official Documentation strongly advocates for millis()-based timing for any application where missed sensor events could compromise safety.
Addressing the ESP32 Brownout Detector
The most common failure mode when upgrading to the ESP32-S3 for security applications is the 'Brownout detector was triggered' panic. This occurs when the Wi-Fi radio initiates a transmission, causing a sudden voltage droop on the 5V rail that the ESP32's internal voltage regulator misinterprets as a power failure.
The Hardware Fix: Solder a 470µF low-ESR electrolytic capacitor directly across the 5V and GND pins on the ESP32-S3 DevKit. This provides a localized energy reservoir to handle the microsecond current spikes without pulling down the main bus voltage.
MQTT Payload Structure
For seamless integration with Home Assistant or custom dashboards, publish sensor data as structured JSON rather than raw strings. This allows your automation hub to parse distance and energy levels independently.
{
  "device": "security_node_01",
  "status": "ARMED_AWAY",
  "radar": {
    "target_detected": true,
    "distance_cm": 345,
    "energy": 88
  },
  "tamper": false,
  "uptime_s": 84502
}
Troubleshooting Common Upgrade Failures
- Ghost Triggers on GPIO Pins: The ESP32-S3 is highly sensitive to floating pins. If your door magnetic reed switches are wired directly to GPIOs, ensure you enable internal pull-up resistors in your initialization code (
INPUT_PULLUP) and place a 100nF ceramic capacitor across the switch terminals to debounce EMI from nearby AC wiring. - Wi-Fi Reconnection Loops: If your router reboots, the ESP32 may get stuck in a connection loop, freezing the alarm logic. Implement a watchdog timer (WDT) that forces a hard reboot if the Wi-Fi connection fails to establish within 120 seconds.
- mmWave Interference: Mounting the HLK-LD2410 directly against a metal enclosure will reflect the 24GHz signal backward, blinding the sensor. Always use a plastic (ABS/PLA) fascia or radome for the sensor housing.
Conclusion
Understanding how to build an Arduino-based alarm system in the modern era means looking past the basic tutorials. By migrating from the Arduino Uno to the ESP32-S3, swapping fragile PIR sensors for mmWave radar, and engineering a robust 12V UPS power topology, you transform a fragile hobby project into a resilient, commercial-grade security node capable of protecting your home through grid failures and network anomalies.