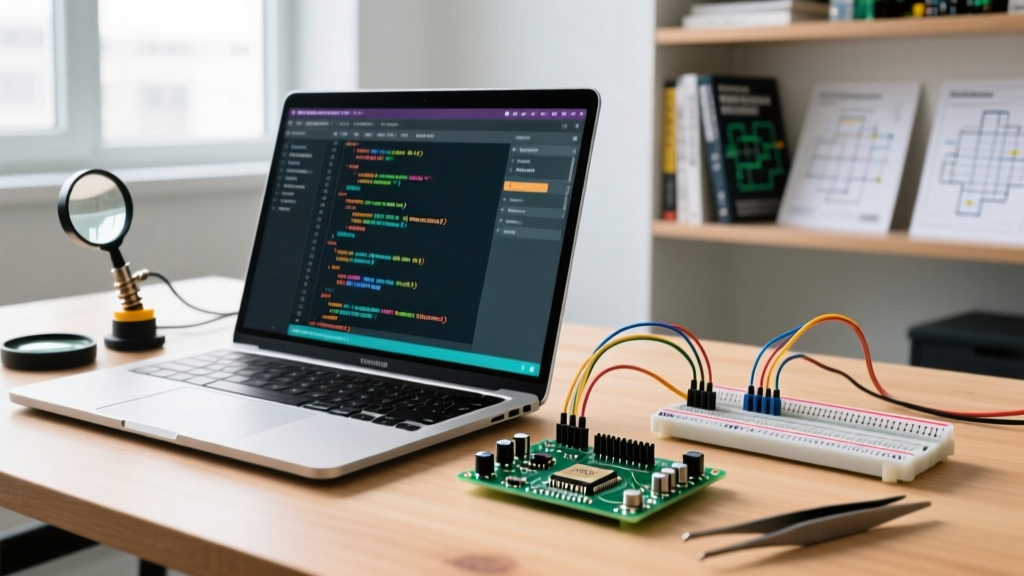

The "Visual Studio Arduino" Terminology Trap
When makers and embedded engineers search for a Visual Studio Arduino workflow, they are usually looking for one of two distinct environments. Clarifying this distinction is critical before you install the wrong toolchain and waste hours troubleshooting compiler paths.
- Visual Studio Code (VS Code): The lightweight, cross-platform editor. Most developers use this with either the official Microsoft Arduino extension or the PlatformIO ecosystem.
- Visual Studio (The Full IDE): The heavy, enterprise-grade Windows IDE (e.g., Visual Studio 2022). To compile Arduino sketches here, you must use a third-party plugin called Visual Micro.
This quick reference FAQ addresses setup, Intellisense configuration, and upload troubleshooting for both environments, ensuring your microcontroller workflow is optimized for modern development standards.
Quick Comparison Matrix: VS Code vs. Visual Studio
| Feature | VS Code + Arduino Ext | VS Code + PlatformIO | Visual Studio + Visual Micro |
|---|---|---|---|
| Target Audience | Beginners, Educators | Intermediate to Pro Makers | Enterprise, C#/.NET Devs |
| Cost | Free | Free (Core) | ~$60/year (Pro License) |
| Board Management | Relies on Arduino IDE backend | Independent CLI/Engine | Syncs with Arduino IDE 1.8/2.x |
| Hardware Debugging | Limited (via cortex-debug) | Excellent (GDB/OpenOCD) | Native Visual Studio Debugger |
| Build Speed | Moderate | Fast (Caching) | Fast (MSBuild integration) |
Setup & Installation FAQs
How do I set up the official Arduino extension in VS Code?
First, you must have the Microsoft Arduino Extension installed. However, the extension is just a frontend; it requires the actual Arduino IDE installed on your system to access the compiler toolchains and board cores.
- Install Arduino IDE 2.x (or 1.8.x for legacy support) from the official Arduino website.
- Open VS Code, go to Extensions, and install
vsciot-vscode.vscode-arduino. - Open your VS Code settings (
Ctrl+,) and search forarduino.path. Point this to your Arduino IDE installation directory (e.g.,C:\Program Files\Arduino IDEon Windows). - Set
arduino.commandPathto the actual executable (e.g.,arduino-cli.exeorarduino_debug.exedepending on your IDE version).
Can I use Visual Studio 2022 for Arduino development?
Yes, but not natively. You must install Visual Micro. Visual Micro hooks into the Arduino board manager and translates Arduino sketches (.ino) into standard C++ projects that the MSBuild compiler can understand. The free version allows compiling and uploading, but the Pro version (~$60/year) unlocks advanced serial debugging, memory profiling, and hardware breakpoint support.
Intellisense & Code Navigation Fixes
Why do I see red squiggly lines under #include <Arduino.h>?
This is the most common FAQ in the Visual Studio Arduino ecosystem. The C/C++ Intellisense engine does not automatically know where the Arduino core libraries or third-party board packages (like ESP32 or STM32) are stored.
The Fix: You must configure the c_cpp_properties.json file.
- Press
Ctrl+Shift+Pand typeC/C++: Edit Configurations (JSON). - Locate the
includePatharray. You need to add the recursive paths to your board cores. For Windows users, this typically looks like:"C:/Users/YOUR_USER/AppData/Local/Arduino15/packages/esp32/hardware/esp32/3.0.0/**" - Crucially, update the
compilerPathto point to the exactavr-g++orxtensa-esp32-elf-g++executable buried in your Arduino15 packages folder. This allows Intellisense to parse compiler-specific macros correctly.
How does PlatformIO handle Intellisense differently?
If you use PlatformIO, you rarely touch c_cpp_properties.json manually. PlatformIO's build engine automatically generates the Intellisense configuration based on your platformio.ini environment settings. If Intellisense breaks, simply click the PlatformIO alien icon in the sidebar and select Rebuild Intellisense Index.
Compilation & Upload Troubleshooting
Why does my upload fail with "programmer is not responding" in VS Code?
This avrdude error usually occurs because the VS Code Serial Monitor is currently holding the COM port hostage. Unlike the Arduino IDE, which automatically suspends the serial monitor during an upload sequence, VS Code requires manual intervention.
Actionable Fix: Always close the Serial Monitor tab or click the "Disconnect" plug icon in the bottom status bar before hitting the Upload button. If using a clone board with a CH340G chip, ensure you have the latest 2025/2026 CH340 driver installed, as older drivers frequently drop DTR/RTS handshake signals required to trigger the bootloader.
My ESP32 board is missing from the VS Code Board Manager. How do I fix this?
Espressif frequently updates their GitHub repository structures, which breaks legacy board manager URLs. If you are using the old package_esp32_index.json URL, it will fail to fetch ESP32 v3.x cores.
Pro Tip: Always use the official stable JSON URL provided in the Espressif Arduino core documentation. As of 2026, ensure your Arduino IDE preferences (which VS Code reads) are pointed to the actively maintained release index, and restart the VS Code window to force a cache refresh.
Advanced Debugging & Hardware Probes
Can I set hardware breakpoints on an Arduino Uno in Visual Studio?
No. The ATmega328P chip on the Arduino Uno does not support on-chip hardware debugging (JTAG/SWD). You are limited to software serial debugging (using Serial.println() or Visual Micro's software trace injection).
What hardware do I need for true hardware debugging in VS Code?
To utilize the powerful cortex-debug extension in VS Code or the native Visual Micro debugger, you need a microcontroller with a debug interface (like the ARM Cortex-M based Arduino Due, Zero, or Giga R1) and a compatible debug probe.
- Segger J-Link EDU Mini (~$60): The gold standard for ARM Cortex debugging. Flawless OpenOCD integration in VS Code.
- Microchip Atmel-ICE (~$100): Required if you are debugging SAMD21/SAMD51 based boards (Arduino Zero/Nano 33 IoT) via SWD.
- ESP-Prog (~$15): Specifically for debugging the dual-core ESP32 via JTAG. Requires wiring the TMS, TCK, TDI, and TDO pins to the ESP32's specific GPIOs (e.g., GPIO 12, 13, 14, 15).
Summary: Which Workflow Should You Choose?
If you are writing simple sketches, teaching a class, or relying heavily on the Arduino Library Manager GUI, stick to VS Code with the official Arduino extension. If you are managing multi-file C++ projects, utilizing Git version control, and need robust RTOS debugging for ESP32 or STM32 boards, migrate to PlatformIO. Finally, if you are a .NET developer who refuses to leave the Visual Studio IDE ecosystem and requires deep memory profiling, invest in a Visual Micro license.