
The Reality of Battery Powered Arduino Projects
Transitioning an Arduino project from a USB-powered breadboard to a standalone, battery-powered deployment is where most makers hit a wall. A sketch that runs flawlessly on a desk suddenly resets in the field, drains a 2000mAh LiPo in three days, or fails to wake from sleep mode. Diagnosing a battery powered Arduino requires shifting your mindset from logic debugging to power-domain analysis. Voltage is not a static number; it is a dynamic waveform affected by temperature, load transients, and component parasitics.
This guide bypasses generic advice and dives deep into the specific failure modes, edge cases, and hardware-level diagnostics required to stabilize off-grid microcontroller deployments in 2026.
Diagnostic Triage: The 3-Step Power Audit
Before rewriting your sleep code or swapping batteries, you must establish a baseline of your hardware's actual power behavior. Do not trust the theoretical numbers on a datasheet; trust your bench equipment.
- Measure Quiescent Current (Iq): With the MCU in deep sleep and all peripherals disabled, measure the baseline current draw.
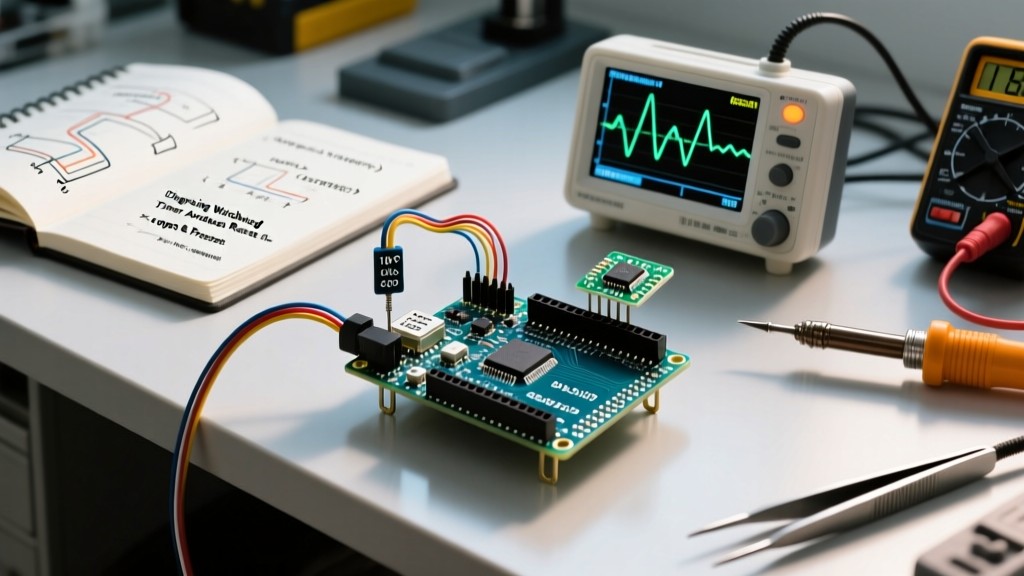
- Scope the VCC Rail: Use an oscilloscope to capture voltage sags during high-current transient events (e.g., radio transmission, relay switching).
- Profile the Wake Cycle: Capture the current signature from the moment the interrupt triggers to the moment the MCU returns to sleep.
The Multimeter Burden Voltage Trap
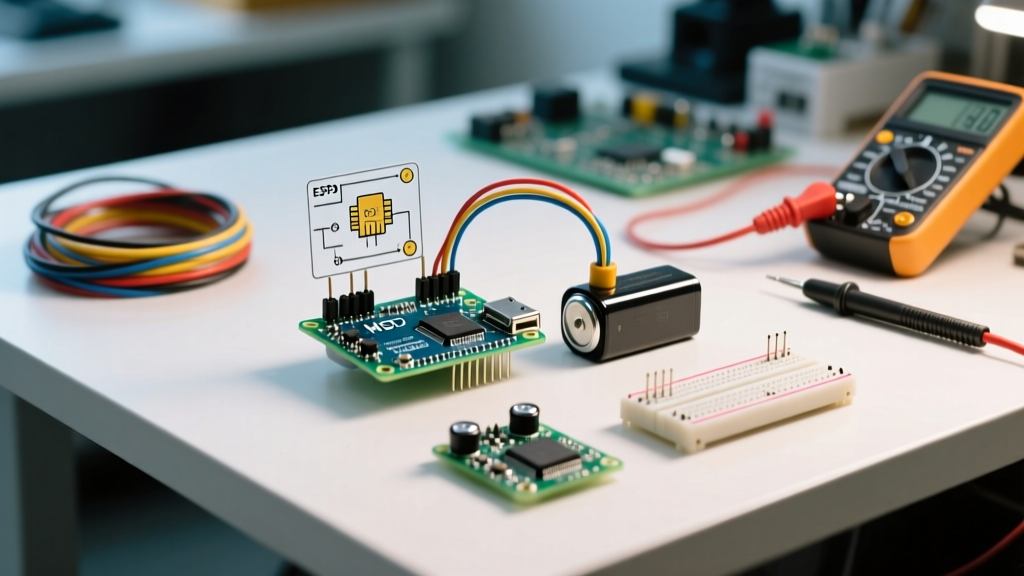
A classic diagnostic error is using a standard digital multimeter (DMM) in series to measure microamp-level sleep currents. DMMs introduce a burden voltage—a voltage drop across the internal shunt resistor. If your battery is at 3.2V and your DMM drops 0.4V at the 200µA range, your ATmega328P only sees 2.8V. This triggers a brownout reset, which you then misdiagnose as a code failure.
Pro Tip: For accurate profiling, use a dedicated power profiler like the Nordic Power Profiler Kit II (PPK2), which retails around $100 and dynamically adjusts its shunt resistance to maintain a near-zero burden voltage while sampling at 100kHz.
Error 1: The "Random Reset" (Brownout Detection Failures)
If your battery powered Arduino resets unpredictably—especially when a peripheral like an RFM95 LoRa module or a servo activates—you are likely experiencing a Brownout Detection (BOD) trip. The ATmega328P has a hardware BOD circuit that forces a reset if VCC drops below a specific threshold (typically 2.7V, 4.3V, or 1.8V depending on fuse settings).
Why It Happens on Battery
A fresh alkaline AA battery reads 1.6V at rest. Three in series yield 4.8V. However, under a 120mA load (like a LoRa TX burst), the battery's internal resistance causes the terminal voltage to sag by 0.5V to 1.0V. If your BOD is set to 4.3V, the momentary sag triggers a hardware reset, even if the average voltage is perfectly fine.
The Fix: Fuse Reconfiguration and Capacitance
To resolve this, you must align your BOD threshold with your battery's actual discharge curve and add bulk capacitance to handle transient sags.
- Lower the BOD Threshold: If you are running a 3.3V Pro Mini on a single LiPo (4.2V down to 3.0V), set the BOD to 1.8V. Disabling BOD entirely saves ~20µA in sleep mode, but risks EEPROM corruption during a true power failure. Use the Microchip ATmega328P datasheet to verify safe EEPROM write voltages.
- Add Low-ESR Capacitance: Place a 100µF to 470µF low-ESR tantalum or ceramic capacitor directly across the VCC and GND pins of the MCU, as close to the silicon as possible. This acts as a local energy reservoir to ride out 50ms RF transmission spikes.
Error 2: The "Ghost Drain" (Regulator Quiescent Current)
You calculated your sleep current at 10µA, meaning your 2000mAh battery should last over 20 years. Yet, it is dead in a month. The culprit is almost always the onboard voltage regulator.
The AMS1117 Problem
Standard Arduino Nano and Uno clones use the AMS1117 linear regulator. While cheap, the AMS1117 has a quiescent current (Iq) of 5mA to 10mA. If you leave this regulator powered while the MCU sleeps, it will drain a 2000mAh LiPo in less than 15 days, regardless of how optimized your code is.
Modern LDO Alternatives for 2026
When designing a custom PCB or modifying a clone board for battery operation, desolder the stock regulator and replace it with a nano-power LDO.
| Regulator IC | Quiescent Current (Iq) | Max Output | Approx. Cost (2026) | Best Use Case |
|---|---|---|---|---|
| AMS1117-3.3 | ~5,000 µA | 800 mA | $0.10 | USB/Wall-powered only |
| MCP1700-3302E | ~1.6 µA | 250 mA | $0.35 | Standard battery Pro Mini |
| HT7333 | ~2.0 µA | 250 mA | $0.25 | Low-cost LiPo projects |
| TPS7A05 (Texas Instruments) | ~1.0 µA | 200 mA | $0.85 | Ultra-low power sensor nodes |
Error 3: Sleep Mode Failures and Floating Pins
You call LowPower.powerDown(SLEEP_FOREVER, ADC_OFF, BOD_OFF); but your multimeter shows a persistent 1.5mA draw instead of the expected 0.1µA. This is the most common firmware-to-hardware mismatch in battery powered Arduino designs.
The Floating Pin Parasitic Drain
When an ATmega328P enters power-down sleep, the digital input buffers are not automatically disabled on all pins. If a GPIO pin is configured as an INPUT and is left electrically floating (not tied to VCC or GND), environmental noise causes the pin's internal CMOS logic to oscillate rapidly between high and low. This oscillation creates a short-circuit current path inside the silicon, drawing anywhere from 0.5mA to 2mA per floating pin.
The Diagnostic Fix
Before entering sleep, you must explicitly handle every unused and used pin.
- Unused Pins: Set them to
INPUT_PULLUPor configure them asOUTPUTand write themLOW. - External Sensors: If a sensor is connected to an input pin, ensure the sensor's output is not high-impedance during sleep. If it is, use a high-value pull-down resistor (e.g., 1MΩ) or power the sensor via a dedicated GPIO pin so you can completely cut its ground or VCC before sleeping.
- Disable ADC: The Analog-to-Digital Converter draws ~100µA when active. Always use the
ADCSRA &= ~(1 << ADEN);bitmask to disable it before sleep.
For a comprehensive breakdown of AVR register manipulation for sleep states, refer to Nick Gammon's Power Saving Guide, which remains the definitive reference for ATmega sleep modes.
Interrupt Lockups: Why Your Arduino Won't Wake Up
A battery powered Arduino is useless if it sleeps forever. Wake-up failures usually stem from misconfigured interrupt vectors or misunderstood Watchdog Timer (WDT) behavior.
Pin Change Interrupts (PCINT) vs. External Interrupts (INT)
Standard external interrupts (attachInterrupt() on pins 2 and 3 of the Uno/Nano) only wake the MCU from powerDown sleep if triggered by a LOW level or a CHANGE edge. If you configure the interrupt for RISING or FALLING, the MCU will ignore it during deep sleep because the edge-detection logic clock is halted.
Solution: Use Pin Change Interrupts (PCINT) via the EnableInterrupt library, or switch to level-triggered (LOW) wakeups, ensuring your external hardware holds the line low until the MCU wakes and acknowledges it.
Watchdog Timer (WDT) Drift
If you rely on the internal 128kHz WDT to wake the MCU every 8 seconds for a sensor reading, be aware that the WDT is highly temperature-sensitive. In outdoor deployments where temperatures swing from -10°C to 45°C, the WDT frequency can drift by up to 10%. If your application requires precise timing, you must wake the MCU, read an external 32.768kHz RTC (like the DS3231), calculate the drift, and adjust your software counters accordingly.
Summary Checklist for Field Deployment
Before sealing your battery powered Arduino in an enclosure, run this final diagnostic checklist:
- Verify BOD fuses match the lowest expected battery voltage under load.
- Confirm the voltage regulator's Iq is under 5µA.
- Measure sleep current with a PPK2 or low-burden shunt; verify it is under 10µA.
- Ensure all unused GPIO pins are tied high or low (no floating inputs).
- Test wake-up reliability across the full operating temperature range.
By treating power as a dynamic variable rather than a static assumption, you can build battery powered MCU nodes that reliably operate in the field for years on a single set of lithium cells.