
The Blocking Trap: Why delay() Fails in Production
When most makers begin programming microcontrollers, they rely heavily on the delay() function. While useful for blinking an LED on a breadboard, delay() is fundamentally a blocking operation. It halts the CPU, forcing the microcontroller to sit idle while a hardware counter ticks down. In 2026, with IoT edge devices and high-speed robotics demanding microsecond precision, blocking code is a liability. To achieve true multitasking and deterministic timing, you must master Arduino timers and interrupts at the bare-metal register level.
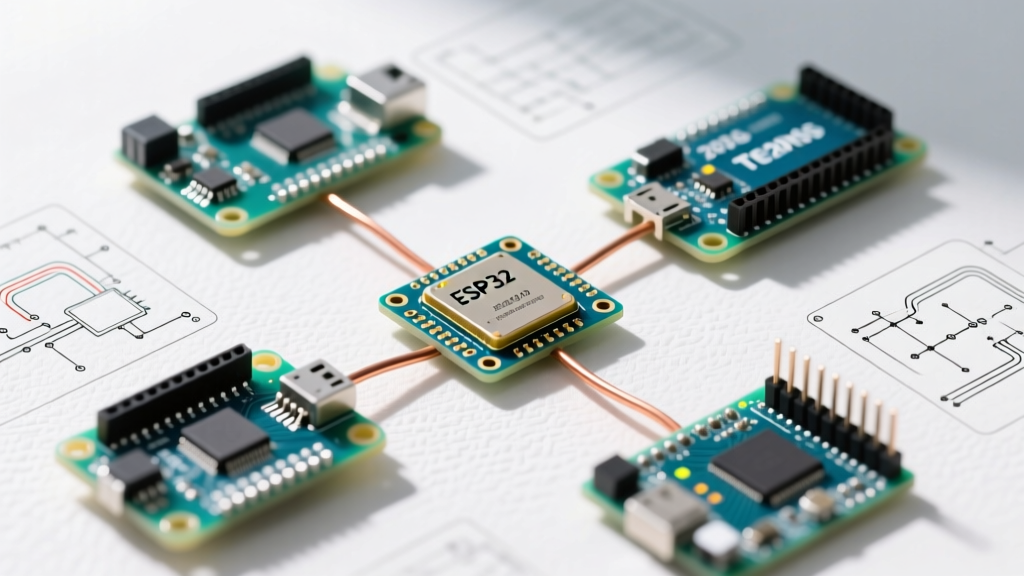
This guide bypasses high-level abstractions and dives directly into the silicon architecture of the ubiquitous ATmega328P (the brain of the Arduino Uno and Nano), while also addressing modern ESP32 paradigms.
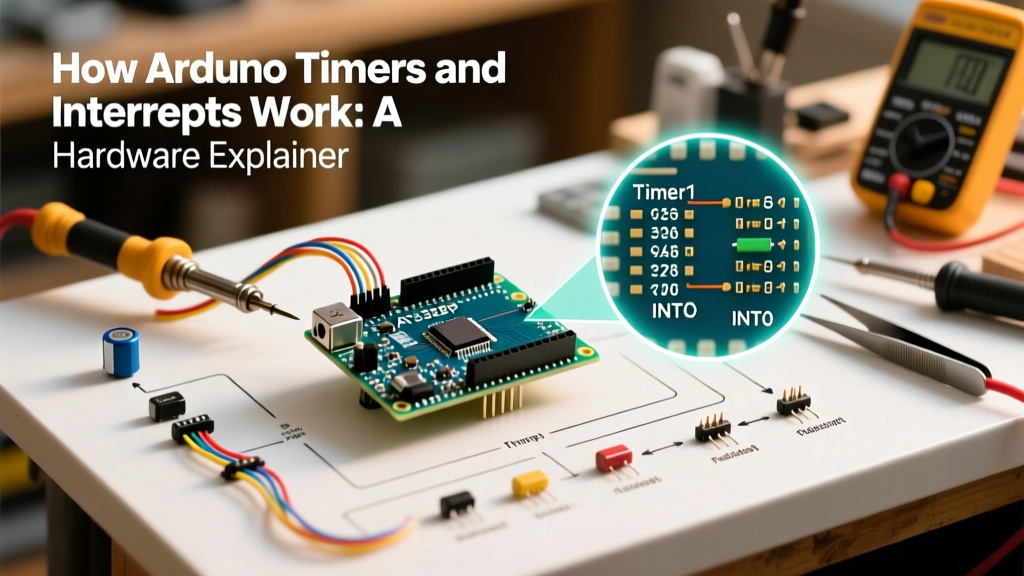
The Anatomy of ATmega328P Hardware Timers
The ATmega328P features three distinct hardware timers. These are independent binary counters driven by the system clock (usually 16 MHz via an external crystal). They operate entirely in the background, requiring zero CPU intervention until a specific condition is met.
| Timer | Resolution | Prescaler Options | Default Arduino Usage |
|---|---|---|---|
| Timer0 | 8-bit (0-255) | 1, 8, 64, 256, 1024 | millis(), delay(), Pins 5 & 6 PWM |
| Timer1 | 16-bit (0-65535) | 1, 8, 64, 256, 1024 | Servo library, Pins 9 & 10 PWM |
| Timer2 | 8-bit (0-255) | 1, 8, 32, 64, 128, 256, 1024 | tone(), Pins 3 & 11 PWM |
Warning: Modifying Timer0 registers directly will break core Arduino timing functions like millis(). For custom precision timing, always default to Timer1 or Timer2.
Demystifying Interrupts: The ISR Execution Flow
An interrupt is exactly what it sounds like: a hardware signal that forces the CPU to pause its current execution, save its state to the stack, and jump to a specific memory address known as an Interrupt Service Routine (ISR). Once the ISR finishes, the CPU restores its state and resumes exactly where it left off.
There are three primary categories of interrupts in the AVR architecture:
- External Interrupts (INT0, INT1): Triggered by voltage changes on specific pins (e.g., Pin 2 and Pin 3 on the Uno).
- Pin Change Interrupts (PCINT): Triggered by any state change on a group of pins, but require software polling to identify the exact source.
- Timer/Counter Interrupts: Triggered when a hardware timer reaches a specific value or overflows.
The Golden Rules of ISRs:
1. Keep them as short as possible (ideally under 5 microseconds).
2. Never usedelay(),Serial.print(), or blocking I2C/SPI calls inside an ISR.
3. Always declare variables shared between the ISR and the main loop asvolatile.
Step-by-Step: Configuring Timer1 for a Precise 1Hz Interrupt
Let's configure Timer1 to trigger an interrupt exactly once per second (1Hz) using CTC (Clear Timer on Compare Match) mode. We will manipulate the registers directly for maximum efficiency.
The Clock Math
The ATmega328P runs at 16,000,000 Hz. To count to one second, we need to slow down the timer using a prescaler. If we choose a prescaler of 1024, the timer ticks at:
16,000,000 / 1024 = 15,625 Hz
Because the timer counts from zero, the compare match value (OCR1A) must be 15,625 - 1 = 15,624. Since 15,624 is well below the 16-bit maximum of 65,535, this configuration is valid.
The Bare-Metal Implementation
// Define the ISR vector for Timer1 Compare Match A
ISR(TIMER1_COMPA_vect) {
    // Toggle an LED or increment a volatile counter
    PORTB ^= (1 << PB5); // Toggles Pin 13 on Uno
}

void setup() {
    pinMode(13, OUTPUT);

    // Disable global interrupts during setup
    cli();

    // Reset Timer1 control registers
    TCCR1A = 0;
    TCCR1B = 0;
    TCNT1  = 0;

    // Set compare match register for 1hz increments
    OCR1A = 15624;

    // Turn on CTC mode (WGM12 bit in TCCR1B)
    TCCR1B |= (1 << WGM12);

    // Set CS12 and CS10 bits for 1024 prescaler
    TCCR1B |= (1 << CS12) | (1 << CS10);

    // Enable timer compare interrupt (OCIE1A bit in TIMSK1)
    TIMSK1 |= (1 << OCIE1A);

    // Re-enable global interrupts
    sei();
}

void loop() {
    // The main loop is completely free for other tasks!
}
According to the official Microchip ATmega328P datasheet, entering and exiting an ISR on an AVR chip takes approximately 11 to 14 clock cycles. At 16 MHz, this context-switching overhead is less than 1 microsecond, making hardware interrupts vastly superior to software polling.
Real-World Edge Cases and Fatal Failure Modes
Theory is clean; hardware is messy. When deploying Arduino timers and interrupts in the field, engineers frequently encounter specific failure modes.
1. The I2C Deadlock Inside an ISR
A common mistake is attempting to read an I2C sensor (like a BME280) directly inside an ISR using the Wire library. The Wire library relies on the TWI (Two-Wire Interface) hardware interrupt to handle byte acknowledgments. However, when the CPU enters your custom ISR, the Global Interrupt Enable (I-bit in the SREG register) is automatically cleared. The TWI interrupt cannot fire, the Wire library waits endlessly for a flag that will never be set, and your entire microcontroller permanently hangs. Solution: Set a volatile boolean flag inside the ISR, and handle the I2C read in the main loop().
2. Mechanical Switch Bounce
If you attach a mechanical pushbutton to an external interrupt pin (INT0), a single physical press will cause the metal contacts to bounce, generating 10 to 20 rapid voltage spikes over 2-5 milliseconds. Your ISR will fire dozens of times per press. While software debouncing (ignoring subsequent interrupts for 50ms) works, it consumes CPU state tracking. The professional 2026 approach is hardware debouncing: place a 10kΩ pull-up resistor, a 100nF ceramic capacitor to ground, and a Schmitt trigger (like the 74HC14) to guarantee a single, clean digital edge.
3. The 'Volatile' Keyword and Memory Barriers
The C++ compiler aggressively optimizes code. If a variable is modified inside an ISR but read in the main loop, the compiler might cache the variable in a CPU register and never check RAM for updates. Declaring the variable as volatile forces the compiler to read from RAM every time. However, for variables larger than 8 bits (like a 16-bit int on AVR), reading the variable takes two clock cycles. An interrupt could fire between reading the high byte and the low byte, resulting in corrupted data. You must temporarily disable interrupts using noInterrupts(), copy the volatile variable to a local dummy variable, and re-enable them using interrupts().
Moving Beyond AVR: The ESP32 Hardware Timer Paradigm
While the ATmega328P remains a staple for basic education (costing around $2.10 for the bare IC in 2026), complex IoT projects have largely migrated to the ESP32 family (such as the ESP32-C3, available for ~$2.50). The ESP32 features a 32-bit RISC-V or Xtensa architecture running up to 240 MHz, and its approach to timers is fundamentally different.
Instead of manipulating raw bitwise registers, the ESP32 utilizes the ESP-IDF esp_timer API. This API abstracts the hardware's four 64-bit general-purpose timers into high-resolution microsecond callbacks. Furthermore, in FreeRTOS environments (which the ESP32 Arduino core runs on top of), developers are encouraged to use RTOS Software Timers or dedicated task queues rather than bare-metal ISRs, preventing the cache-access restrictions that plague traditional ESP32 hardware ISRs.
Architectural Decision Matrix
How do you know which timing mechanism to use? Use this decision matrix to architect your firmware:
| Requirement | Recommended Approach | Why? |
|---|---|---|
| Blinking an LED / Simple Delays | millis() non-blocking state machine | Zero configuration, utilizes existing Timer0 overflow. |
| Reading a Rotary Encoder | External Interrupts (INT0/INT1) | Requires microsecond latency to catch fast rotation edges. |
| Sampling ADC at exactly 10kHz | Timer1 CTC Interrupt | Guarantees deterministic sampling intervals without CPU jitter. |
| Complex Multitasking / IoT | FreeRTOS Tasks & Queues (ESP32) | Hardware ISRs lack the context to handle network stacks safely. |
Mastering Arduino timers and interrupts transitions you from a hobbyist writing sequential scripts to an embedded engineer designing deterministic, event-driven systems. For further reading on standard interrupt syntax, refer to the Arduino attachInterrupt() Reference.