
The Anatomy of Arduino R3 Failures in 2026
Despite the proliferation of advanced ESP32 and ARM Cortex-M boards, the Arduino Uno R3 remains the undisputed workhorse of the maker community in 2026. Its robust architecture, centered around the Microchip ATmega328P-PU microcontroller and the ATmega16U2 USB-to-Serial interface, is designed for resilience. However, when hardware faults or software misconfigurations occur, the resulting errors can halt projects entirely. Whether you are using a genuine $30 Rev3 board or a $12 premium clone, understanding the underlying hardware topology is critical for effective troubleshooting.
This guide bypasses generic advice and dives deep into board-level diagnostics, addressing the most stubborn compilation, upload, and power delivery errors specific to the Arduino R3 form factor.
Decoding the 'Programmer is Not Responding' Error
The most infamous error in the Arduino ecosystem is the avrdude: stk500_recv(): programmer is not responding fault. This is not a single point of failure but a symptom of a broken communication chain between your PC, the USB-Serial bridge, and the main MCU.
Step 1: Isolate the USB-Serial Bridge (ATmega16U2 vs. CH340)
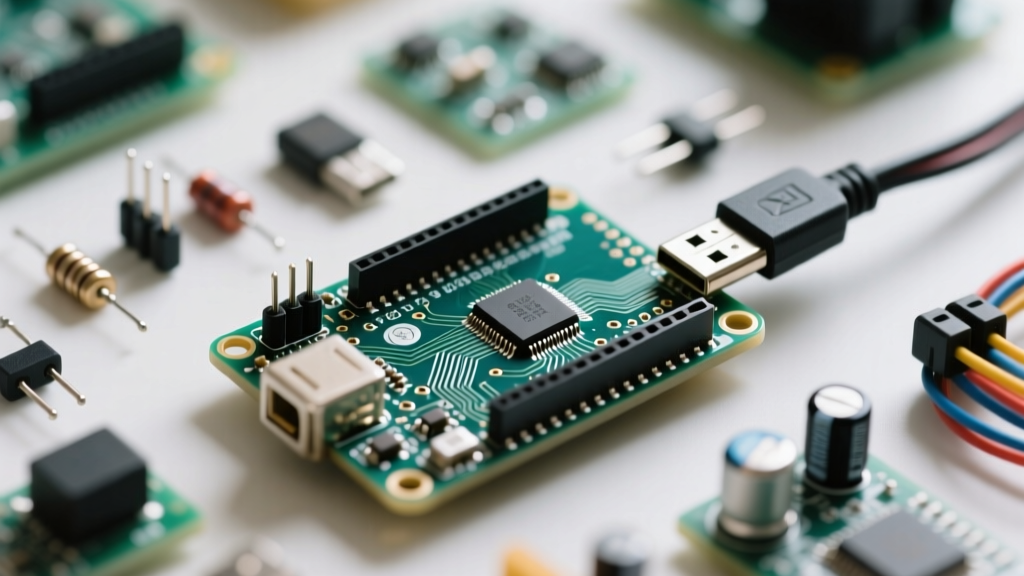
Genuine Arduino R3 boards utilize an ATmega16U2 chip (U1) for USB communication, while many budget clones use the WCH CH340G. If your board is not recognized by the OS, the bridge is your primary suspect.
- Genuine Boards (ATmega16U2): Open your OS device manager. If the board appears as an 'Unknown Device' or 'ATmega16U2 DFU', the USB interface firmware is corrupted. You will need to reflash the 16U2 using the official Arduino DFU recovery guide via the 6-pin ICSP header near the USB port.
- Clone Boards (CH340G): Ensure you have the latest 2026 WCH drivers installed. macOS users can verify hardware enumeration via the terminal command
system_profiler SPUSBDataType. If the CH340 doesn't appear, check the 5V Zener diodes (D1 and D2) on the USB data lines for short circuits using a multimeter in continuity mode.
Step 2: The Loopback Test
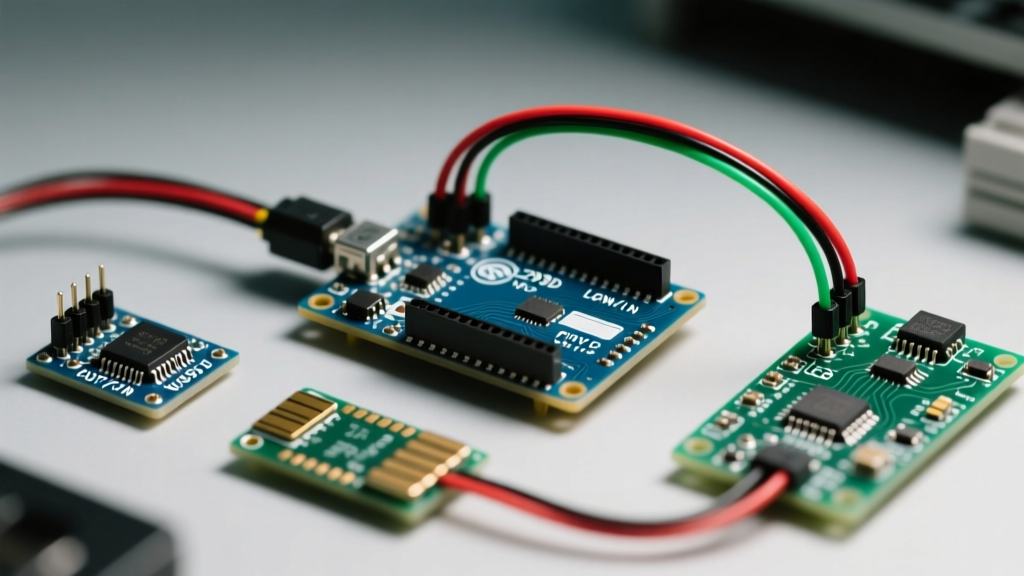
To definitively prove the USB-Serial bridge is functional, perform a loopback test. Connect a jumper wire between the TX and RX pins on the digital header. Open the Arduino IDE Serial Monitor, type a message, and press Enter. If the text echoes back, the ATmega16U2/CH340 is perfectly healthy, and the fault lies with the ATmega328P main processor or its clock circuit.
Bootloader Corruption and ISP Recovery
If the loopback test passes but uploads still fail, and the onboard 'L' LED (Pin 13) is either stuck solid or blinking erratically, the Optiboot bootloader on the ATmega328P is likely corrupted. This frequently happens when a sketch accidentally overwrites the bootloader section or when brown-out conditions occur during flash memory writes.
Hardware ISP Recovery Procedure
You cannot fix a corrupted bootloader via the USB port. You must use In-System Programming (ISP). Connect a dedicated USBasp programmer (approximately $6 in 2026) or a second working Arduino to the 6-pin ICSP header adjacent to the main MCU.
Expert Tip: When using a second Arduino as an ISP, ensure you upload the 'ArduinoISP' sketch from the IDE examples first, and place a 10µF capacitor between the RESET and GND pins of the programmer Arduino to disable its auto-reset circuit during the flashing process.
Restoring Fuses and Flashing Optiboot
Using the arduino-cli or AVRDUDE directly via terminal, you must first restore the factory fuse settings before writing the bootloader. The exact fuse hex values for the 16 MHz external crystal configuration are critical:
- Low Fuse: 0xFF (External Crystal Oscillator, 16K CK/14 CK + 65ms startup)
- High Fuse: 0xDE (Boot Reset Vector enabled, Boot Flash size = 256 words)
- Extended Fuse: 0xFD (Brown-out Detection at 2.7V)
Execute the AVRDUDE command: avrdude -c usbasp -p m328p -U lfuse:w:0xFF:m -U hfuse:w:0xDE:m -U efuse:w:0xFD:m. Follow this by burning the bootloader via the Arduino IDE's 'Burn Bootloader' menu option. According to the Microchip ATmega328P datasheet, incorrect fuse settings (especially the low fuse) will brick the chip by disabling the external clock, requiring a high-voltage parallel programmer to rescue.
Power Delivery Faults: Polyfuses and Voltage Regulators
Sudden resets, erratic sensor readings, and failed uploads often stem from inadequate power delivery. The Arduino R3 features a multi-stage power regulation circuit that is highly susceptible to thermal and overcurrent faults.
| Test Point | Expected Voltage (USB Powered) | Expected Voltage (VIN Powered) | Common Fault Symptoms |
|---|---|---|---|
| 5V Pin | 4.8V - 5.1V | 4.8V - 5.1V | Reads 4.2V: Failing NCP1117 regulator or excessive peripheral draw. |
| 3.3V Pin | 3.2V - 3.4V | 3.2V - 3.4V | Reads 0V: Blown LP2985 3.3V LDO (U5) due to peripheral short. |
| VIN Pin | N/A (Diode drop from USB) | 7V - 12V (Input) | Reads 0V when VIN is 9V: Reversed polarity or blown Schottky diode. |
| RESET Pin | 4.8V - 5.1V | 4.8V - 5.1V | Reads 2.5V: Stuck reset button or faulty 10k pull-up resistor. |
The 500mA Polyfuse (F1) Thermal Trip
The green resettable polyfuse (F1) located near the USB port protects your computer's USB hub. If your project draws more than 500mA, or if a shield has a partial short, F1 will heat up and increase its resistance dramatically, dropping the voltage to the board. If your Arduino R3 randomly disconnects from the IDE after 30 seconds of operation, carefully touch F1. If it is hot to the touch, disconnect peripherals and measure the current draw on the 5V rail.
The Auto-Reset Circuit Failure (Manual Reset Required)
A classic Arduino R3 quirk is the upload succeeding only when you manually press the physical RESET button the moment the IDE says 'Uploading...'. This points to a failure in the auto-reset circuit.
The IDE triggers a reset by pulsing the DTR (Data Terminal Ready) line from the USB-Serial chip. This signal passes through a 0.1µF ceramic capacitor (C5) which couples the pulse to the RESET pin of the ATmega328P, pulling it low just long enough to trigger the bootloader.
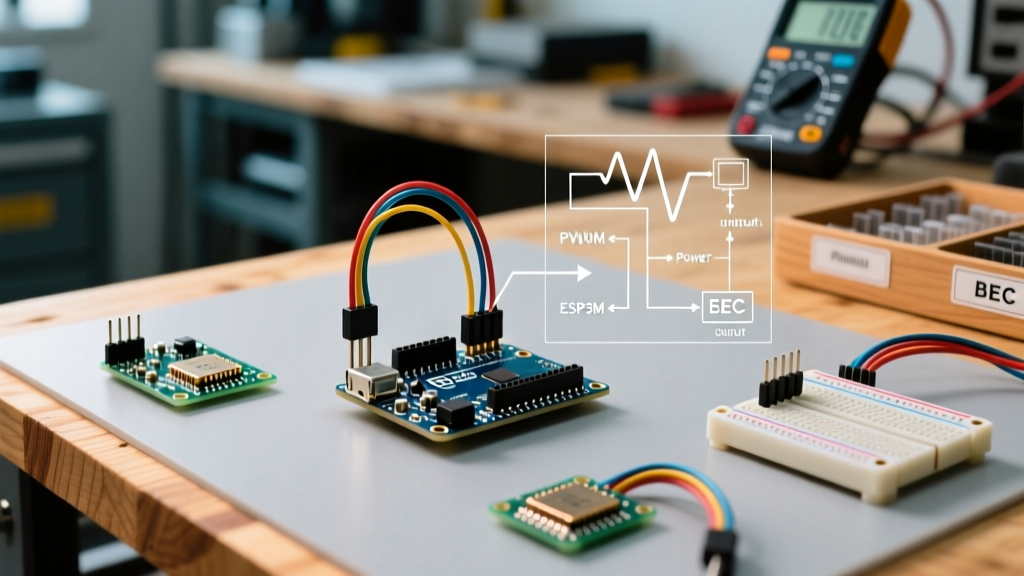
- Diagnostic: Connect an oscilloscope or logic analyzer to the RESET pin. Initiate an upload. You should see a sharp negative voltage spike (dropping from 5V to ~0V for roughly 100ms).
- Resolution: If the DTR line pulses but the RESET pin remains high, capacitor C5 has failed open or the solder joint has fractured. Resoldering or replacing C5 with a standard 0603 or 0805 100nF X7R capacitor will restore automatic bootloader entry.
Clone vs. Genuine: Hardware Variations to Watch
When diagnosing errors, you must account for Bill of Materials (BOM) substitutions in clone boards. While a genuine Arduino Uno R3 Rev3 retails for roughly $28.50 to $32.00 in 2026, high-quality clones from brands like Elecrow or Keyestudio cost between $12.00 and $16.00. Ultra-cheap $4.00 clones often cut corners that manifest as diagnostic nightmares:
- Missing I2C Pull-ups: Genuine boards and premium clones include 4.7k pull-up resistors on the SDA and SCL lines. Ultra-cheap clones omit these, causing I2C sensor locks that mimic MCU freezes.
- Substandard Crystals: The 16.000 MHz crystal (Y1) on cheap clones often lacks proper shielding or uses incorrect 22pF load capacitors. This results in baud rate drift, causing Serial Monitor output to appear as garbled text at higher speeds (e.g., 115200 baud).
- Thinner PCB Traces: The 5V and GND traces on budget clones are frequently narrowed to save copper. Running high-current loads (like multiple servos) directly from the onboard 5V pin can cause voltage sag and trace delamination.
Summary Checklist for R3 Diagnostics
Before discarding a faulty Arduino R3, run this definitive sequence: verify USB enumeration, perform the TX/RX loopback test, measure the 5V and 3.3V rails under load, and re-burn the bootloader via ISP with verified fuse settings. By methodically isolating the USB bridge, the power regulation network, and the main MCU, you can resurrect almost any 'dead' R3 board and return to prototyping with confidence.