
The State of Arduino CAN Bus Integration in 2026
Integrating an Arduino CAN bus network into your DIY projects remains one of the most rewarding ways to bridge microcontrollers with automotive, industrial, and robotic systems. Whether you are reverse-engineering OBD2 telemetry for a custom digital dash, building a distributed sensor network for a solar tracker, or hacking an EV battery management system (BMS), Controller Area Network (CAN) offers unmatched noise immunity and multi-master arbitration. According to CAN in Automation (CiA), the protocol's robust error-handling and differential signaling make it the undisputed standard for harsh environments.
However, the maker community often struggles with fragmented documentation, cheap clone hardware quirks, and deprecated libraries. This community resource roundup curates the most reliable hardware shields, transceiver modules, and software libraries available today, alongside hard-won troubleshooting insights from the trenches of open-source automotive and robotics forums.
Hardware Roundup: Transceivers, Controllers, and Shields
The most common architecture for adding CAN to an Arduino involves an SPI-to-CAN controller (like the Microchip MCP2515) paired with a physical layer transceiver. For newer projects requiring CAN-FD (Flexible Data-rate) to achieve payloads up to 64 bytes at 8 Mbps, the MCP2518FD is the modern standard. Below is a comparison of the most popular community-vetted hardware.
| Hardware Module | Controller | Transceiver | Logic Voltage | Est. Price (2026) | Best Use Case |
|---|---|---|---|---|---|
| HiLetgo MCP2515 Breakout | MCP2515 | TJA1050 | 5V (SPI) | $4.50 - $6.00 | Budget prototyping, basic OBD2 |
| Seeed Studio CAN-BUS Shield V2.0 | MCP2515 | MCP2551 | 5V | $19.95 - $24.00 | Arduino Uno/Mega plug-and-play |
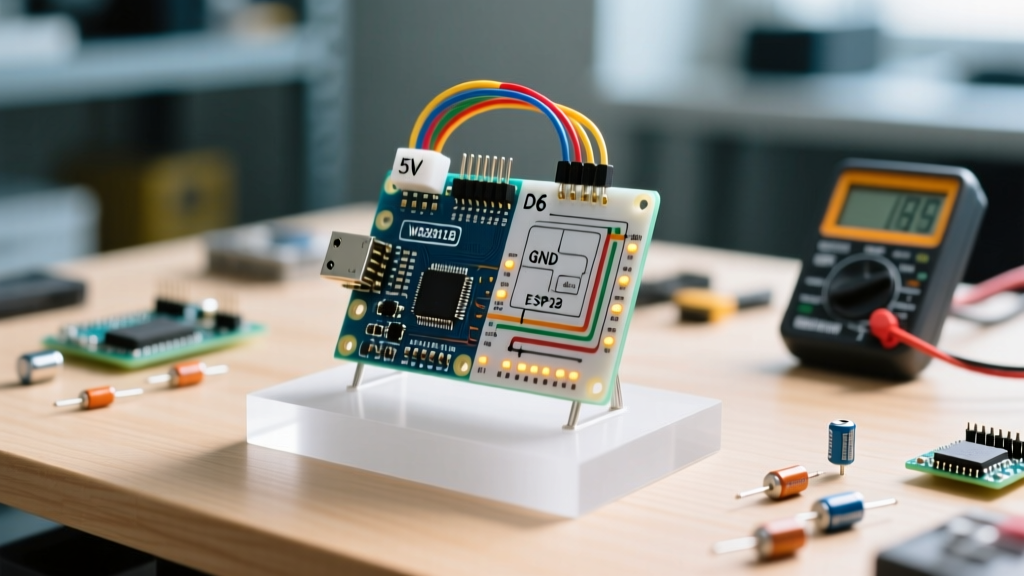
| Waveshare SN65HVD230 Board | None (Transceiver only) | SN65HVD230 | 3.3V | $3.00 - $4.50 | ESP32 / 3.3V MCU integration |
| Waveshare CAN-BUS FD HAT | MCP2518FD | ATA6561 | 3.3V / 5V | $28.00 - $35.00 | High-speed CAN-FD data logging |
The Crystal Frequency Trap: A Community Warning
If you purchase generic MCP2515 breakout boards from overseas marketplaces, you will encounter a notorious hardware quirk. The mcp_can library defaults to assuming an 8 MHz oscillator crystal on the board. However, many manufacturers silently switched to 16 MHz crystals to cut supply chain costs. If your baud rate is exactly half of what you configured (e.g., you set 500 kbps but the bus operates at 250 kbps), you must either change the software initialization to CAN_16MHZ or physically replace the SMD crystal. Always verify the crystal markings under a magnifying glass before debugging your code.
Essential Software: Community-Driven Libraries
Choosing the right library dictates your project's reliability. The default examples found in older tutorials often lead to blocking code and buffer overflows in high-traffic networks.
1. ACAN2515 by Pierre Molinaro (The Gold Standard)
For serious developers, Pierre Molinaro's ACAN2515 GitHub repository is the undisputed champion. Unlike legacy libraries, ACAN2515 utilizes hardware SPI transactions, meaning it won't conflict with other SPI devices like SD cards or TFT displays sharing the same bus. It features a non-blocking API, deep hardware buffer management, and native support for advanced CAN 2.0B 29-bit extended identifiers.
- Pro: Exceptional memory management; prevents dropped frames on busy automotive buses.
- Pro: Supports multiple MCP2515 controllers on a single SPI bus with individual chip selects.
- Con: Steeper learning curve; requires understanding of callback functions for receive events.
2. MCP_CAN Library (coryjfowler Fork)
The original mcp_can library by Seeed Studio was abandoned years ago, but the fork maintained by Cory Fowler remains a staple for beginners. It is widely supported, easy to read, and perfect for simple transmit-only applications like sending basic commands to a motor controller. However, it struggles with high-throughput reception due to its reliance on software polling rather than hardware interrupts.
Real-World Failure Modes & Troubleshooting
CAN bus is incredibly robust, but physical layer mistakes will silently corrupt your data. Drawing from thousands of forum threads, here are the most common failure modes and how to fix them.
Critical Troubleshooting Matrix
- Symptom: Error Active state, messages never send, TX LED blinks endlessly.
Cause: Missing termination resistors. The bus requires exactly two 120Ω resistors (one at each physical end of the trunk line).
Fix: Power down the network and measure resistance between CANH and CANL with a multimeter. You must read ~60Ω. If you read 120Ω, you are missing a terminator. If you read <40Ω, you have too many. - Symptom: Intermittent data drops when motors or relays switch on.
Cause: Ground loops and common-mode voltage spikes exceeding the transceiver's tolerance.
Fix: Switch to galvanically isolated transceivers like the Texas Instruments ISO1050 or the ADM3053. As noted in Texas Instruments CAN Interface guidelines, isolation protects your sensitive 3.3V/5V microcontroller logic from 12V/24V automotive ground differentials. - Symptom: Works on the bench, fails when deployed in a vehicle.
Cause: Untwisted wiring acting as an antenna for EMI (Electromagnetic Interference).
Fix: Always use twisted-pair cabling. In a pinch, standard CAT5e Ethernet cable works brilliantly for CAN bus (use the Orange/Orange-White pair for CANH/CANL) due to its precise twist ratio.
Must-Read Community Forums & Knowledge Bases
To go beyond basic tutorials, you need to tap into the specialized communities that deal with CAN bus daily. Bookmark these resources:
- OpenInverter Forum: The premier destination for EV conversions. Their CAN bus sub-forum contains reverse-engineered message maps for Nissan Leaf, Tesla, and VW battery management systems.
- Arduino Forum (Networking & Protocols): Search for threads by user MikroElektronika and pylon for deep-dive explanations on MCP2515 interrupt pin (INT) wiring configurations.
- Macchina M2 Community: While focused on their specific hardware, their GitHub wikis contain some of the best general-purpose guides on bridging CAN to USB and analyzing raw hex payloads using SavvyCAN.
Frequently Asked Questions
Can I connect a 5V Arduino directly to a 3.3V SN65HVD230 transceiver?
Technically, yes. The SN65HVD230 is designed for 3.3V logic, but its datasheet specifies that the RX/TX pins are 5V tolerant. However, for long-term reliability and to prevent back-powering the transceiver's internal ESD diodes, it is best practice to use a bidirectional logic level converter (like the BSS138 MOSFET circuit) or simply use a 5V native transceiver like the TJA1050.
Do I need a CAN controller if my ESP32 has built-in CAN?
The ESP32 features a built-in TWAI (Two-Wire Automotive Interface) controller, which is fully compatible with CAN 2.0B. However, the ESP32 does not include the physical layer transceiver. You still need to wire a transceiver like the SN65HVD230 to the ESP32's TX and RX pins. You do not need an SPI-based MCP2515 unless you run out of TWAI pins or need to isolate the SPI bus.
What is the maximum cable length for an Arduino CAN bus network?
Cable length is inversely proportional to baud rate. At the standard automotive rate of 500 kbps, you can reliably run up to 100 meters of properly terminated, twisted-pair copper wire. If you drop to 50 kbps, you can push the physical layer to roughly 1,000 meters, though you must account for voltage drop and propagation delay.