
The Arduino Zero Quick-Reference Guide
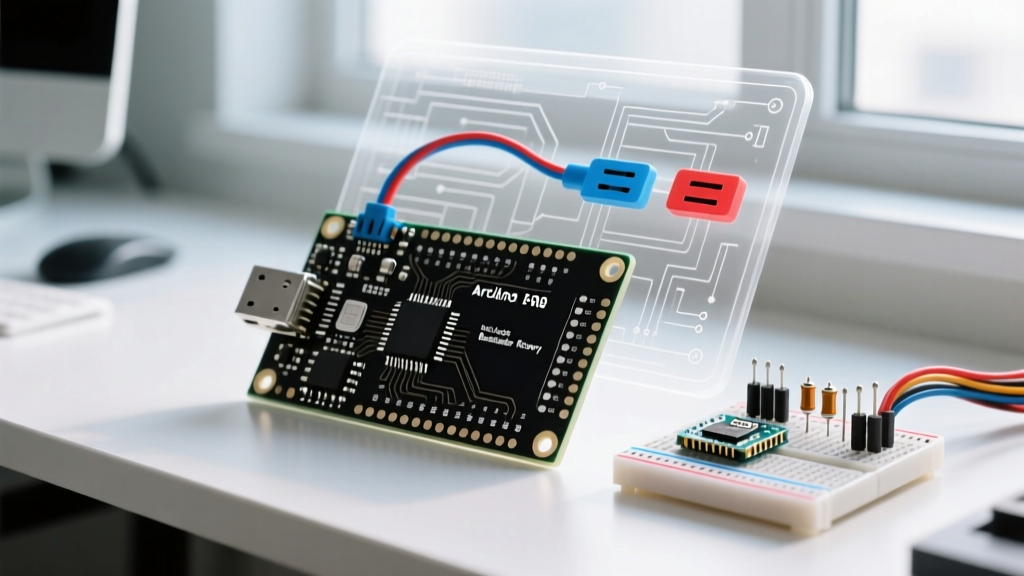
The Arduino Zero marked a definitive shift in the maker ecosystem, transitioning from the legacy 8-bit AVR architecture to a 32-bit ARM Cortex-M0+ powerhouse. Built around the Microchip ATSAMD21G18 microcontroller, the Zero offers 48 MHz processing speeds, 256 KB of Flash, and 32 KB of SRAM. However, this architectural leap introduces unique hardware and software quirks that frequently trip up both beginners and seasoned engineers migrating from the Arduino Uno.
This FAQ and quick-reference guide addresses the most critical edge cases, hardware limitations, and troubleshooting steps for the Arduino Zero and its SAMD21-based clones in 2026.
Specification Matrix: Zero vs. Uno R3
Understanding the baseline differences is crucial before wiring sensors or porting legacy code. Below is a direct comparison of the genuine boards.
| Feature | Arduino Zero | Arduino Uno R3 |
|---|---|---|
| Microcontroller | ATSAMD21G18 (ARM Cortex-M0+) | ATmega328P (8-bit AVR) |
| Operating Voltage | 3.3V | 5V |
| Clock Speed | 48 MHz | 16 MHz |
| Flash / SRAM | 256 KB / 32 KB | 32 KB / 2 KB |
| USB Architecture | Dual (Native + EDBG Programming) | Single (ATmega16U2 UART Bridge) |
| Typical 2026 Pricing | ~$43.00 (Genuine) | ~$27.00 (Genuine) |
Hardware & Pinout FAQs
Can I use 5V sensors with the Arduino Zero?
No, not directly. The most common fatal mistake when using the Zero is assuming the 5V pin implies 5V-tolerant logic. The ATSAMD21G18 operates strictly at 3.3V. The absolute maximum voltage rating on any GPIO pin is 3.6V. Feeding a 5V logic signal (like from an HC-SR04 ultrasonic sensor or a standard 5V LCD) into a Zero digital pin will permanently destroy the silicon.
CRITICAL WARNING: The '5V' pin on the Zero's header is a power output from the onboard USB regulator or barrel jack. It is not a logic level reference. You must use a bidirectional logic level shifter (such as the BSS138 MOSFET-based shifters or the TXS0108E IC) to safely interface 5V peripherals.
Where are the I2C and SPI pins located?
Unlike the Uno, where I2C is exclusively on A4/A5, the Zero routes the primary I2C bus to the dedicated SDA and SCL pins near the AREF header. However, the SAMD21 features SERCOM (Serial Communication) modules, allowing you to multiplex SPI, I2C, and UART across almost any digital pin via software configuration. The default hardware SPI pins are MOSI (D24/ICSP), MISO (D22/ICSP), and SCK (D23/ICSP).
The Dual-USB Port Conundrum
What is the difference between the Native and Programming ports?
The genuine Arduino Zero features two micro-USB ports, a source of immense confusion for new users. According to the official Arduino hardware documentation, they serve entirely different silicon pathways:
- Programming Port: Connects to an onboard ATmega32U4 chip acting as an EDBG (Embedded Debugger) bridge. This port handles standard serial uploads and hardware debugging via Atmel Studio/Microchip Studio.
- Native Port: Connects directly to the SAMD21's internal USB controller. This port is used for USB HID (keyboard/mouse emulation), native USB MIDI, and direct CDC serial communication.
Why does my 'Serial.print()' output not show up?
This is a classic SAMD21 trap. On the genuine Zero, the Serial object maps to the Programming Port (via the EDBG UART bridge). If you are plugged into the Native Port, you must use SerialUSB.print() in your code.
Edge Case for Clones: Most cheap 'Zero' or 'M0' clones from third-party manufacturers omit the EDBG ATmega32U4 chip to cut costs (dropping the price to ~$12-$15). On these clones, the Serial object is usually remapped to the single Native USB port. If your code compiles but produces no serial output, verify if you are using a clone and switch your code to use SerialUSB or check your specific board definition core.
Troubleshooting & Bootloader Recovery
How do I recover a 'bricked' Zero that won't accept uploads?
Because the Native USB port is handled directly by the user sketch, a poorly written loop or a crash during USB initialization can prevent the board from enumerating on your PC. The IDE will throw a 'Port not found' or 'No device found on COMX' error. You must manually force the SAMD21 into its ROM bootloader.
- Connect the board to your PC via the Native USB Port.
- Open the Arduino IDE and verify the correct board is selected (Arduino Zero Native Port).
- Locate the physical Reset button on the board.
- Double-tap the reset button quickly (within a ~500ms window).
- Observe the onboard LED (Pin 13). It should begin to 'pulse' or 'breathe' slowly. This indicates the bootloader is active and waiting for a binary.
- Check your IDE Tools > Port menu. A new COM port will have appeared. Select it.
- Click Upload immediately.
For deeper architectural insights into the SAMD21 boot ROM and vector tables, the Microchip ATSAMD21G18 product datasheet provides the exact memory mapping required for custom bare-metal bootloader development.
Software & ARM Porting FAQs
Why do my old AVR libraries fail to compile?
Libraries written specifically for the ATmega328P often rely on AVR-specific C headers and direct register manipulation. Common compilation errors on the Zero include:
avr/pgmspace.h: No such file or directory- The ARM Cortex-M0+ uses a unified memory architecture. Flash and SRAM share the same address space. You do not needPROGMEMto store constants in flash. Simply remove thePROGMEMkeywords andpgm_read_byte()macros, accessing the arrays directly as standard variables.PORTB / DDRB undefined- Direct AVR port manipulation will not work. You must either rewrite the code using standarddigitalWrite()/pinMode()functions, or use the SAMD21 equivalent PORT registers (e.g.,REG_PORT_OUT0). The SparkFun SAMD21 Hookup Guide offers an excellent primer on mapping AVR concepts to ARM SERCOM and PORT registers.Interrupt Vector Clashes- The SAMD21 uses the Nested Vectored Interrupt Controller (NVIC). Functions likeattachInterrupt()work natively in the Arduino core, but directISR()macros must be replaced with ARM-standard interrupt handlers (e.g.,void EIC_Handler(void)).
Does the Zero support true DAC (Digital-to-Analog) output?
Yes. Unlike the Uno, which only offers PWM (simulated analog via high-frequency switching), the Arduino Zero features a true 10-bit DAC on pin A0. By using the analogWrite(A0, value) function, the SAMD21 outputs a genuine, steady analog voltage between 0V and 3.3V. This is invaluable for generating precise sine waves, biasing op-amps, or driving analog synthesizers without requiring external R-2R resistor ladders.
Final Maker Advice
The Arduino Zero remains a phenomenal bridge between simple microcontrollers and high-end embedded Linux systems. To ensure longevity in your projects: always respect the 3.3V logic ceiling, utilize the Native port for advanced USB HID applications, and keep a logic level shifter in your toolkit for legacy 5V sensor integration. By understanding the underlying SAMD21 architecture rather than treating it like a faster Uno, you unlock the true potential of 32-bit ARM prototyping.