
The ATmega32U4 Difference: Why the Leonardo is Unique
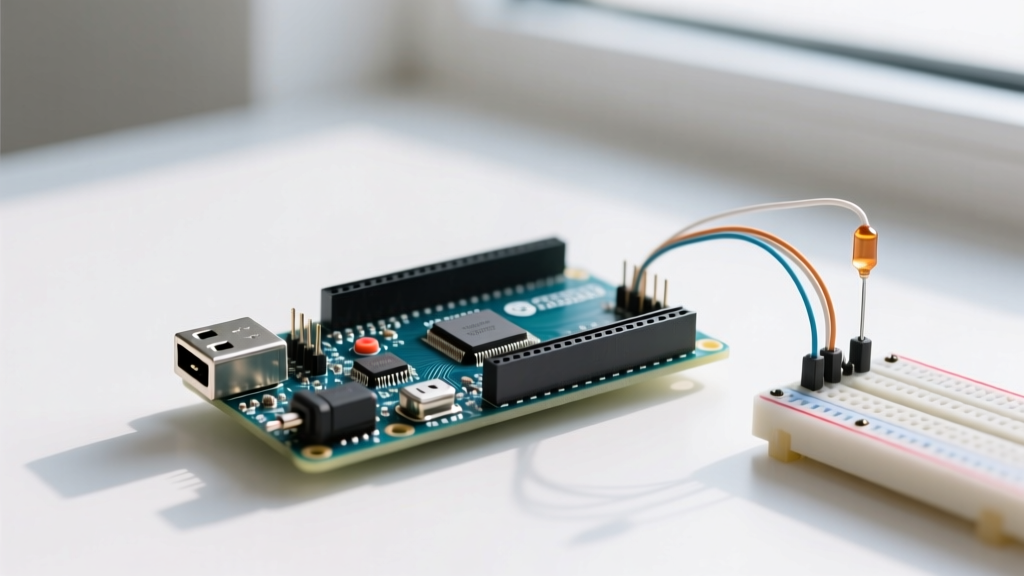
Often misspelled in search queries as 'arduino leonard', the Arduino Leonardo is a staple in the maker community for its native USB capabilities. Unlike the Arduino Uno, which uses a dedicated ATmega16U2 chip to bridge USB-to-Serial communication, the Leonardo utilizes the ATmega32U4 microcontroller with built-in USB 2.0 Full Speed support. While this enables powerful features like native HID (Human Interface Device) emulation for keyboards and mice, it fundamentally changes how the board handles serial communication and bootloader resets.
Because the USB CDC (Communication Device Class) serial port is generated directly by your sketch's code running on the main processor, a crash in your sketch doesn't just halt your program—it completely severs the USB connection to your PC. This results in the notorious 'vanishing COM port' issue. According to the Microchip ATmega32U4 Datasheet, the chip's USB interface requires precise clock timing (16MHz crystal) and stable 3.3V/5V logic rails; any software-induced USB stack failure will force the OS to drop the device enumeration.
Top 3 Arduino Leonardo Upload & COM Port Failures
Before replacing your board or blaming a defective clone (which typically costs $7-$10 compared to $24 for a genuine 2026 Arduino model), work through these three specific failure modes.
Failure 1: The Vanishing COM Port (CDC Serial Crash)
If your sketch contains a bug that halts execution before the USB stack initializes, or if you flood the USB buffer without a connected serial terminal, Windows or macOS will drop the COM port. The Arduino IDE will report 'Board at /dev/ttyACM0 is not available'.
Pro-Tip: The Leonardo's Caterina bootloader listens for a specific 'magic number' over the USB CDC connection to trigger a reset into bootloader mode. We can exploit this using the 1200 bps trick.
The 1200 bps Bootloader Reset Trick:
- Connect the Leonardo to your PC via a known-good 4-pin data USB Micro-B cable (charge-only cables lack the D+ and D- data lines).
- In the Arduino IDE, go to Tools > Port. If no port is visible, plug and unplug the board to catch the brief 8-second bootloader window and select the COM port that briefly appears.
- Open the IDE's Serial Monitor or Serial Plotter.
- Change the baud rate dropdown to exactly 1200 baud.
- Close the Serial Monitor. This sends the 1200 bps signal, forcing the ATmega32U4 to execute a hardware reset and enter the Caterina bootloader.
- Watch the onboard 'L' LED (pin 13). It will begin to pulse (fade in and out). This indicates the bootloader is active for exactly 8 seconds.
- Immediately click Upload in the IDE. The sketch will compile and upload while the bootloader is listening.
Failure 2: HID / Keyboard Emulation Bricking
Using the Keyboard.h or Mouse.h libraries without a hardware override can 'brick' your board from a software perspective. If your sketch sends continuous keystrokes in the loop() without a delay or physical button trigger, the host OS may block the device, and the IDE will fail to establish a CDC connection for uploading a fix.
The Fix: You must time a manual reset. Hold down the physical RESET button on the Leonardo. Click Upload in the IDE. Watch the console output. The exact millisecond the IDE changes from 'Compiling sketch...' to 'Uploading...', release the RESET button. This forces the chip to bypass your rogue HID sketch and hand control directly to the bootloader.
Failure 3: 'avrdude: butterfly_recv() programmer is not responding'
This error means the IDE found a COM port, but the AVRDude uploader cannot communicate with the bootloader. This usually occurs if the USB cable is marginal, if the 16MHz crystal is failing, or if the PC's USB hub is aggressively suspending power to the device.
- Cable Check: Verify the USB Micro-B cable has all 5 pins. Use a multimeter in continuity mode to verify VBUS (Red) and GND (Black).
- USB Hub Power: Plug directly into the motherboard's rear I/O panel. Unpowered USB hubs often fail to supply the 500mA required during the EEPROM write phase of the upload.
Troubleshooting Matrix: Symptoms vs. Solutions
| Symptom / IDE Error | Root Cause | Hardware / Software Fix |
|---|---|---|
| COM Port completely missing from OS Device Manager | Sketch crashed USB stack; Bootloader timed out | Execute 1200 bps CDC touch reset; check USB data cable |
| 'butterfly_recv() programmer not responding' | AVRDude timeout; USB hub power sag | Connect to rear motherboard USB; replace Micro-B cable |
| Upload succeeds but board types random keys infinitely | Rogue HID sketch lacking physical interrupt | Manual reset timing trick; add delay() or button logic |
| Board gets physically hot near the USB port | Short circuit on 5V rail; tripped PTC polyfuse | Check for solder bridges; wait 10 mins for PTC to reset |
Hardware-Level Diagnostics: When Software Fails
If the 1200 bps trick and manual reset timing fail, you must verify the hardware integrity of the Leonardo. Genuine boards and high-quality clones use a MIC5219 3.3V LDO and a resettable PTC polyfuse (typically rated for 500mA to 750mA) on the VBUS line.
Multimeter Diagnostics (Set to DC Voltage):
- VBUS (USB 5V): Probe the 5V pin and GND. You should read 4.75V to 5.25V. If it reads 0V, the PTC polyfuse has tripped due to an overcurrent event, or the USB cable is defective.
- Logic Level (5V Rail): The ATmega32U4 operates at 5V logic on the digital pins. Probe the '5V' output pin. If it is stable, the main power plane is intact.
- 3.3V Rail: Probe the 3.3V pin. A reading below 3.1V indicates a failing LDO regulator or a short on the 3.3V plane (often caused by a damaged sensor module drawing too much current).
Advanced Recovery: Burning the Bootloader via ISP
If the Caterina bootloader is corrupted (e.g., you accidentally uploaded a raw .hex file via ICSP without a bootloader offset), the Leonardo will no longer appear as a USB device at all. You must re-flash the bootloader using the 6-pin ICSP header.
As outlined in the Official Arduino Leonardo Guide, you will need an external ISP programmer like a USBasp ($4-$6) or a second Arduino Uno configured as 'Arduino as ISP'.
ICSP Wiring Matrix (Programmer to Leonardo ICSP Header):
- MISO -> MISO (Pin 1 on ICSP)
- VCC -> 5V (Pin 2 on ICSP)
- SCK -> SCK (Pin 3 on ICSP)
- MOSI -> MOSI (Pin 4 on ICSP)
- RESET -> RESET (Pin 5 on ICSP)
- GND -> GND (Pin 6 on ICSP)
Once wired, open the Arduino IDE, select Tools > Programmer > USBasp (or Arduino as ISP), and click Tools > Burn Bootloader. This process takes approximately 15 seconds and will completely restore the factory USB CDC and HID capabilities, wiping any corrupted sketches in the process.
Frequently Asked Questions
Can I use a USB-C cable with the Arduino Leonardo?
Out of the box, the standard Leonardo features a USB Micro-B receptacle. While some third-party 2026 clones have updated to USB-C, standard genuine Leonardos require a Micro-B cable. If using a USB-C to Micro-B adapter, ensure the adapter supports data transfer, as many cheap adapters omit the D+ and D- pins required for the ATmega32U4's native USB enumeration.
Why does my Leonardo show up as a 'Teensy' or 'Unknown Device'?
The ATmega32U4 uses VID/PID (Vendor ID / Product ID) pairs defined in the board's firmware. If you previously flashed the chip with QMK firmware for a custom keyboard or used it as a generic HID device via LUFA, the VID/PID will change. Windows will not map it to the Arduino COM port driver. You must force the driver update in Windows Device Manager by pointing it to the arduino.inf file located in your Arduino IDE installation directory under drivers.