
Why Binary Conversion is the Backbone of Advanced MCU Programming
When transitioning from basic Arduino sketches to advanced firmware engineering, mastering binary conversion Arduino techniques is no longer optional—it is a strict requirement. While the Arduino IDE abstracts away much of the hardware-level complexity through functions like digitalWrite() and analogRead(), these abstractions come with severe performance and memory penalties. In 2026, even with the widespread adoption of powerful dual-core microcontrollers like the ESP32-S3 and RP2040, understanding how to manipulate bits, convert integers to binary strings without heap allocation, and map binary literals directly to hardware registers remains a critical skill for writing deterministic, interrupt-safe code.
Binary conversion in the context of microcontrollers encompasses three distinct operations: translating base-10 integers into base-2 string representations for debugging, using bitwise logic to pack and unpack sensor data over I2C/SPI, and mapping binary states directly to MCU memory addresses (Direct Port Manipulation). This tutorial provides a deep, step-by-step guide to executing these operations efficiently on 8-bit AVR and 32-bit ARM architectures.
The Hidden Memory Cost of Native Binary String Conversion
The most common mistake beginners make when attempting binary conversion on an Arduino is relying on the built-in String(val, BIN) function. While this works flawlessly on a desktop PC, it is a notorious source of instability on resource-constrained microcontrollers.
According to the Arduino memory management guide, the ATmega328P (the chip on the Arduino Uno) possesses only 2,048 bytes of SRAM. The String class relies on dynamic memory allocation on the heap. Repeatedly converting integers to binary strings inside a loop() causes severe heap fragmentation, eventually leading to out-of-memory crashes and erratic peripheral behavior.
| Method | SRAM Footprint | Execution Time (16MHz) | Heap Fragmentation Risk |
|---|---|---|---|
String(val, BIN) |
Dynamic (Heap) | ~45 µs | High |
itoa(val, buf, 2) |
Static (Stack/Global) | ~22 µs | None |
| Custom Bitwise Shift | Static (Stack/Global) | ~8 µs | None |
Step 1: Memory-Safe Binary Extraction via Bitwise Shifting
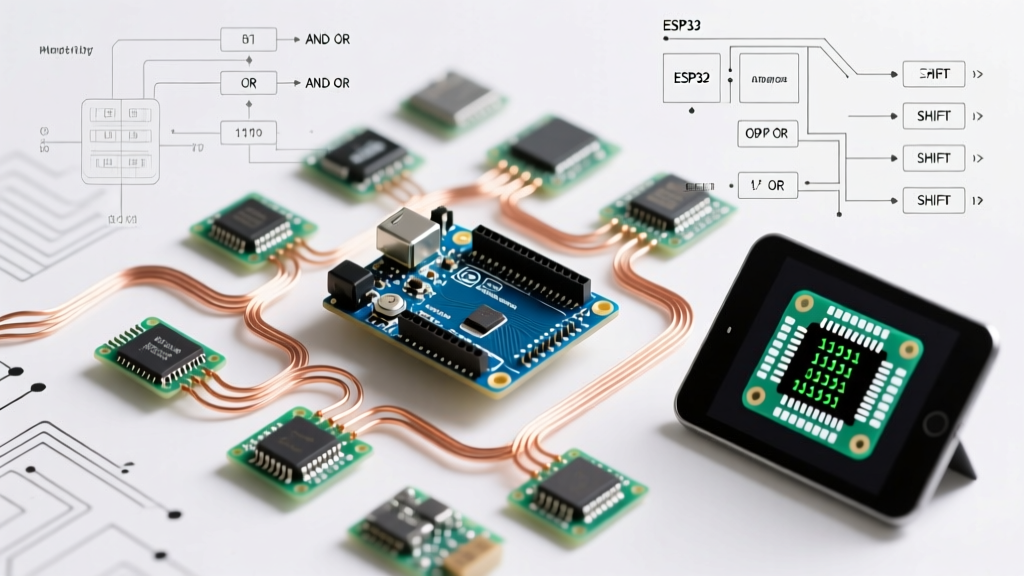
To safely convert an integer to a binary character array without invoking the heap, we use bitwise right-shift (>>) and bitwise AND (&) operators. This method is universally applicable across AVR, ESP32, and STM32 boards.
By isolating the least significant bit (LSB) and shifting the byte, we can populate a pre-allocated char array. This guarantees a fixed memory footprint and executes in a fraction of the time required by the String class.
// Memory-safe binary conversion for an 8-bit integer
void printBinarySafe(uint8_t value) {
  char binaryStr[9]; // 8 bits + 1 null terminator
  binaryStr[8] = '\0'; // Null-terminate the string

  for (int i = 7; i >= 0; i--) {
    // Shift right by 'i' positions, then mask with 1 to isolate the bit
    binaryStr[7 - i] = (value >> i) & 1 ? '1' : '0';
  }

  Serial.println(binaryStr);
}

void setup() {
  Serial.begin(115200);
  uint8_t sensorStatus = 0xA4; // Hexadecimal 0xA4 = 164 in Decimal
  printBinarySafe(sensorStatus); // Outputs: 10100100
}
Step 2: Bitwise Masking for I2C Sensor Register Configuration
Binary conversion extends far beyond string formatting; it is the fundamental language of hardware registers. When communicating with I2C sensors like the BMP280 or MPU6050, you rarely write to an entire byte. Instead, you modify specific bits within a configuration register while leaving adjacent bits untouched.
Understanding bitwise operations in C is mandatory for this. We use the bitwise OR (|) to set bits, and the bitwise AND with an inverted mask (& ~) to clear bits.
Case Study: Configuring the BMP280 ctrl_meas Register
The BMP280 barometric sensor uses the ctrl_meas register (Address 0xF4) to configure temperature oversampling, pressure oversampling, and power mode. The register layout is as follows:
- Bits 7-5: Temperature Oversampling (osrs_t)
- Bits 4-2: Pressure Oversampling (osrs_p)
- Bits 1-0: Power Mode (mode)
Suppose we want to set the temperature oversampling to 101 (16x), pressure to 011 (4x), and mode to 11 (Normal mode). The target binary is 10101111 (0xAF). However, if we only want to change the Power Mode to 'Sleep' (00) without altering the oversampling settings, we must use binary masking.
uint8_t currentReg = readI2CRegister(BMP280_ADDR, 0xF4);

// 1. Clear the last two bits (Power Mode) using AND and an inverted mask
// 0xFC is 11111100 in binary
uint8_t clearedReg = currentReg & 0xFC;

// 2. Set the new mode (e.g., 0x03 for Normal mode) using OR
uint8_t newReg = clearedReg | 0x03;

writeI2CRegister(BMP280_ADDR, 0xF4, newReg);
Pro Tip: Never assume a register's default state on boot. Always perform a read-modify-write cycle using binary masks to prevent accidentally disabling critical sensor features or triggering unintended hardware resets.
Step 3: Direct Port Manipulation via Binary Mapping
The ultimate application of binary conversion on the Arduino platform is Direct Port Manipulation (DPM). Functions like digitalWrite(pin, HIGH) require the MCU to parse the pin number, look up the corresponding hardware port in a mapping table, and execute multiple instructions. This takes roughly 50 clock cycles.
By mapping binary literals directly to the Microchip ATmega328P architecture registers, you can toggle pins in a single clock cycle.
Mapping Arduino Pins to AVR Registers
On the Arduino Uno, digital pins 8 through 13 map to PORTB. Pin 13 corresponds to bit 5 (PB5) of PORTB.
DDRB(Data Direction Register B): Configures pins as INPUT (0) or OUTPUT (1).PORTB: Sets the HIGH/LOW state of OUTPUT pins.PINB: Reads the current state of the pins.
void setup() {
  // Set Pin 13 (PB5) as OUTPUT using binary literal
  // 0b00100000 sets only bit 5 to 1
  DDRB |= 0b00100000;
}

void loop() {
  // Toggle Pin 13 using XOR bitwise operator
  PORTB ^= 0b00100000;
  delayMicroseconds(5); // Creates a high-frequency square wave
}
This technique is essential when writing custom software-based protocols, such as bit-banging WS2812B (NeoPixel) LED strips or high-speed software UART, where microsecond timing precision is non-negotiable.
Common Edge Cases and Debugging Failures
When implementing binary conversion and bitwise math, firmware engineers frequently encounter subtle bugs that are difficult to trace. Watch out for these specific failure modes:
1. The Sign-Extension Trap in 16-Bit Shifts
If you attempt to shift a signed 8-bit integer (int8_t) into a 16-bit variable, the C compiler will perform sign extension. If the MSB (Most Significant Bit) of the 8-bit value is 1, the compiler fills the upper 8 bits of the 16-bit variable with 1s, corrupting your data.
Fix: Always cast to an unsigned type before shifting.
uint8_t lowByte = 0x8F;
uint8_t highByte = 0x1A;

// WRONG: Results in 0xFF8F1A due to sign extension of 0x8F
// int32_t combined = (highByte << 8) | lowByte;

// CORRECT: Cast to uint16_t first
uint16_t combined = ((uint16_t)highByte << 8) | (uint16_t)lowByte;
2. Endianness Mismatches in SPI Communication
When converting 16-bit or 32-bit binary data to send over SPI, remember that the Arduino (AVR/ARM) is Little-Endian (Least Significant Byte stored at the lowest memory address), while many network protocols and external ADCs expect Big-Endian (Most Significant Byte first). Failing to swap the byte order during binary extraction will result in wildly inaccurate sensor readings.
Summary
Mastering binary conversion Arduino techniques bridges the gap between writing code that merely 'works' and engineering firmware that is robust, memory-efficient, and blazingly fast. By abandoning heap-heavy String operations in favor of bitwise extraction, utilizing binary masks for I2C register configuration, and leveraging direct port manipulation, you unlock the true potential of your microcontroller hardware.