
The Ultimate Quick Reference for the Arduino Simon Says Game
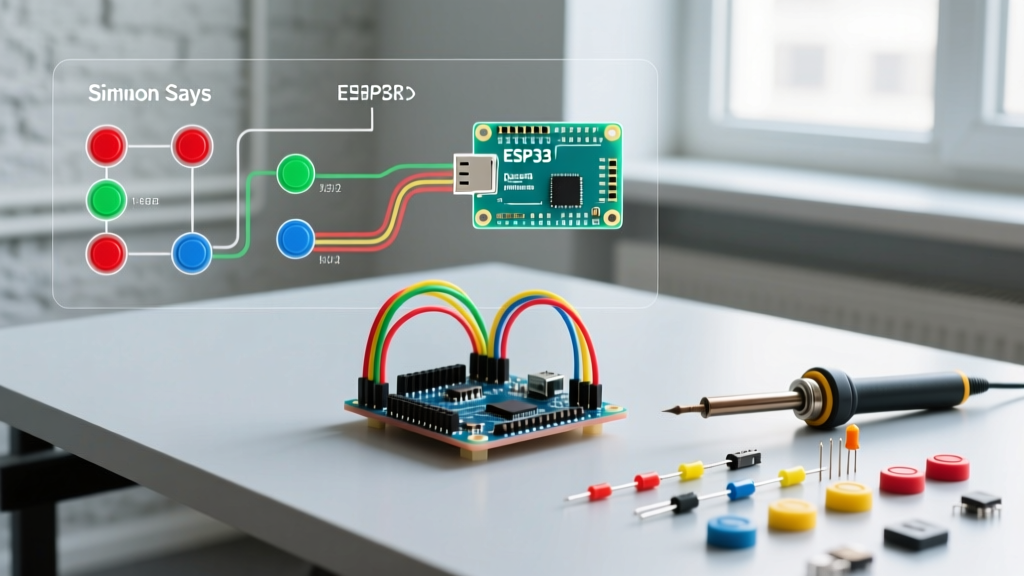
Building an Arduino Simon Says game is a foundational rite of passage for microcontroller enthusiasts. It tests your grasp of digital I/O, non-blocking timing, array management, and pseudo-random logic. However, as projects evolve from simple breadboard prototypes to enclosed, high-speed memory games, makers frequently encounter hardware bottlenecks and software edge cases. This FAQ and quick reference guide cuts through the fluff, providing exact component specifications, 2026 pricing baselines, and deep-dive troubleshooting for the classic memory game.
Quick Reference: 2026 Bill of Materials (BOM)
While the classic Arduino Uno R3 remains a staple, the Arduino Uno R4 Minima has become the preferred choice for advanced Simon builds in 2026 due to its 32KB SRAM and 32-bit RA4M1 processor, eliminating the memory constraints of the older ATmega328P. Below is the optimized BOM for a standard 4-button, 4-LED setup.
| Component | Specification / Model | 2026 Avg. Cost |
|---|---|---|
| Microcontroller | Arduino Uno R3 (ATmega328P) or R4 Minima (RA4M1) | $27.00 - $32.00 |
| LEDs | 5mm Diffused (Red, Green, Blue, Yellow) | $0.15 / ea |
| Pushbuttons | 12x12mm SPST Tactile Switches (4-pin) | $0.10 / ea |
| Audio | Passive Piezo Buzzer (5V, 2kHz-4kHz resonant) | $1.20 |
| Resistors | 150Ω (Red/Yellow), 100Ω (Blue/Green) | $0.02 / ea |
| Power | 9V Battery Clip or 5V 2A USB-C PD Adapter | $3.50 - $8.00 |
Hardware & Wiring FAQ
Q: Why are my Blue and Green LEDs noticeably dimmer than the Red ones?
A: This is a forward voltage ($V_f$) mismatch, the most common hardware flaw in beginner Simon builds. Red and Yellow LEDs typically have a $V_f$ of 2.0V to 2.2V. Blue and Green LEDs require a higher $V_f$ of 3.0V to 3.3V. If you use a standard 220Ω or 330Ω resistor across all colors, the higher voltage drop of the Blue/Green LEDs leaves less current to flow, resulting in dim output.
The Fix: Calculate resistors based on a 5V VCC and a target current of 20mA. Use 150Ω resistors for Red/Yellow and 100Ω (or 91Ω) resistors for Blue/Green to achieve uniform brightness.
Q: Do I need to wire external pull-down resistors for the tactile buttons?
A: No. External pull-down or pull-up resistors add unnecessary wiring complexity and points of failure. Instead, wire one side of the tactile switch to Ground (GND) and the other directly to your digital input pin. In your sketch, initialize the pin using pinMode(buttonPin, INPUT_PULLUP);. This engages the ATmega328P's internal 20kΩ–50kΩ pull-up resistor. Note that this inverts your logic: a pressed button will read LOW, and an unpressed button will read HIGH.
Q: My button presses are registering twice or skipping. How do I fix this?
A: Mechanical switch bounce causes multiple rapid transitions. While hardware debouncing (using an RC circuit with a 10kΩ resistor and 0.1µF capacitor) works, software debouncing is cleaner for Simon games. Implement a 50ms debounce window using millis(). The official Arduino Debounce Example provides the exact state-change detection logic required to ensure a single physical press equals exactly one sequence input.
Software Logic & Memory FAQ
Q: The game generates the exact same sequence every time I power it on. Why?
A: Microcontrollers cannot generate true randomness; they use deterministic algorithms. If you call random(4) without seeding, it defaults to the same starting seed. To fix this, you must seed the generator with environmental noise. Connect a floating wire to Analog Pin A0 and use randomSeed(analogRead(A0)); in your setup() function. The analog-to-digital converter will read ambient electromagnetic noise, providing a unique seed on every boot. For a deeper understanding of how the MCU handles this, consult the Arduino randomSeed() Reference.
Q: The game crashes or resets randomly after the player reaches level 35. What is happening?
A: You have triggered an SRAM stack overflow. The classic ATmega328P (Uno R3) only has 2KB (2048 bytes) of SRAM. If you declared your sequence array as an int (which is 2 bytes on 8-bit AVR boards), an array of 1000 steps consumes 2000 bytes, leaving almost no room for the stack, heap, or local variables, causing a silent crash.
The Fix: Change your array data type to uint8_t (or byte). Since you only need to store numbers 0-3 (representing the 4 LEDs), a 1-byte variable is sufficient. This doubles your maximum sequence length to ~2000 steps. For a comprehensive breakdown of AVR memory limits, review the Arduino Memory Guide.
Pro-Tip for 2026 Builders: If you are using the Arduino Uno R4 Minima, the 32-bit architecture defaultsintto 4 bytes, making memory mismanagement even more punishing. Always explicitly useuint8_tfor sequence arrays regardless of the board to ensure portable, memory-efficient code.
Q: The piezo buzzer stutters or changes pitch when a button is pressed. Why?
A: The standard Arduino tone() function relies on the microcontroller's hardware timers (specifically Timer2 on the Uno R3). If your button-reading logic or LED multiplexing uses interrupts or conflicting libraries (like IRremote or certain Servo implementations), they will hijack Timer2, causing audio stuttering. To resolve this, either ensure your button reads are strictly polling-based within the main loop, or use a non-blocking software-based tone library like ToneAC or NewTone which can be configured to use alternative timers.
Troubleshooting Matrix: Quick Fixes for Common Failures
| Symptom | Root Cause | Exact Solution |
|---|---|---|
| LEDs flicker during audio playback | Voltage brownout on the 5V rail due to piezo current spikes. | Add a 100µF electrolytic capacitor across the 5V and GND rails near the buzzer. |
| Game speed increases too fast | Linear delay reduction (delay -= 50) bottoms out at 0ms. | Use an exponential decay formula or set a hard floor: if (delayTime < 100) delayTime = 100; |
| False inputs registered on adjacent pins | Capacitive coupling or floating pins on a breadboard. | Ensure all unused analog/digital pins are set to OUTPUT (LOW) or disabled in software. |
| High scores erase on power loss | Variables are stored in volatile SRAM. | Write the high score to the EEPROM using EEPROM.put() and read it on boot with EEPROM.get(). |
Advanced Modifications for Expert Makers
Once the baseline Arduino Simon Says game is functional, consider these advanced upgrades to push your hardware and coding skills:
- I2C OLED Integration: Replace the simple LED blink feedback with a 128x64 SSD1306 OLED display. Use the
U8g2library to render a visual countdown timer, current level, and high score. Remember to allocate the display buffer in SRAM carefully. - Shift Register Expansion: Want to build an 8-button, 8-LED 'Super Simon'? Instead of using up all digital pins, use a 74HC595 shift register to control the LEDs and a CD4021 to read the buttons, reducing your I/O footprint to just 3 or 4 pins.
- Capacitive Touch Sensors: Replace mechanical tactile switches with copper tape pads connected to the Arduino's capacitive sensing pins (using the
CapacitiveSensorlibrary). This allows you to build a sleek, buttonless acrylic enclosure with touch-sensitive zones. - Multiplayer Mode via UART: Connect two Arduino boards via their TX/RX pins (with a common ground) to create a head-to-head memory battle mode, where Player 1's sequence is transmitted to Player 2's board for a speed-run challenge.
By mastering these hardware nuances and software constraints, your Arduino Simon Says project will transition from a basic tutorial exercise into a robust, arcade-quality memory game.