
When makers and engineers ask what can you do with arduino, the answer has evolved dramatically. What began in 2005 as a simple educational tool for blinking LEDs and reading basic analog sensors has matured into a robust ecosystem capable of driving industrial automation, Edge AI inference, and complex IoT mesh networks. The modern Arduino lineup leverages powerful ARM Cortex-M and ESP32 architectures, moving far beyond the legacy 8-bit ATmega328P limitations.
This concept explainer breaks down the practical, real-world applications of the Arduino ecosystem, categorizing them by technical complexity and hardware requirements. Whether you are prototyping a smart home node or deploying a machine learning vision system, understanding these tiers will dictate your board selection and architecture.
Tier 1: Educational Foundations & Basic Instrumentation
The entry point for understanding microcontroller logic remains basic instrumentation and environmental monitoring. While the classic Uno R3 is legendary, the modern standard is the Arduino Uno R4 Minima. Powered by a 32-bit Renesas RA4M1 ARM Cortex-M4 running at 48 MHz, it offers a massive leap in processing headroom while maintaining strict backward compatibility with legacy 5V shields.
Practical Applications in Tier 1
- Environmental Data Logging: Interfacing I2C sensors like the BME280 (temperature, humidity, pressure) and logging to SD cards via SPI.
- Custom HID Devices: The Uno R4 features a native USB HID controller, allowing you to build custom macro keyboards or MIDI controllers without external bridge chips.
- Basic Actuation: Driving 5V relays, solenoids, and standard hobby servos (SG90) using hardware PWM pins.
Expert Insight: When powering external 5V peripherals directly from the Uno R4's 5V pin, be mindful of the onboard linear voltage regulator's thermal limits. If supplying 12V via the barrel jack, drawing more than 400mA from the 5V pin will trigger thermal shutdown. Always use an external buck converter (like the LM2596) for high-current loads.
Tier 2: IoT & Connected Home Automation
If you are exploring what you can do with Arduino in the realm of smart homes, the focus shifts to connectivity, low-power sleep states, and wireless protocols. The Arduino Nano ESP32 and the MKR WiFi 1010 dominate this space. The Nano ESP32, built on the ESP32-S3, brings dual-core 240 MHz processing, native Wi-Fi, and Bluetooth 5 (LE) to the classic Nano footprint.
Architecting an IoT Node
A professional IoT implementation goes beyond simple HTTP GET requests. Modern Arduino IoT projects utilize MQTT (Message Queuing Telemetry Transport) for lightweight, publish-subscribe messaging. By connecting to a local Mosquitto broker integrated with Home Assistant, an Arduino Nano ESP32 can report soil moisture levels or control high-voltage relays with sub-50ms latency.
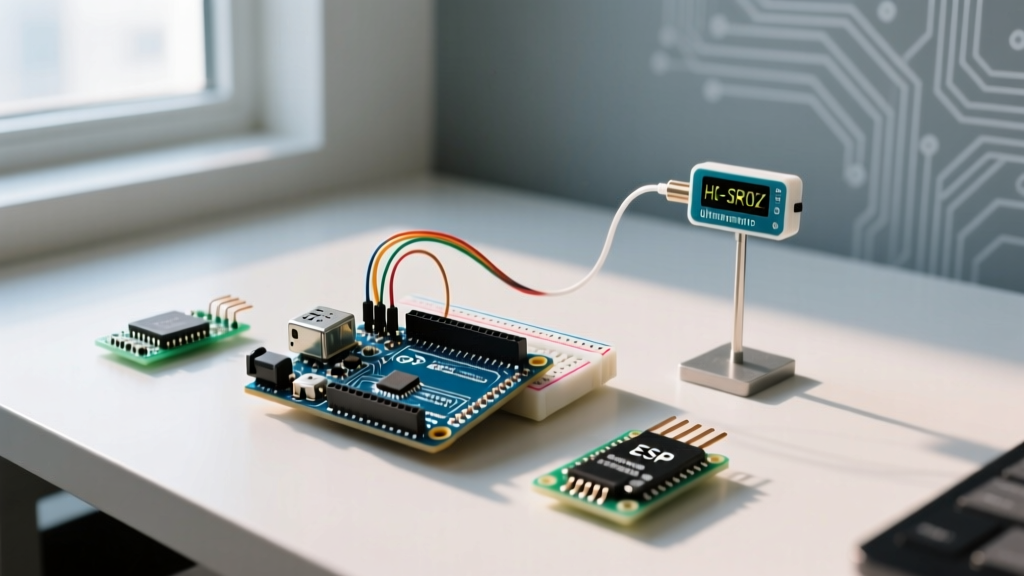
Crucial Edge Case - Logic Level Shifting: The ESP32-S3 operates at 3.3V logic. Connecting legacy 5V sensors (like the HC-SR04 ultrasonic sensor) directly to the GPIO pins will degrade the silicon over time and cause logic errors. You must use a bidirectional logic level shifter (e.g., Texas Instruments TXS0108E) or a simple MOSFET-based voltage divider for the echo pin.
Tier 3: Kinetic Systems & Advanced Motor Control
Robotics requires precise timing, high-frequency PWM, and robust current handling. Standard AVR-based boards struggle with the computational overhead of inverse kinematics and PID loop calculations. For these tasks, the Arduino Giga R1 WiFi (STM32H747XI dual-core) or the Portenta Machine Control are the tools of choice.
Motor Driver Selection: L298N vs. TB6612FNG
A common failure mode in Arduino robotics is poor motor driver selection. The ubiquitous L298N uses outdated Bipolar Junction Transistor (BJT) technology, resulting in a voltage drop of up to 2V and significant heat generation. For any serious kinetic project, upgrade to the TB6612FNG MOSFET-based driver.
| Feature | L298N (BJT) | TB6612FNG (MOSFET) |
|---|---|---|
| Voltage Drop | ~2.0V | ~0.5V |
| Continuous Current per Channel | 2.0A | 1.2A (3.2A peak) |
| PWM Frequency Limit | ~25 kHz | 100 kHz+ |
| Thermal Efficiency | Poor (Requires heatsink) | Excellent |
Tier 4: Edge AI & Machine Vision
The absolute ceiling of what you can do with Arduino hardware lies in Edge AI—running machine learning models directly on the microcontroller without cloud dependency. This is known as TinyML. Boards like the Arduino Nicla Vision and Portenta H7 are engineered specifically for this.
Using the TinyML Foundation frameworks and TensorFlow Lite for Microcontrollers, you can train a neural network to recognize specific audio keywords (like 'glass breaking' or 'machine bearing failure') or classify images from a 2MP OV7675 camera module. The Portenta H7's dual-core architecture allows the M7 core (480 MHz) to handle the heavy neural network tensor math, while the M4 core (240 MHz) manages real-time sensor polling and I/O interrupts.
Hardware Selection Matrix for 2026 Projects
Choosing the right board prevents architectural bottlenecks. Use this matrix to align your project scope with the correct silicon.
| Board Model | Microcontroller Core | Logic Level | Ideal Use Case | Approx. Price |
|---|---|---|---|---|
| Uno R4 Minima | Renesas RA4M1 (Cortex-M4) | 5V | Education, Basic Instrumentation, HID | $27.50 |
| Nano ESP32 | ESP32-S3 (Dual-core Xtensa) | 3.3V | $31.00 | |
| Portenta H7 | STM32H747 (Dual Cortex-M7/M4) | 3.3V | Edge AI, Industrial Vision, DSP | $105.00 |
| Giga R1 WiFi | STM32H747 + ESP32 | 3.3V | Complex Robotics, High I/O Pin Count | $77.00 |
Critical Engineering Pitfalls to Avoid
Understanding the concepts is only half the battle; avoiding hardware traps is what separates hobbyists from engineers.
1. I2C Bus Capacitance and Pull-Up Resistor Miscalculation
The I2C protocol is limited by bus capacitance (standard limit is 400pF). If you daisy-chain multiple sensors or use long wires, the signal edges degrade, causing NACK errors. Furthermore, using the default 10kΩ pull-up resistors on a 400kHz Fast-Mode I2C bus will result in slow rise times. Solution: Calculate your pull-ups based on bus capacitance. For 400kHz, drop to 2.2kΩ or 3.3kΩ resistors to sharpen the signal edges.
2. Ignoring Deep Sleep Current Consumption
When building battery-powered IoT nodes, simply calling delay() keeps the MCU fully active, draining a 2000mAh LiPo in days. You must utilize hardware sleep modes. According to the official Espressif sleep mode documentation, configuring the ESP32-S3 into deep sleep with ULP (Ultra-Low Power) co-processor wakeups can reduce current draw to roughly 10 μA, extending battery life to months or years. Note that on Arduino boards, you must also account for the quiescent current of the onboard 3.3V LDO regulator, which can add 1-2mA of parasitic drain unless bypassed.
3. USB-C Power Delivery (PD) Negotiation Failures
Modern Arduino boards utilize USB-C, but not all implement full PD negotiation. If you plug a high-wattage PD charger into a board that only supports standard 5V USB BC 1.2 charging, the charger may default to 5V/0.5A or refuse to output power entirely if the CC (Configuration Channel) pins lack the required 5.1kΩ pulldown resistors. Always verify your board's USB-C implementation before relying on it for high-current field deployments.
Summary
The question of what you can do with Arduino is ultimately limited only by your understanding of embedded systems architecture. By moving past basic tutorials and mastering logic level translation, bus capacitance management, and RTOS (Real-Time Operating System) task scheduling, the Arduino ecosystem provides a direct, scalable bridge from weekend prototyping to commercial product deployment. For further technical specifications and pinout diagrams, always consult the official Arduino hardware documentation before finalizing your PCB designs.