
The Anatomy of UART: How Serial Actually Works
At its core, Arduino serial to serial communication relies on UART (Universal Asynchronous Receiver-Transmitter). Unlike SPI or I2C, UART is asynchronous—meaning it does not use a shared clock line to synchronize data transfers. Instead, both devices must agree on a specific timing rate, known as the baud rate (bits per second), before transmission begins.
When an Arduino transmits a byte over a serial line, it breaks the data down into a specific frame structure:
- Start Bit (1 bit): The line is pulled LOW to signal the receiving device that a byte is incoming.
- Data Bits (8 bits): The actual payload, transmitted Least Significant Bit (LSB) first.
- Parity Bit (Optional): Rarely used in modern maker projects, but available for basic error checking.
- Stop Bit (1 or 2 bits): The line is pulled HIGH to signal the end of the frame and allow the receiver to reset.
Because a standard 8-bit byte requires 10 bits on the wire (1 start + 8 data + 1 stop), a baud rate of 9600 yields a maximum theoretical throughput of 960 bytes per second. Understanding this overhead is critical when calculating buffer requirements for high-speed sensor data.
Hardware Serial vs. SoftwareSerial: A Technical Comparison
When designing a multi-node Arduino network, you must choose between the microcontroller's dedicated UART hardware pins and a bit-banged software emulation. According to the Arduino SoftwareSerial Documentation, the software approach offers flexibility but comes with severe computational penalties.
| Feature | Hardware Serial (UART) | SoftwareSerial Library |
|---|---|---|
| Pin Assignment | Fixed (e.g., Pins 0/1 on Uno, 14/15 on Mega) | Any digital GPIO pins |
| Max Reliable Baud | 2,000,000+ (depends on crystal) | 115,200 (highly prone to errors above 57,600) |
| CPU Overhead | Near zero (handled by UART peripheral) | Extremely high (disables interrupts during RX/TX) |
| Simultaneous RX/TX | Full duplex supported | Half-duplex only (cannot listen and talk simultaneously) |
| Best Use Case | PC debugging, GPS modules, high-speed telemetry | Low-speed secondary sensors (e.g., 9600 baud PZEM-004T) |
Expert Insight: Never use SoftwareSerial for high-speed LoRa modules or ESP8266 AT-command firmwares. SoftwareSerial disables global interrupts while receiving a byte. If a byte arrives while the MCU is executing an interrupt service routine (ISR) for a rotary encoder or timer, the start bit is missed, resulting in permanent data corruption for that frame.
Wiring Rules: Avoiding the 'Magic Smoke' and Data Corruption
The physical layer is where most Arduino serial to serial projects fail. Follow these three golden rules to ensure signal integrity and protect your silicon.
1. The TX/RX Crossover
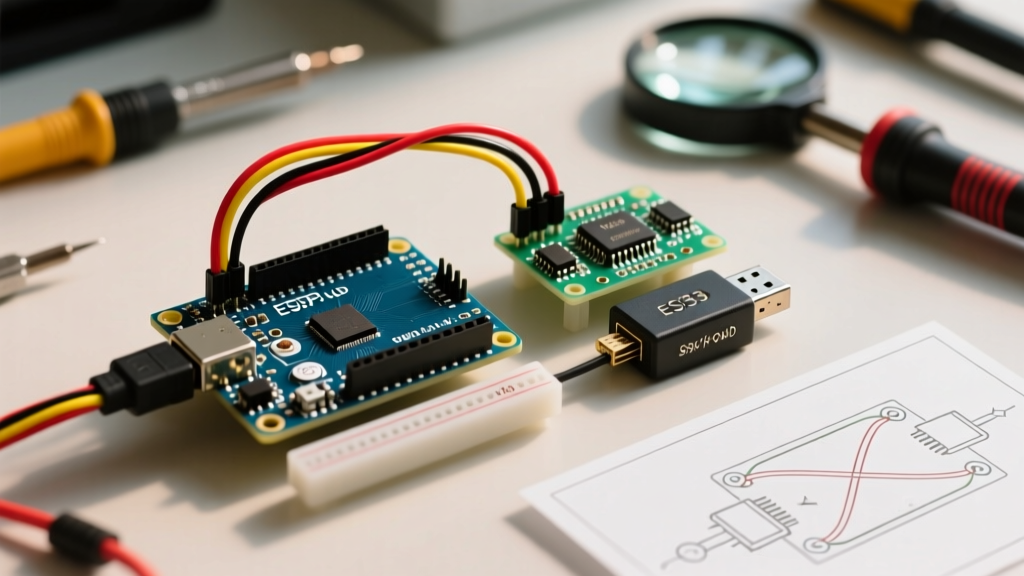
Serial lines are point-to-point. The Transmit (TX) pin of Device A must always connect to the Receive (RX) pin of Device B, and vice versa. Connecting TX to TX will result in a dead short when one device drives the line HIGH while the other drives it LOW, potentially damaging the GPIO drivers.
2. The Common Ground Mandate
Voltage is a relative measurement. If Arduino A and Arduino B do not share a common Ground (GND) connection, their logic HIGH and LOW thresholds will float relative to one another. This results in 'garbage characters' in the serial monitor. Always run a dedicated GND wire alongside your TX/RX lines.
3. 5V to 3.3V Logic Translation
Modern microcontroller design has largely shifted to 3.3V logic. While the classic ATmega328P (Arduino Uno R3) operates at 5V, modern workhorses like the ESP32-S3, Raspberry Pi Pico (RP2040), and ARM-based Arduino Nano 33 IoT operate strictly at 3.3V.
Sending a 5V TX signal directly into a 3.3V RX pin will overstress the input protection diodes. Over time, this causes electromigration and permanent silicon degradation. As detailed in the SparkFun Logic Levels Tutorial, you must use a logic level shifter.
For reliable bi-directional translation, use a MOSFET-based level shifter (like the Adafruit 4-channel BSS138 breakout, typically ~$3.95) or a dedicated buffer IC like the Texas Instruments SN74AHCT125. Avoid simple resistor voltage dividers for baud rates above 38,400; the parasitic capacitance of the GPIO pin combined with the divider resistors creates a low-pass filter that rounds off the sharp square waves, causing framing errors at high speeds.
Bulletproof Code: Preventing Buffer Overflows
The ATmega328P features a 64-byte hardware serial receive buffer. If your sketch is busy executing a blocking function (like delay() or a lengthy Wire.requestFrom() I2C poll) and more than 64 bytes arrive, the 65th byte is silently dropped. To build robust Arduino serial to serial links, you must implement non-blocking parsing.
// Robust Non-Blocking Serial Packet Parser
const byte numChars = 64;
char receivedChars[numChars];
boolean newData = false;

void setup() {
    Serial.begin(115200);
    Serial1.begin(115200); // Hardware Serial 1 (e.g., Arduino Mega)
}

void loop() {
    recvWithEndMarker();
    if (newData == true) {
        processPacket();
        newData = false;
    }
}

void recvWithEndMarker() {
    static byte ndx = 0;
    char endMarker = '\n';
    char rc;

    // Read from Hardware Serial 1
    while (Serial1.available() > 0 && newData == false) {
        rc = Serial1.read();
        if (rc != endMarker) {
            receivedChars[ndx] = rc;
            ndx++;
            if (ndx >= numChars) { ndx = numChars - 1; } // Prevent overflow
        } else {
            receivedChars[ndx] = '\0'; // Null-terminate string
            ndx = 0;
            newData = true;
        }
    }
}

void processPacket() {
    // Process the validated string without blocking the main loop
    Serial.print("Received Valid Packet: ");
    Serial.println(receivedChars);
}
This state-machine approach reads bytes only when they are available in the UART FIFO register, ensuring the main loop remains responsive to button presses and sensor polling.
Advanced Troubleshooting: Edge Cases and Failure Modes
Even with perfect wiring, environmental and hardware quirks can disrupt serial links. Here is how to diagnose the most common edge cases:
Baud Rate Drift and Oscillator Tolerance
UART relies entirely on the accuracy of the microcontroller's clock. If you are using an Arduino board with an internal RC oscillator (such as the Arduino Lilypad or a standalone ATtiny85), the clock tolerance can be as wide as ±10%.
At 9600 baud, a 10% drift might still fall within the receiver's sampling window. However, at 115,200 baud, a 10% timing error guarantees that the receiver will sample the wrong bit by the 8th data bit, resulting in a framing error. Solution: For any Arduino serial to serial link exceeding 57,600 baud, ensure both nodes utilize an external precision quartz crystal (e.g., 16.000 MHz ±20ppm).
Ground Loops in Industrial Environments
If your Arduinos are powered by separate mains-connected switching power supplies located meters apart, connecting their grounds directly can create a ground loop. Differences in mains potential will drive high currents through your fragile serial GND wire, causing resets or fried traces.
Solution: In distributed or industrial setups, abandon direct copper UART connections. Instead, use an isolated serial transceiver like the Maxim MAX3430 or a cheap opto-isolated USB-to-TTL adapter to break the galvanic connection while preserving the data link.
USB-to-Serial Chip Conflicts
When uploading code to an Arduino Uno, the onboard ATmega16U2 USB-to-Serial chip is hardwired to pins 0 and 1. If you have an external device connected to these pins, it will interfere with the bootloader's auto-reset circuit, causing 'avrdude: stk500_getsync() attempt 1 of 10: not in sync' errors in the Arduino IDE. Always disconnect external TX/RX lines from Pins 0 and 1 before flashing new firmware, or migrate your external comms to Hardware Serial 1 (Pins 18/19) on an Arduino Mega.
By respecting the electrical realities of logic levels, managing CPU interrupts, and writing non-blocking parsers, your Arduino serial to serial networks will achieve the reliability required for long-term autonomous deployments. For deeper dives into microcontroller peripherals, consult the Arduino Hardware Serial Reference to explore advanced FIFO configurations.