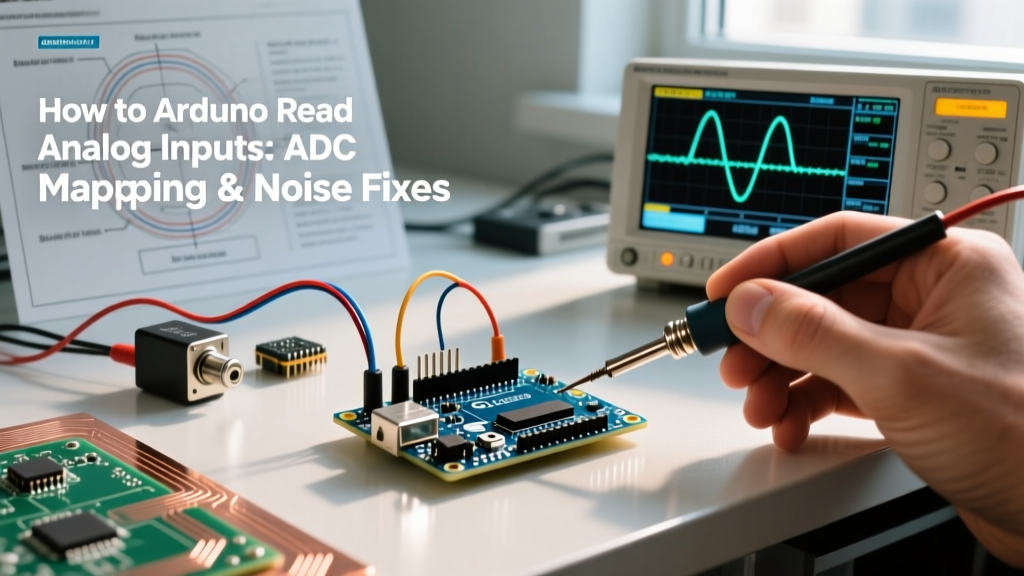

The Reality of Arduino Read Analog Signals
When makers first learn to Arduino read analog inputs using the analogRead() function, it often feels like magic. You wire a potentiometer or a sensor to an 'A' pin, call a single function, and receive a number between 0 and 1023. However, treating the Analog-to-Digital Converter (ADC) as a perfect black box is the leading cause of erratic sensor data, unresponsive controls, and failed commercial prototypes.
Real-world analog signals are continuous, infinite-resolution voltage streams. Microcontrollers are discrete, binary machines. Bridging this gap requires a deep understanding of Successive Approximation Register (SAR) architecture, source impedance limits, and quantization noise. This guide moves beyond basic tutorials to explain the electrical engineering principles behind analog reading, providing actionable frameworks for filtering noise and mapping voltages accurately in 2026.
Inside the SAR ADC: How the Conversion Actually Works
Most standard Arduino boards utilize a Successive Approximation Register (SAR) ADC. According to Analog Devices' foundational guide on SAR ADCs, this architecture operates much like a binary search algorithm or a digital weighing scale.
When you trigger an analogRead(), the microcontroller does not simply "measure" the voltage. Instead, it executes the following sequence:
- Sample and Hold (S/H): An internal switch closes, allowing a tiny internal capacitor (typically around 14pF on the ATmega328P) to charge to the input voltage. The switch then opens, "holding" the voltage steady.
- DAC Comparison: An internal Digital-to-Analog Converter (DAC) generates a reference voltage, starting at exactly half of the ADC's maximum reference voltage (Vref).
- Binary Search: A comparator checks if the held input voltage is higher or lower than the DAC's generated voltage. If higher, the most significant bit (MSB) is set to 1, and the DAC adjusts to 75% of Vref. If lower, the MSB is 0, and the DAC drops to 25%.
- Iteration: This process repeats for every bit of resolution (10 times for a 10-bit ADC, 12 times for a 12-bit ADC) until the digital approximation matches the analog voltage.
Expert Insight: Because the S/H capacitor must physically charge through your external circuit, the speed and accuracy of this process are entirely dependent on your external circuit's resistance. This is where most hobbyist designs fail.
Microcontroller ADC Specifications Comparison
Not all Arduino-compatible boards process analog signals equally. The architecture changes drastically depending on the silicon. Below is a comparison of common MCU ADC specifications relevant to modern maker projects.
| Board / MCU | ADC Resolution | Default Vref | Max Recommended Source Impedance | Typical Use Case |
|---|---|---|---|---|
| Uno R3 (ATmega328P) | 10-bit (0-1023) | 5.0V | 10 kΩ | Basic sensors, potentiometers |
| Nano 33 IoT (SAMD21) | 12-bit (0-4095) | 3.3V | 10 kΩ | Audio sampling, precision environmental |
| ESP32-S3 (Dual Core) | 12-bit (0-4095) | 3.3V (Variable) | Highly Variable (Non-linear) | Wi-Fi/BLE IoT sensor nodes |
The Source Impedance Trap: Why 1MΩ Voltage Dividers Fail
A common edge case occurs when a user builds a high-impedance voltage divider (e.g., using two 1MΩ resistors to step down a 12V battery to a safe 3.3V for an ESP32). The math is correct, but the analogRead() returns erratic, consistently low values.
This happens because of the Sample and Hold (S/H) circuit. The internal 14pF capacitor must charge to the input voltage during the brief sampling window (often just a few microseconds). If your external circuit has a Thevenin equivalent resistance of 500kΩ, the RC time constant ($\tau = R \times C$) is roughly 7µs. The capacitor requires about $5\tau$ (35µs) to fully charge. If the ADC sampling window closes before the capacitor is full, the microcontroller measures a partially charged capacitor, resulting in a falsely low reading.
The Fix: Always design voltage dividers with a total equivalent resistance of 10 kΩ or less. If power consumption forbids low-value resistors, you must add a buffer op-amp (like the MCP6002) or place a 100nF ceramic capacitor in parallel with the lower resistor to act as a local charge reservoir.
Mapping and Scaling: Beyond the Basic map() Function
The official Arduino analogRead() documentation correctly notes that the function returns an integer. However, mapping this integer to a real-world voltage requires careful math to avoid truncation errors.
The Integer Truncation Problem
Using the standard map(val, 0, 1023, 0, 5000) function relies on integer math. If your ADC reads 512, the map function calculates $(512 \times 5000) / 1023 = 2502mV$. While close, integer division drops the decimal remainder, introducing a cumulative quantization error across your dataset.
The Floating-Point Solution
For precision applications, bypass map() and use floating-point arithmetic. While slightly slower on 8-bit AVRs, modern 32-bit ARM and Xtensa MCUs handle floats natively via hardware FPU (Floating Point Unit).
const float V_REF = 5.0; // Or 3.3 for 3.3V boards
const int ADC_MAX = 1023; // Use 4095 for 12-bit boards

void loop() {
  int rawAdc = analogRead(A0);
  float actualVoltage = ((float)rawAdc / ADC_MAX) * V_REF;
  // actualVoltage now holds precise decimal values, e.g., 2.543V
}
Mitigating Analog Noise: Hardware and Software Strategies
Electrical noise from switching regulators, PWM signals, and RF modules will couple into high-impedance analog traces, causing the ADC's least significant bits (LSBs) to flutter wildly. You must attack this on two fronts.
1. Hardware Low-Pass Filtering
Before the signal reaches the microcontroller pin, pass it through a passive RC low-pass filter. A standard configuration uses a 1 kΩ series resistor and a 100 nF ceramic capacitor to ground. This creates a cutoff frequency ($f_c = 1 / (2\pi RC)$) of approximately 1.59 kHz, effectively shorting high-frequency switching noise to ground while allowing slow-changing sensor signals (like temperature or light) to pass unimpeded.
2. Software Oversampling and Decimation
If hardware filtering is insufficient, use software oversampling. By taking multiple rapid readings and averaging them, you can mathematically reduce white noise and even artificially increase your ADC's resolution. According to Nyquist and oversampling theorems, every time you quadruple the number of samples, you gain one extra bit of resolution.
- 4 samples averaged: +1 bit resolution (11-bit effective)
- 16 samples averaged: +2 bits resolution (12-bit effective)
- 64 samples averaged: +3 bits resolution (13-bit effective)
Note: This only works if there is at least 1 LSB of natural dither (noise) in the signal. If the signal is perfectly noise-free, oversampling will just return the exact same number repeatedly.
Edge Case: The ESP32 ADC Non-Linearity Problem
If you are designing an IoT node using the ESP32 or ESP32-S3, you must account for a well-documented hardware quirk. The Espressif ESP32 ADC documentation explicitly warns that the native ADC is notoriously non-linear, particularly near the 0V and 3.3V rails. An input of 3.1V might yield a raw reading of 2600 instead of the expected 3800.
Actionable Fix: Never use raw analogRead() values for precision voltage measurement on an ESP32. Instead, use the factory-calibrated eFuse lookup tables provided by the ESP32 Arduino Core via the analogReadMilliVolts() function. This function automatically applies the silicon-specific calibration curve, converting the non-linear raw data into accurate millivolt readings. Furthermore, avoid using ADC1 channels while Wi-Fi is actively transmitting, as the RF subsystem introduces severe transient noise into the ADC1 multiplexer.
Summary Checklist for Analog Design
To ensure your microcontroller reads analog signals with maximum fidelity, verify your design against this checklist:
- Is the source impedance below 10 kΩ? (If not, add an op-amp buffer or reservoir capacitor).
- Is there a 100nF decoupling capacitor physically close to the MCU's Vref and GND pins?
- Are analog traces routed away from digital PWM lines and switching power inductors?
- Are you using floating-point math for voltage scaling to prevent integer truncation?
- If using an ESP32, are you utilizing
analogReadMilliVolts()to bypass silicon non-linearity?
By respecting the physical limitations of the SAR ADC and implementing proper impedance and filtering strategies, you transform erratic sensor data into reliable, production-grade telemetry.