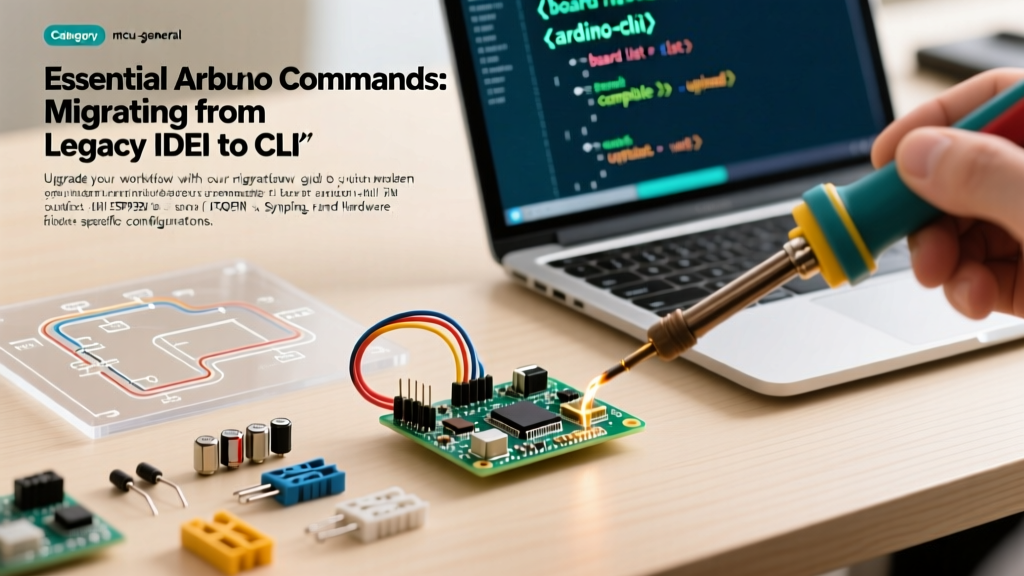

The End of an Era: Why Migrate Your Arduino Commands?
For over a decade, the Java-based Arduino IDE 1.8.x was the undisputed entry point for microcontroller development. However, as of 2026, the legacy IDE is fully deprecated, lacking support for modern ARM Cortex-M7 architectures, native USB-C debugging, and automated CI/CD pipelines. Professional engineers and advanced makers have universally migrated to the Go-based arduino-cli and the modern IDE 2.x ecosystem.
Mastering modern Arduino commands via the command-line interface (CLI) is no longer optional for scalable production. Whether you are flashing a fleet of IoT sensors or setting up a headless Raspberry Pi 5 test jig, the CLI provides deterministic, scriptable control that the old GUI simply cannot match. This guide details the exact migration path, essential syntax, and edge-case troubleshooting required to upgrade your development workflow.
⚠️ Migration Warning: Arduino IDE 1.8.19 was the final legacy release. It does not support the latest package_index.json schema updates required for modern boards like the Arduino Portenta H7 or Nano RP2040 Connect. Continuing to use legacy commands or the old IDE will result in silent compilation failures and missing core dependencies.
Core Architecture Shift: Java IDE vs. Go-based CLI
Before diving into the syntax, it is crucial to understand how the underlying architecture has changed. The legacy IDE bundled the compiler, avrdude, and serial monitor into a monolithic Java application. The modern ecosystem decouples these into modular, standalone binaries.
| Feature | Legacy IDE (1.8.x) | Modern CLI (1.x+ / 2026) |
|---|---|---|
| Architecture | Monolithic Java Wrapper | Modular Go Binary |
| Board Identification | GUI Dropdown / Hidden COM Ports | FQBN & JSON Hardware Mapping |
| CI/CD Integration | Requires complex headless hacks | Native JSON output & exit codes |
| Library Management | Global flat directory | Version-pinned dependency trees |
The Essential Arduino Commands for Modern Workflows
To successfully migrate, you must replace your GUI clicks with explicit terminal commands. Below are the critical commands required for a modern, automated workflow. For comprehensive syntax references, always consult the official Arduino CLI documentation.
1. Environment and Core Management
In the legacy IDE, clicking "Boards Manager" triggered a hidden background fetch. In the CLI, you must explicitly manage your core indexes and installations.
# Update the local package index from Arduino's servers
arduino-cli core update-index

# Install the modern Mbed core for ARM Cortex-M7 boards
arduino-cli core install arduino:mbed_portenta

# List all installed cores and their versions
arduino-cli core list
Pro-Tip: If you are using third-party boards (e.g., ESP32 or STM32), you must append their custom URLs to your configuration file using arduino-cli config init and editing the board_manager.additional_urls array in the generated arduino-cli.yaml.
2. Board Discovery and FQBN Targeting
The most significant paradigm shift is the introduction of the Fully Qualified Board Name (FQBN). The CLI does not rely on ambiguous COM port names; it maps hardware via USB VID/PID to an exact FQBN string.
# Scan connected USB devices and output as JSON
arduino-cli board list --format json
This JSON output is critical for automated test scripts. You can pipe this into jq to dynamically extract the FQBN and port address, allowing your bash scripts to adapt to whichever board is physically plugged into the test jig.
3. Compilation and Advanced Flag Injection
Compiling via the command line allows for granular control over the GCC toolchain, which is essential for optimizing memory-constrained devices or maximizing performance on high-end MCUs.
# Standard compilation
arduino-cli compile --fqbn arduino:samd:mkrwifi1010 ./my_project

# Advanced: Override compiler optimization flags for performance
arduino-cli compile --fqbn arduino:mbed_portenta:envie_m7 \
  --build-property "build.extra_flags=-O3 -mfloat-abi=hard" ./my_project
By injecting -O3 instead of the default -Os (optimize for size), you can significantly reduce execution latency on DSP-heavy tasks, albeit at the cost of increased flash consumption.
4. Library Dependency Resolution
Legacy IDE library management was notorious for "dependency hell," where updating a global library broke older projects. The modern CLI enforces strict version pinning.
# Install a specific version of a library to prevent breaking changes
arduino-cli lib install "Adafruit NeoPixel@1.12.0"

# Install dependencies directly from a project's metadata
arduino-cli lib install --git-url https://github.com/author/repo.git
Step-by-Step Migration: Headless Raspberry Pi CI/CD Node
A common 2026 upgrade path is building a headless hardware-in-the-loop (HIL) testing node using a Raspberry Pi 5 (approx. $80). Here is the exact sequence to provision the machine using the Arduino CLI GitHub repository installation script.
- Install the CLI Binary:
curl -fsSL https://raw.githubusercontent.com/arduino/arduino-cli/master/install.sh | BINDIR=/usr/local/bin sh - Initialize Configuration:
arduino-cli config init - Install Linux udev Rules: Headless Linux environments will block serial access by default. You must grant dialout permissions.
sudo usermod -a -G dialout $USER
Note: A reboot or logout/login cycle is required for group changes to take effect. - Create the Build Script: Write a bash script that pulls your repository, compiles the sketch, and flashes it to the attached DUT (Device Under Test), logging the serial output to a timestamped file for QA review.
Troubleshooting Edge Cases and Failure Modes
Migrating from the legacy Arduino software environment often exposes underlying OS-level friction points. Here are the most common failure modes and their exact fixes.
Failure Mode 1: "Board not found" despite physical connection
Cause: The Linux kernel recognizes the USB device, but the udev rules are blocking the CLI from accessing the serial ACM interface. This is highly common with clone boards using the CH340 or CP2102 UART bridges.
Fix: Create a custom udev rule. Create /etc/udev/rules.d/99-arduino.rules and add:
SUBSYSTEM=="tty", ATTRS{idVendor}=="1a86", ATTRS{idProduct}=="7523", MODE="0666"
Then reload rules with sudo udevadm control --reload-rules && sudo udevadm trigger.
Failure Mode 2: Compilation fails with "Missing platform.txt"
Cause: You are attempting to compile for a third-party board (like an ESP8266) but the core index was corrupted or incompletely downloaded during a network timeout.
Fix: Purge the local cache and force a clean re-download.
rm -rf ~/.arduino15/packages/*
arduino-cli core update-index
arduino-cli core install esp8266:esp8266
Failure Mode 3: Flash usage exceeds 100% on AVR boards
Cause: The modern CLI includes the full C++ standard library by default in some Mbed cores, or you have included heavy libraries like ArduinoJson without enabling the size-optimization flags.
Fix: Explicitly pass the size-optimization flag and strip unused sections during the linker phase:
--build-property "compiler.c.extra_flags=-ffunction-sections -fdata-sections"
Frequently Asked Questions (FAQ)
Q: Can I use Arduino CLI commands inside Docker containers for cloud CI/CD?
A: Yes. The official Arduino CLI provides pre-built Docker images. However, to flash physical hardware connected to the host machine from within a Docker container, you must pass the --privileged flag and map the specific /dev/ttyUSB* device into the container environment.
Q: How do I migrate my custom boards.txt definitions from IDE 1.8.x?
A: Custom boards.txt files are still supported, but they must be placed inside a properly structured hardware folder within your local Arduino15 directory. Alternatively, modern best practice dictates converting your custom hardware definitions into a JSON package index hosted on a GitHub release page, which the CLI can consume natively.
Q: Does the CLI support debugging?
A: Yes. For boards with native SWD/JTAG support (like the Arduino Zero or Portenta H7), the CLI integrates with gdb and openocd via the arduino-cli debug command, allowing you to set breakpoints and inspect memory registers directly from the terminal or via VS Code's Cortex-Debug extension.