
The Evolution of ROS for Arduino in 2026
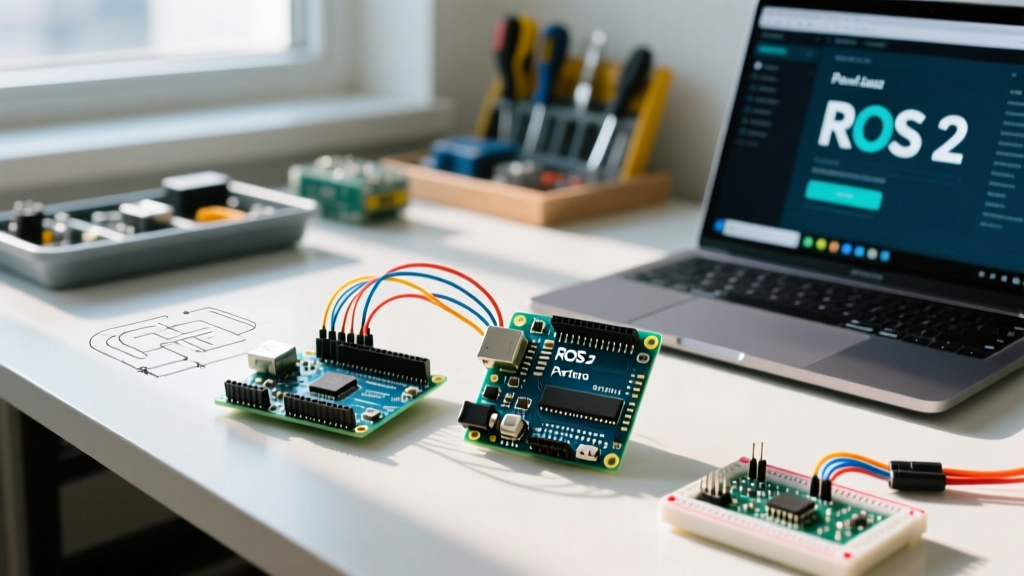
When makers and robotics engineers search for ros for arduino, they are frequently met with outdated tutorials referencing rosserial and ROS 1 Noetic. As of 2026, ROS 1 has reached end-of-life, and the industry standard for bridging microcontrollers to the Robot Operating System is micro-ROS. Unlike the legacy serial bridge, micro-ROS utilizes the DDS-XRCE (Data Distribution Service - eXtremely Resource Constrained Environments) protocol, allowing 32-bit microcontrollers to act as native nodes in a ROS 2 network.
You cannot run a full ROS 2 stack directly on an Arduino due to memory and processing constraints. Instead, the micro-ROS client runs on the Arduino, communicating with a micro-ROS Agent running on a host computer (like a Raspberry Pi 5 or an Ubuntu workstation). The agent translates the XRCE protocol into standard DDS topics, making your Arduino indistinguishable from a high-end Linux robot node.
This tutorial provides a deep-dive, actionable guide to setting up micro-ROS for Arduino using the Arduino Uno R4 WiFi and the premium Arduino Portenta H7, targeting the ROS 2 Jazzy Jalisco distribution.
Hardware and Software Requirements
Before writing code, you must select a compatible board. 8-bit AVR boards (like the classic Uno R3) lack the SRAM and 32-bit architecture required for DDS-XRCE. Below is a comparison of the best Arduino boards for micro-ROS integration in 2026.
| Microcontroller | Architecture | SRAM | Approx. Price (2026) | Transport Layer |
|---|---|---|---|---|
| Arduino Uno R4 WiFi | 32-bit ARM Cortex-M4 | 32 KB | $27.50 | Serial (USB) / UDP (WiFi) |
| Arduino Portenta H7 | Dual-Core ARM M7/M4 | 1 MB | $109.00 | Serial / UDP / Ethernet |
| Arduino GIGA R1 WiFi | Dual-Core ARM M7/M4 | 1 MB | $82.00 | Serial / UDP |
Software Stack:
- Host OS: Ubuntu 24.04 LTS (Native or WSL2 on Windows 11)
- ROS 2 Distribution: Jazzy Jalisco
- IDE: Arduino IDE 2.3.x or Arduino CLI
- Library:
micro_ros_arduino(v2.0.7 or newer)
System Architecture: Client vs. Agent
Understanding the architecture is critical for debugging. According to the micro-ROS official documentation, the system is split into two distinct domains:
- The Client (Arduino): Runs the
micro_ros_arduinolibrary. It handles sensor reading, actuator control, and packages data into XRCE messages. It does not perform heavy computation or maintain the full ROS graph. - The Agent (Host PC): A middleware bridge. It receives XRCE packets via Serial or UDP, creates the corresponding ROS 2 topics/services on the host's DDS network, and routes commands back to the Arduino.
Expert Insight: Never attempt to run the micro-ROS Agent on the Arduino itself. The Agent requires a full POSIX-compliant OS and several megabytes of RAM just to load the DDS middleware. Always offload the Agent to a Raspberry Pi 5, Jetson Orin, or PC.
Step 1: Preparing the ROS 2 Host Environment
First, ensure ROS 2 Jazzy is installed on your Ubuntu 24.04 host. If you haven't installed it yet, follow the ROS 2 Jazzy documentation. Once your base environment is sourced, the most stable way to run the micro-ROS Agent in 2026 is via Docker. This avoids compiling the agent from source and resolves dependency conflicts with your host's DDS implementation (like CycloneDDS or FastDDS).
Install Docker and Pull the Agent Image
sudo apt update && sudo apt install docker.io
sudo systemctl enable --now docker
sudo usermod -aG docker $USER
docker pull microros/micro-ros-agent:jazzy
Fixing Linux Serial Permissions
A common failure mode for beginners is the Permission denied error when the Agent tries to open /dev/ttyACM0. You must add your user to the dialout group:
sudo usermod -a -G dialout $USER
# Reboot or log out/in for this to take effect
Step 2: Installing the micro-ROS Arduino Library
Do not rely on the default Arduino Library Manager version of micro-ROS, as it is often several minor versions behind the official micro_ros_arduino GitHub repository. For ROS 2 Jazzy compatibility, download the latest release ZIP directly from GitHub.
- Navigate to the GitHub repository and download the
micro_ros_arduino.zipfrom the 'Releases' section. - Open Arduino IDE 2.x.
- Go to Sketch > Include Library > Add .ZIP Library... and select the downloaded file.
- Restart the IDE to ensure the background language server indexes the new headers.
Step 3: Flashing the Microcontroller (Serial Transport)
For this tutorial, we will use Serial (USB) transport, which is the most reliable method for bench testing. Below is a minimal, production-ready publisher sketch for the Arduino Uno R4 WiFi or Portenta H7 that publishes an Int32 message representing a simulated sensor reading.
#include <micro_ros_arduino.h>
#include <rcl/rcl.h>
#include <rcl/error_handling.h>
#include <rclc/rclc.h>
#include <rclc/executor.h>
#include <std_msgs/msg/int32.h>

rcl_publisher_t publisher;
std_msgs__msg__Int32 msg;
rclc_executor_t executor;
rclc_support_t support;
rcl_allocator_t allocator;
rcl_node_t node;

#define RCC_CHECK(fn) { rcl_ret_t temp_rc = fn; if((temp_rc != RCL_RET_OK)){error_loop();} }

void error_loop(){
  while(1){
    digitalWrite(LED_BUILTIN, !digitalRead(LED_BUILTIN));
    delay(100);
  }
}

void setup() {
  pinMode(LED_BUILTIN, OUTPUT);
  set_microros_serial_transports(Serial);

  allocator = rcl_get_default_allocator();
  RCC_CHECK(rclc_support_init(&support, 0, NULL, &allocator));
  RCC_CHECK(rclc_node_init_default(&node, "arduino_sensor_node", "", &support));
  RCC_CHECK(rclc_publisher_init_default(
    &publisher, &node,
    ROSIDL_GET_MSG_TYPE_SUPPORT(std_msgs, msg, Int32),
    "arduino_sensor_data"));

  msg.data = 0;
}

void loop() {
  msg.data = analogRead(A0); // Read actual sensor data
  RCC_CHECK(rcl_publish(&publisher, &msg, NULL));
  digitalWrite(LED_BUILTIN, !digitalRead(LED_BUILTIN));
  delay(100); // 10Hz publish rate
}
Memory Allocation Limits (Crucial E-E-A-T Detail)
The pre-compiled micro_ros_arduino library has hardcoded memory limits to fit within the 32KB SRAM of boards like the Uno R4. By default, you are limited to:
- Max Publishers: 10
- Max Subscribers: 10
- Max Services/Clients: 5
If your sketch requires more nodes or topics, the RCC_CHECK macro will trigger the error_loop() (blinking LED). To bypass this on a Portenta H7, you must compile the micro-ROS library from source using the colcon.meta configuration file to increase the RMW_UXRCE_MAX_PUBLISHERS flag.
Step 4: Running the Agent and Verifying Data
Connect your Arduino to the host PC via USB. Note the serial port (e.g., /dev/ttyACM0). Launch the micro-ROS Agent using Docker:
docker run -it --rm -v /dev:/dev --privileged --net=host \
  microros/micro-ros-agent:jazzy serial --dev /dev/ttyACM0 -b 115200
If successful, the terminal will output: [1678943210.123] [info] [MicroXRCEAgent]: Client connected.
Open a new terminal on your host, source your ROS 2 environment, and verify the topic:
source /opt/ros/jazzy/setup.bash
ros2 topic list
# Output: /arduino_sensor_data /parameter_events /rosout

ros2 topic echo /arduino_sensor_data
# Output:
# data: 512
# ---
# data: 515
# ---
Advanced Configuration: WiFi UDP Transport
Serial cables restrict robot mobility. For tetherless robots, use WiFi UDP transport. This requires modifying the setup function in your Arduino sketch:
const char* ssid = "YourNetworkSSID";
const char* password = "YourNetworkPassword";
const IPAddress agent_ip(192, 168, 1, 50);
const uint16_t agent_port = 8888;

// Replace set_microros_serial_transports with:
set_microros_wifi_transports(ssid, password, agent_ip, agent_port);
Edge Case Warning: When using UDP over WiFi, the Arduino must successfully connect to the network before initializing the micro-ROS support structures. If the WiFi handshake fails, the node initialization will crash silently. Always implement a WiFi connection verification loop with a timeout before calling rclc_support_init.
Troubleshooting Common Failure Modes
Integrating ROS for Arduino via micro-ROS introduces distributed systems complexity. Here are the most frequent issues encountered in the field:
1. Agent Disconnects Randomly (RCL_RET_TIMEOUT)
Cause: The micro-ROS client sends periodic pings to the Agent. If the Agent is busy processing heavy DDS traffic (like LiDAR point clouds on the host), it may miss the ping, causing the Arduino to assume the connection is dead and reset.
Fix: Increase the ping timeout in your Arduino sketch using rmw_uros_set_ping_timeout(1000); before initializing the support structure.
2. 'ros2 topic echo' Shows Nothing
Cause: Mismatched DDS implementations or missing QoS (Quality of Service) profiles. The Arduino uses a best-effort, volatile QoS by default to save memory.
Fix: Ensure your host PC is using the same RMW implementation. If using CycloneDDS on the host, set the environment variable: export RMW_IMPLEMENTATION=rmw_cyclonedds_cpp.
3. Compilation Error: 'micro_ros_arduino.h not found'
Cause: The Arduino IDE background indexer failed, or the board architecture is unsupported by the pre-compiled binaries included in the ZIP.
Fix: The pre-compiled library includes binaries for stm32 (Portenta), renesas_uno (Uno R4), and esp32. If you are using a niche 32-bit board, you must use the provided extra_scripts in the library folder to compile the micro-ROS client specifically for your board's ARM toolchain.
Conclusion
Transitioning from legacy serial bridges to micro-ROS fundamentally changes how you architect robotic systems. By treating your Arduino Uno R4 or Portenta H7 as a native ROS 2 node, you gain access to lifecycle management, standardized DDS security, and seamless integration with Nav2 and MoveIt2. While the initial setup requires careful attention to memory allocators and transport layers, the resulting deterministic, low-latency control loop is essential for modern robotics development in 2026.