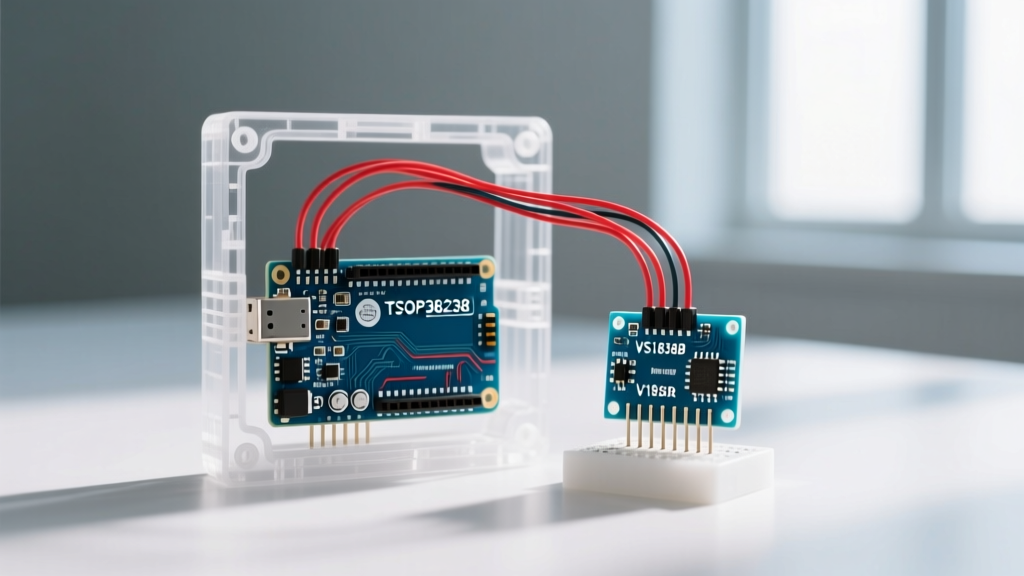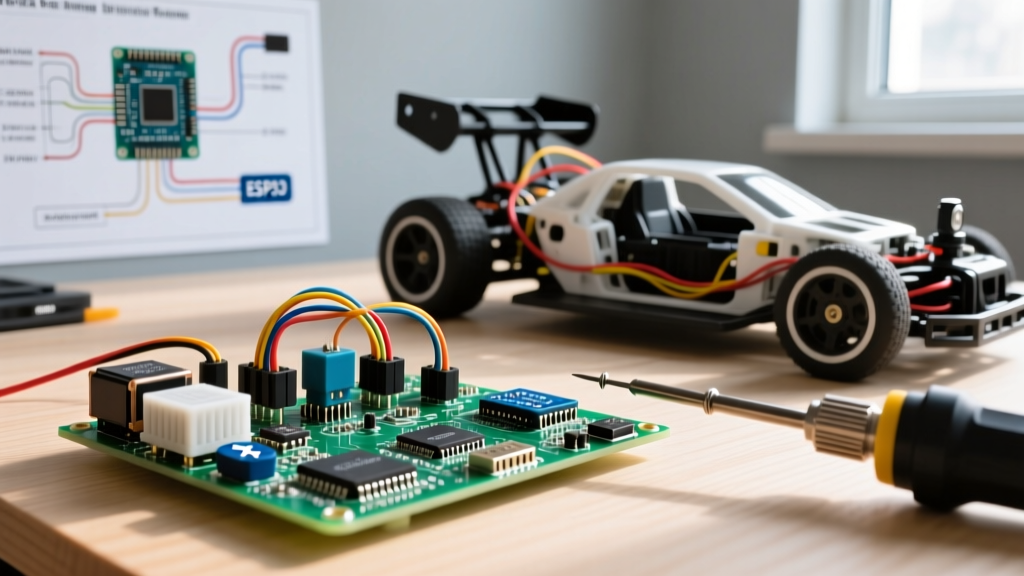

Introduction: The Reality of Arduino RC Builds
Building an RC car with Arduino is a staple project in the maker community, but transitioning from a breadboard prototype to a high-speed, off-road vehicle introduces severe electrical and software challenges. While thousands of tutorials show you how to wire an L298N motor driver and an HC-05 Bluetooth module, very few address the catastrophic failure modes that occur when the car actually hits the dirt. In 2026, with the rise of high-discharge LiPo batteries and ultra-fast brushless ESCs, legacy wiring diagrams often lead to voltage brownouts, violent servo jitter, and signal latency.
This guide bypasses basic assembly and dives straight into advanced troubleshooting. We will diagnose the exact hardware bottlenecks and software conflicts that cause motor stuttering, wireless dropouts, and microcontroller resets in Arduino-based RC platforms.
The #1 Culprit: Power Brownouts and Ground Loops
If your Arduino Nano or Uno randomly resets when you accelerate your RC car, you are experiencing a voltage brownout. DC motors draw massive inrush currents—often 10 to 15 times their rated continuous current—when starting from a dead stop or stalled against an obstacle.
The Shared Power Rail Mistake
Many beginners power the Arduino's VIN pin directly from the same 2S LiPo (7.4V nominal, 8.4V peak) battery pack that drives the motors. When the motors engage, the battery voltage can sag below 6V for a few milliseconds. The Arduino's onboard linear regulator drops out, the ATmega328P resets, and your car drives away uncontrollably.
Expert Fix: Never share a raw motor power rail with your logic circuit without heavy decoupling. Solder a 1000µF electrolytic capacitor and a 0.1µF ceramic capacitor directly across the motor driver's power input terminals to absorb inrush spikes. For the Arduino, use a dedicated LM2596 buck converter stepped down to exactly 5.5V to feed the 5V pin (bypassing the inefficient onboard linear regulator).
The Common Ground Imperative
Signal wires require a shared reference voltage. If your motor driver, receiver, and Arduino do not share a unified, thick-gauge ground wire, the PWM signals will float, causing erratic motor behavior. Always route a dedicated 18 AWG ground wire from the battery's negative terminal to a central bus bar, and star-ground your logic components from there.
Motor Driver Bottlenecks: L298N vs. Modern MOSFETs
The ubiquitous red L298N dual H-bridge module is the worst component you can put in a modern RC car with Arduino. It uses outdated bipolar junction transistor (BJT) technology, resulting in a massive voltage drop and thermal inefficiency.
| Driver IC | Technology | Voltage Drop | Continuous Current | Est. Price | Verdict |
|---|---|---|---|---|---|
| L298N | BJT | ~2.0V - 2.5V | 2A per channel | $3 - $5 | Obsolete. Wastes battery as heat. |
| TB6612FNG | MOSFET | ~0.5V | 1.2A (3.2A peak) | $6 - $9 | Best for micro 1:16 scale cars. |
| DRV8871 | MOSFET | ~0.4V | 3.6A continuous | $4 - $7 (x2) | Best for 1:10 scale custom builds. |
| IBT-2 (BTS7960) | High-Power MOSFET | ~0.1V | 43A continuous | $12 - $18 | Mandatory for heavy-duty/brushless. |
As documented in the Pololu TB6612FNG motor driver guide, MOSFET-based drivers operate with significantly lower on-resistance. Upgrading from an L298N to a pair of DRV8871 breakout boards will instantly increase your RC car's top speed by 20-30% simply by delivering the battery's full voltage to the motors.
The SoftwareSerial Trap: Servo Jitter and Signal Drops
If your steering servo twitches violently or your motors stutter every time you receive a Bluetooth command, you have fallen into the SoftwareSerial trap.
To communicate with an HC-05 Bluetooth module while keeping the hardware serial port free for debugging, many tutorials instruct you to use the SoftwareSerial library on pins 10 and 11. However, as noted in the official Arduino SoftwareSerial documentation, this library works by disabling global interrupts while it bit-bangs the serial signal.
Why This Destroys RC Car Performance
The standard Servo.h library relies entirely on hardware interrupts to generate the precise 50Hz PWM pulses required by analog steering servos. When a Bluetooth character arrives via SoftwareSerial, interrupts are halted. The servo pulse is delayed, causing the servo to misinterpret the signal and violently jerk to the wrong position. Simultaneously, motor PWM signals generated by analogWrite() can stutter.
The Fix: Hardware Serial or Protocol Migration
- The Quick Fix: Wire the HC-05 RX/TX directly to the Arduino's hardware pins 0 and 1. You must disconnect them every time you upload a new sketch via USB, but it guarantees jitter-free servo operation.
- The Modern Fix: Ditch the Arduino Uno and HC-05 entirely. Migrate your RC car to an ESP32. The ESP32 features three hardware UARTs and dual-core processing, allowing you to handle wireless comms on one core while the second core handles flawless motor and servo PWM generation without interrupt conflicts.
Wireless Latency: HC-05 vs. ESP-NOW
Latency is the enemy of RC cars. A 150ms delay between moving the transmitter joystick and the car turning makes high-speed driving impossible. If you are still using Bluetooth Classic (HC-05) paired with a smartphone app, you are battling OS-level Bluetooth stack buffering.
| Protocol | Hardware | Avg. Latency | Max Range (Line of Sight) | Connection Overhead |
|---|---|---|---|---|
| Bluetooth Classic (SPP) | HC-05 + Android | 80ms - 250ms | ~10 meters | High (OS Pairing required) |
| Wi-Fi (TCP) | ESP8266 / ESP32 | 40ms - 100ms | ~30 meters | Medium (Router dependent) |
| Wi-Fi (UDP) | ESP32 | 15ms - 30ms | ~30 meters | Low (No handshake) |
| ESP-NOW | ESP32 to ESP32 | < 5ms | ~200+ meters | None (MAC-based peer-to-peer) |
For serious RC car with Arduino enthusiasts in 2026, ESP-NOW is the undisputed champion. By utilizing the ESP32's native mesh-protocol capabilities, ESP-NOW bypasses the standard Wi-Fi handshake and routing overhead, delivering raw MAC-layer packets with sub-5ms latency. You can build a custom 2.4GHz transmitter using a second ESP32 and a pair of analog joysticks, achieving commercial-grade RC response times for under $15 in components.
PWM Frequency Whine and Motor Stuttering
By default, the Arduino's analogWrite() function outputs a PWM signal at approximately 490Hz. When applied to DC motors via a driver, this low frequency often causes an audible, high-pitched whine and can lead to cogging (stuttering) at low speeds because the motor's inductance cannot smooth the current fast enough.
You can alter the Arduino's internal timer registers to push the PWM frequency into the ultrasonic range, eliminating whine and smoothing out low-speed crawling. Add this line to your setup() function to change Timer 1 (Pins 9 and 10 on an Uno/Nano) to roughly 31kHz:
TCCR1B = TCCR1B & B11111000 | B00000001; // Set Timer 1 to 31.25 kHzNote: Altering timer registers will break the Servo.h library if it relies on Timer 1. Always verify your pin-to-timer mapping via the Arduino PWM Documentation before modifying registers.
Step-by-Step Diagnostic Checklist
When your RC car fails to operate correctly on the test bench, follow this strict isolation sequence to identify the fault:
- Step 1: The USB Isolation Test. Power the Arduino via USB, but keep the motor driver logic pins connected. Send commands via the Serial Monitor. If the car responds perfectly, your wireless module is failing or experiencing power starvation.
- Step 2: The Multimeter Sag Test. Connect your multimeter to the battery terminals. Trigger full throttle via code. If the voltage drops below the Arduino's minimum operating threshold (typically 4.5V for the 5V rail), your battery C-rating is too low, or your wiring gauge is too thin.
- Step 3: The Signal Integrity Check. Use an oscilloscope or a logic analyzer to probe the PWM signal at the motor driver's input pin while the motors are under load. If the square wave looks jagged or drops in amplitude, you have a ground loop issue or EMI (Electromagnetic Interference) from the motor brushes corrupting the logic lines.
Final Thoughts on RC Reliability
Troubleshooting an RC car with Arduino requires shifting your mindset from pure software logic to harsh electrical realities. By eliminating the L298N, abandoning SoftwareSerial for critical timing tasks, and migrating to modern protocols like ESP-NOW, you transform a jittery science fair project into a high-performance, reliable off-road machine. Always respect the physics of inrush current, and your microcontroller will reward you with flawless execution on the track.