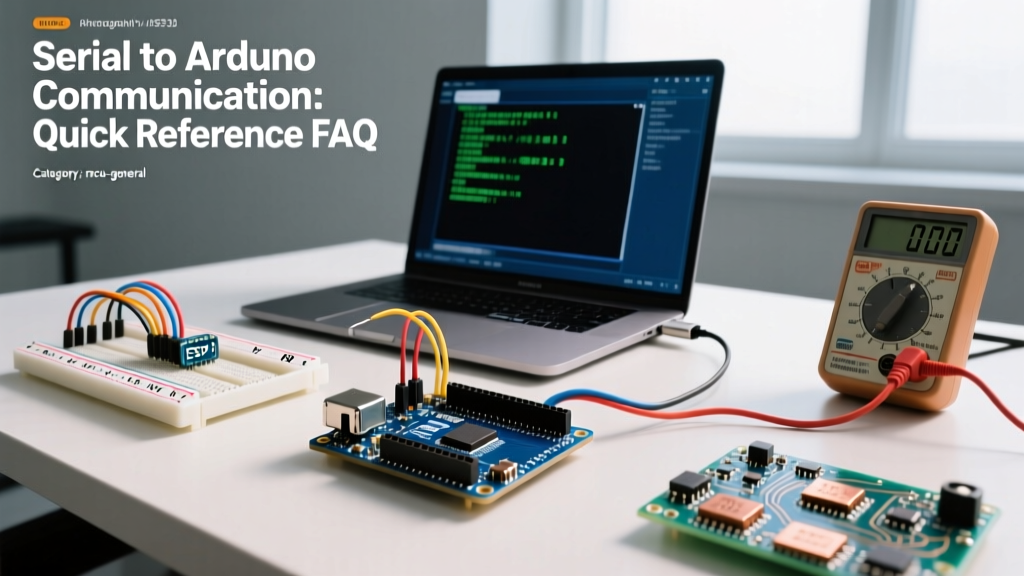

The Anatomy of Arduino Serial Port Communication
When your microcontroller refuses to talk to your PC or external sensors, troubleshooting Arduino serial port communication requires a systematic approach. Serial communication (UART) relies on precise timing, correct logic levels, and uninterrupted data lines. Whether you are using a genuine Arduino Uno R4 Minima (retailing around $27.50 in 2026) or a budget CH340-based clone, the underlying physics of UART remain identical.
According to the official Arduino Serial Reference, hardware serial uses dedicated UART pins (TX/RX), while software serial bit-bangs the protocol via CPU interrupts. Failures generally fall into three categories: IDE upload/monitor locking, scrambled character output, and complete hardware silence.
Diagnosing Scrambled Characters: Baud Rate and Clock Drift
The most frequent issue in Arduino serial port communication is receiving unreadable, garbage characters in the Serial Monitor. This is almost always a baud rate mismatch or a clock drift issue caused by the microcontroller's crystal oscillator.
UART does not transmit a clock signal. Both devices must agree on the speed (baud rate). If your transmitter operates at 115200 baud but the receiver expects 9600, the receiver will sample the voltage lines at the wrong intervals, resulting in framing errors.
Clock Drift and the 8MHz vs 16MHz Trap
Many makers use 3.3V Pro Mini clones running at 8MHz for low-power projects. However, the ATmega328P's internal baud rate generator cannot perfectly divide an 8MHz clock to achieve 115200 baud. The resulting error rate exceeds 3.5%, which is beyond the acceptable tolerance for most USB-to-Serial adapters, causing framing errors and dropped bytes.
| Target Baud Rate | 16MHz Crystal Error | 8MHz Crystal Error | Reliability Verdict |
|---|---|---|---|
| 9600 | 0.2% (Excellent) | 0.2% (Excellent) | Safe for all applications |
| 57600 | 1.4% (Good) | 1.4% (Good) | Reliable for short distances |
| 115200 | 2.1% (Marginal) | 3.5% (Fail) | Use 76800 or 57600 on 8MHz |
Hardware Wiring and Logic Level Mismatches
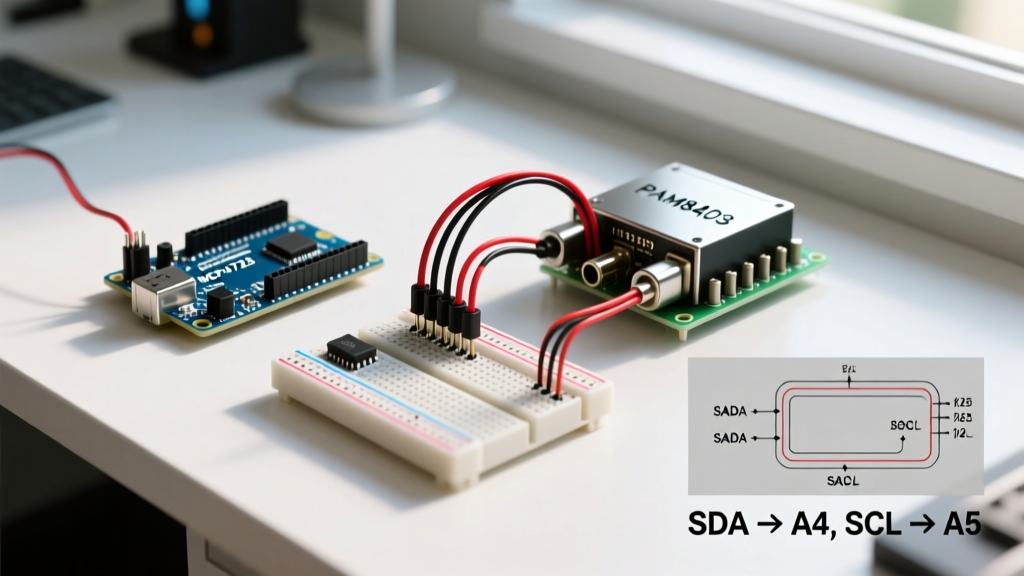
Physical wiring faults account for roughly 30% of serial communication failures. The golden rule of UART is simple: TX connects to RX, and RX connects to TX. Connecting TX to TX will result in a dead line.
Critical Warning: Never connect a 5V Arduino (like the Uno R3 or Mega 2560) directly to the 3.3V UART pins of an ESP32, STM32, or Raspberry Pi Pico without a logic level shifter. The 5V logic high will slowly degrade the 3.3V silicon, eventually destroying the input buffer. A bidirectional level shifter like the SparkFun BOB-12009 (approx. $3.95) or a TI TXB0108 IC is mandatory for mixed-voltage serial buses.
As detailed in SparkFun's guide to Serial Communication, you must also ensure a common ground (GND) connection between the two devices. Without a shared ground reference, the voltage differential between the TX and RX pins becomes unpredictable, leading to intermittent data corruption.
USB-to-Serial ICs: CH340, CP2102, and ATmega16U2
If your serial port communication fails before the sketch even uploads, the issue likely lies with the onboard USB-to-Serial converter chip.
- ATmega16U2 (Genuine Arduinos): Uses native CDC/ACM drivers. Rarely requires manual driver installation on Windows 11 or macOS. If it fails, check if the 16U2 firmware was accidentally overwritten via the ICSP header.
- CH340G/CH340C (Clones): Ubiquitous in budget boards. Windows 11 usually fetches the WCH driver automatically, but macOS Sonoma/Sequoia users often need to manually install the latest CH34x VCP driver from the WCH website to prevent kernel panics or port locking.
- CP2102/CP2104 (NodeMCU/ESP32): Silicon Labs chips. Highly reliable, but require the official CP210x VCP driver on older Windows builds.
SoftwareSerial vs. HardwareSerial: Interrupt Conflicts
When you run out of hardware UART ports (e.g., on an ATmega328P which only has one), the SoftwareSerial library seems like a lifesaver. However, it is a frequent source of Arduino serial port communication failures.
SoftwareSerial relies on pin-change interrupts to read incoming bits. If your sketch uses other interrupt-heavy libraries (like Servo.h, IRremote, or high-frequency Timer1 interrupts), the CPU will miss the start bit of the incoming serial frame, resulting in dropped characters.
When to Ditch SoftwareSerial
- Baud Rate Limits: SoftwareSerial is highly unreliable above 57600 baud. If your GPS module (like the u-blox NEO-6M) defaults to 115200, use an Arduino with multiple hardware UARTs, like the Mega 2560 or the ESP32.
- Simultaneous Listening: SoftwareSerial can only listen to one port at a time. If you are polling a GSM module and a GPS module simultaneously, data will be lost. Use HardwareSerial instead.
The Auto-Reset Circuit and 'stk500_getsync' Errors
If your serial communication works in the Monitor but fails during sketch uploads with the dreaded avrdude: stk500_getsync() attempt 1 of 10 error, the issue is likely the auto-reset circuit. Genuine Arduinos use a 0.1µF capacitor between the DTR line of the USB-to-Serial chip and the RESET pin of the ATmega328P. This capacitor creates a brief voltage spike that resets the board right before the bootloader listens for incoming serial data. If this capacitor is damaged, or if you are using a raw USB-to-Serial adapter without a DTR pin breakout, the board will not reset into the bootloader, and the serial upload will time out.
OS-Level Port Locking (Linux and macOS)
Sometimes the code and hardware are perfect, but the operating system blocks access. According to the Arduino IDE Troubleshooting Guide, port locking is a common hurdle.
Fixing Linux 'Permission Denied' Errors
On Ubuntu and Debian-based systems, the serial port (/dev/ttyUSB0 or /dev/ttyACM0) is owned by the dialout group. If your user isn't in this group, the IDE cannot upload code or open the Serial Monitor.
The Fix: Open your terminal and run:
sudo usermod -a -G dialout $USER
Log out and log back in for the group permissions to take effect.
Fixing macOS 'Port in Use' Errors
On macOS, background processes like ModemManager or 3D printer slicers (Cura, PrusaSlicer) can hold the serial port open. If the Arduino IDE reports the port is busy, open Activity Monitor, search for the conflicting application, and force quit it, or unplug and replug the USB cable to reset the USB bus state.
Expert Checklist for Dead Serial Lines
Before replacing your microcontroller, run through this definitive diagnostic checklist:
- Loopback Test: Connect the TX and RX pins directly on your USB-to-Serial adapter. Open a terminal at the correct baud rate and type. If characters echo back, the adapter and PC are fine; the fault lies with the microcontroller.
- Oscilloscope/Logic Analyzer Check: Hook up a $15 USB logic analyzer (like the Saleae Logic clone) to the TX line and use the open-source PulseView software to decode the UART frames. If you see clean square waves when transmitting, your code is executing. If the line sits idle at HIGH, your code is hanging before the
Serial.print()call. - Cable Verification: Over 20% of 'dead' boards are actually victims of charge-only USB cables. Ensure your Micro-USB or USB-C cable has the internal D+ and D- data wires intact by testing it with a smartphone data transfer.