
Transitioning from Microcontroller to Industrial Arduino PLC
The evolution of the Arduino ecosystem has pushed it far beyond 5V hobbyist breadboards. Today, deploying an Arduino PLC in industrial environments requires a fundamental shift in configuration, focusing on 24V logic, IEC 61131-3 programming standards, and robust network protocols. Whether you are retrofitting a legacy manufacturing line or building a custom automated testing rig, configuring your hardware and software stack correctly is the difference between a reliable system and a catastrophic failure.
This configuration guide focuses primarily on the Arduino Opta—the flagship micro PLC developed in partnership with Finder—as well as alternative OpenPLC configurations for standard AVR/STM32 boards. We will cover exact I/O mapping, IDE setup, Modbus TCP integration, and critical hardware hardening techniques required for 2026 industrial deployments.
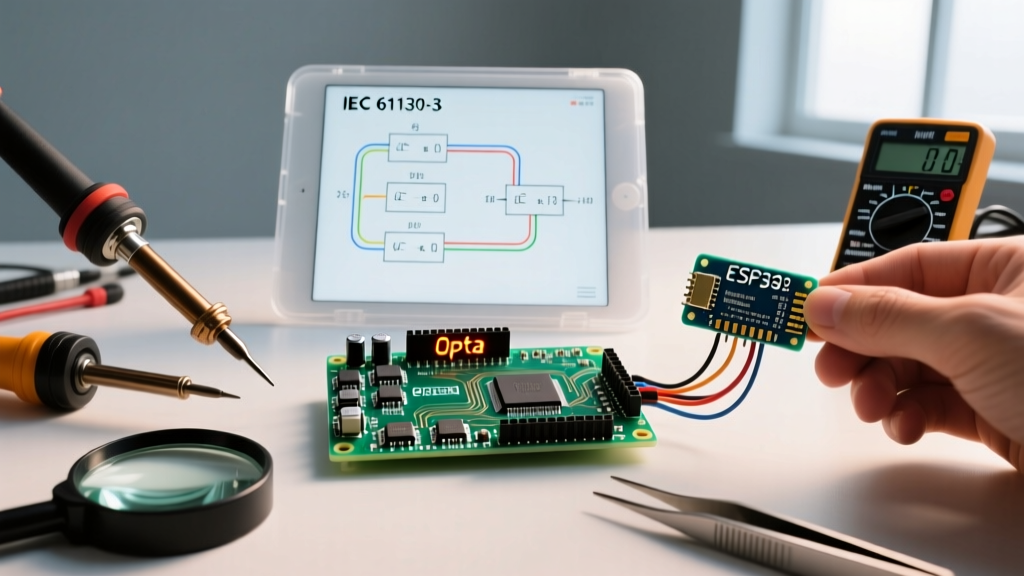
Configuration Callout: The IEC 61131-3 StandardUnlike standard Arduino C++ sketches, a true Arduino PLC environment relies on the IEC 61131-3 standard. This means configuring your workspace for Ladder Diagram (LD), Function Block Diagram (FBD), or Structured Text (ST) rather than traditional procedural C++. Ensure your software stack supports CODESYS or OpenPLC runtimes before proceeding.
Hardware Selection & 2026 Market Snapshot
Before configuring the software, you must select the appropriate industrial hardware. Standard Arduinos lack the optocoupler isolation and relay ratings required for factory floors. Below is a comparison of the leading Arduino-compatible PLC platforms currently on the market.
| Platform | Core Architecture | I/O Configuration | Approx. Price (USD) | Best Use Case |
|---|---|---|---|---|
| Arduino Opta (8I 16O) | STM32H747XI (Dual-Core M7/M4) | 8 Analog/Digital In, 16 Relay Out | $199.00 | Native PLC IDE, Modbus TCP, Edge IoT |
| Controllino Maxi | ATmega2560 (AVR) | 12 AI, 24 DI, 16 Relay Out | $385.00 | Legacy AVR code migration, Building Automation |
| Industrial Shields ESP32 | ESP32 WROVER | Varies (up to 38 I/O) | $145.00 | Wi-Fi/BLE dependent SCADA nodes |
| Custom OpenPLC (Mega2560) | ATmega2560 + Custom Shield | Depends on shield design | $45.00 - $80.00 | Education, Prototyping, Low-budget retrofits |
Step-by-Step: Configuring the Arduino PLC IDE
For the Arduino Opta, the official Arduino PLC IDE is the premier configuration environment. It is built on the CODESYS framework, providing native support for all five IEC 61131-3 languages.
1. Installation and Workspace Initialization
- Download & Install: Install the Arduino PLC IDE. Note that while the standard Arduino IDE is free, the PLC IDE requires a Maker license (approximately $29/year) or an Enterprise license for commercial deployment.
- Board Manager Sync: Open the standard Arduino IDE 2.x first, navigate to the Boards Manager, and install the Arduino Mbed Core Opta package. This ensures the underlying toolchains are present on your host OS.
- Device Recognition: Connect the Opta via USB-C. In the PLC IDE, navigate to Tools > Port and select the Opta. The status bar should show 'Connected' and display the STM32H747XI chipset.
2. I/O Mapping and Addressing Syntax
Industrial PLCs do not use variables like digitalRead(2). Instead, they use direct memory addressing mapped to physical terminals. The Opta's 8 inputs and 16 outputs must be configured using standard IEC addressing:
- Inputs (0-10V / 0-20mA / Digital): Mapped from
%IX0.0to%IX0.7. - Relay Outputs (250V AC / 24V DC): Mapped from
%QX0.0to%QX0.11(Note: 16 outputs are mapped in hexadecimal/octal blocks depending on your specific PLC IDE version, but generally span across%QX0.0to%QX1.7). - Analog Output (LED/Status): The Opta features a built-in RGB LED mapped to
%QW1for PWM status indication.
Configuration Tip: Always create a 'Global Variable List' (GVL) in your PLC IDE workspace. Map the raw hardware addresses (%IX0.0) to descriptive symbolic names (e.g., b_ProximitySensor_01) to prevent logic errors during complex Ladder Diagram creation.
Network Configuration: Modbus TCP & Ethernet/IP
An Arduino PLC is rarely a standalone island; it must communicate with HMIs, SCADA systems, and VFDs (Variable Frequency Drives). The Opta includes a dedicated 10/100 Mbps Ethernet port specifically for industrial protocols.
Configuring Modbus TCP Server
To allow a central SCADA system to poll the Opta's sensor data via Modbus TCP (Port 502), configure the network stack as follows:
- Navigate to the PLC Settings tab in the IDE.
- Disable DHCP and assign a static IP within your industrial VLAN (e.g.,
192.168.1.50, Subnet255.255.255.0). - In your Structured Text (ST) or LD program, instantiate the Modbus TCP Server library.
- Map your input variables to Modbus Holding Registers (Addresses
40001to40010). For example, map%IW0(Analog Input 1 raw ADC value) to Holding Register0. - Compile and push the configuration to the Opta. Verify connectivity using a tool like QModMaster or Wireshark to confirm TCP handshakes on port 502.
Critical Failure Modes & Industrial Hardening
Deploying an Arduino PLC in a 24V industrial cabinet introduces electrical hazards that do not exist on a desktop. Ignoring these will result in hardware destruction.
Expert Warning: Relay Contact Welding
The Arduino Opta's internal relays are rated for 2A at 250V AC. However, if you switch inductive loads (like solenoid valves, contactors, or small motors) without external flyback diodes (for DC) or RC snubber circuits (for AC), the inductive kickback will generate an arc. This arc will weld the relay contacts shut within 50 to 100 switching cycles, causing the PLC to lose control of the load permanently.
Ground Loop Isolation
When wiring 0-10V analog sensors to the Opta's inputs, ensure the sensor's ground and the Opta's 24V DC power supply ground share a single common star-ground point. If the sensor is grounded to a distant machine chassis and the Opta is grounded to the DIN-rail PSU, a ground loop will form. This introduces 50/60Hz AC noise into your analog readings, causing erratic PID control loop behavior. Use isolated 4-20mA transmitters wherever possible to bypass ground loop issues entirely.
The Free Alternative: OpenPLC Configuration
If the subscription cost of the official PLC IDE is prohibitive, or you are utilizing a third-party board like an Industrial Shields ESP32 or a standard Arduino Mega, OpenPLC is the industry-standard open-source alternative.
OpenPLC Setup Workflow
- Step 1: Download the OpenPLC Editor (based on Beremiz) to write your IEC 61131-3 logic.
- Step 2: Flash the OpenPLC Runtime firmware onto your target microcontroller using the standard Arduino IDE.
- Step 3: Connect to the runtime via Wi-Fi or Ethernet using the OpenPLC web dashboard (default port 8080).
- Step 4: Upload your compiled
.stor.xmlprogram directly through the browser interface and map the I/O pins via the dashboard's hardware configuration matrix.
Frequently Asked Questions (FAQ)
Can I use standard Arduino libraries inside the Arduino PLC IDE?
No. The PLC IDE compiles code using the CODESYS runtime environment, which is strictly sandboxed to IEC 61131-3 standards and specific PLCopen libraries. You cannot import standard C++ Arduino libraries (like Wire.h or Servo.h) directly into a PLC IDE project. If you need custom I2C sensor integration, you must write a C++ sketch in the standard Arduino IDE, expose the data via Modbus or UART, and read it into the PLC IDE as a secondary process.
What is the scan time of the Arduino Opta?
The Opta's STM32H747XI Cortex-M7 core running at 480MHz yields an exceptionally fast PLC scan cycle. For a typical program containing 1,000 Ladder Logic instructions, the scan time is generally under 0.5 milliseconds. This makes it highly suitable for high-speed packaging and sorting applications where legacy AVR-based PLCs would bottleneck.
How do I update the Opta firmware in the field without a laptop?
The Opta supports OTA (Over-The-Air) updates via the Arduino Cloud IoT framework. By configuring the device as an IoT node, you can push compiled PLC binaries remotely via a secure TLS connection, eliminating the need for a technician to physically connect a USB-C cable to the DIN-rail mounted unit.