
Diagnosing Arduino Potansiyometre ADC Failures
When global makers, engineering students, and hobbyists search for arduino potansiyometre troubleshooting, they are almost universally battling erratic Analog-to-Digital Converter (ADC) readings. Whether you are building a MIDI controller, a robotic servo joint, or a simple dimmer switch, interfacing a variable resistor with a microcontroller introduces specific hardware and software failure modes. A potentiometer is fundamentally a variable voltage divider, but treating it as an ideal component is the root cause of 90% of analog read errors in maker projects.
In this comprehensive diagnostic guide, we bypass basic wiring tutorials and dive deep into the electrical engineering realities of ADC impedance, sampling capacitors, taper mismatches, and modern microcontroller quirks (including the notorious ESP32 ADC non-linearity). By the end of this guide, you will have a systematic framework to isolate and eliminate analog noise, ghosting, and jitter.
The 10kΩ Impedance Rule and 'Ghosting' Errors
The most misunderstood error in analog sensor wiring is ADC ghosting—where reading one analog pin seemingly alters the value of an adjacent, unconnected pin. This is not a software bug; it is a hardware limitation of the microcontroller's internal Sample and Hold (S/H) circuit.
According to the Arduino Analog Pins Guide, the ATmega328P (used in the Uno and Nano) features an internal S/H capacitor of approximately 14pF. When the ADC multiplexer switches to a new pin, this 14pF capacitor must charge to the voltage level of your potentiometer's wiper before the 10-bit conversion completes (which takes about 104 microseconds).
Expert Rule: The ATmega328P datasheet strictly recommends a maximum source impedance of 10kΩ. If you use a 100kΩ or 1MΩ potentiometer, the internal capacitor cannot charge fully in time, resulting in 'ghost' voltages bleeding over from previously read pins.
How to Diagnose and Fix Impedance Mismatches
- The Diagnostic Test: Connect a 100kΩ pot to A0. Leave A1 completely unconnected (floating). Write a sketch that reads A0, then A1, in a loop. If A1 mirrors A0's value with a slight lag, you have an impedance charging error.
- Hardware Fix 1 (Component Swap): Replace high-resistance pots with standard B10K (10kΩ Linear) models. This provides a low-impedance path that easily drives the 14pF S/H cap.
- Hardware Fix 2 (Op-Amp Buffer): If your circuit strictly requires a high-impedance sensor, route the wiper through a unity-gain op-amp buffer (like the LM358 or MCP6001) before feeding it to the Arduino analog pin.
- Software Fix (Dummy Read): Perform two consecutive
analogRead()calls on the same pin and discard the first one. This gives the S/H capacitor extra time to settle. See the Arduino analogRead Reference for implementation details.
Diagnostic Matrix: Symptom to Solution
Use the following matrix to quickly identify the root cause of your specific analog instability.
| Symptom | Probable Root Cause | Diagnostic Step | Required Fix |
|---|---|---|---|
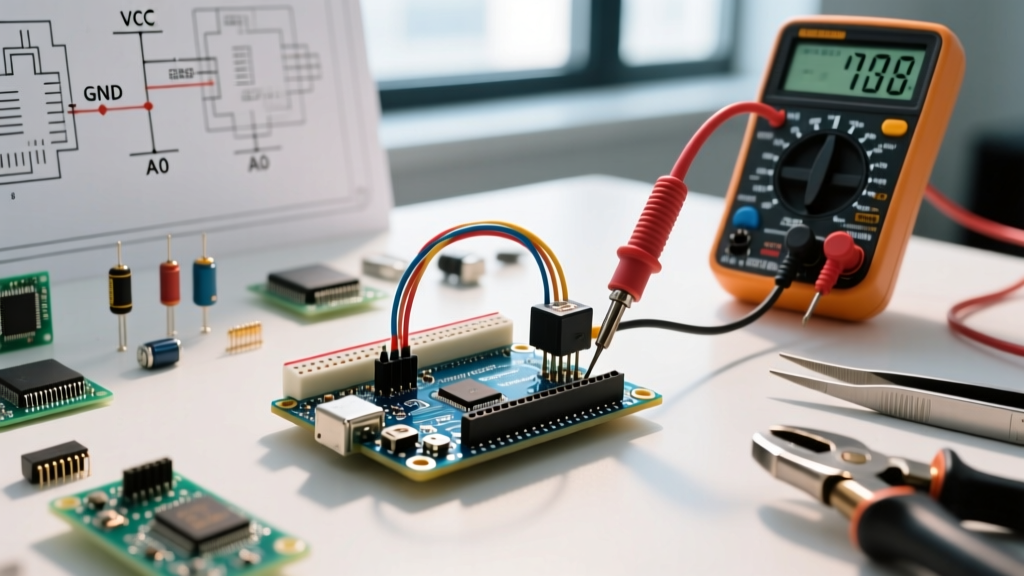
| Jittering ±5 to ±15 counts | USB switching noise / floating ground | Measure wiper-to-GND with multimeter in AC mV mode | Add 0.1µF ceramic cap between wiper and GND |
| Ghosting on adjacent pins | Source impedance > 10kΩ | Read A0 then unconnected A1 in serial monitor | Switch to 10kΩ pot or add op-amp buffer |
| Non-linear sweep (dead zones) | Wrong taper (Audio/Logarithmic) | Measure resistance at exactly 50% physical rotation | Replace A-taper (Audio) with B-taper (Linear) |
| Stuck at 1023 (or 4095) | Wiper shorted to VCC / missing GND | Continuity test wiper to 5V and GND pins | Rewire outer legs to VCC/GND, wiper to Analog |
| Sudden massive value spikes | Carbon track degradation / wiper bounce | Rotate slowly while monitoring serial plotter | Upgrade to Cermet or Conductive Plastic element |
Taper Confusion: Linear (B) vs. Logarithmic (A)
A frequent error in localized project forks and international tutorials involves the misidentification of potentiometer tapers. If your arduino potansiyometre project involves position sensing, robotics, or joystick calibration, you must use a Linear Taper (denoted by a 'B' prefix, e.g., B10K).
If you accidentally salvage an Audio/Logarithmic Taper (denoted by an 'A' prefix, e.g., A10K) from an old amplifier volume knob, the resistance change will be highly non-linear relative to the physical shaft rotation. At the 50% physical rotation mark, an A10K pot might only output 15% of its total resistance, causing your Arduino code to interpret the physical position incorrectly. Always verify the taper by measuring the resistance between the wiper and one outer lug at the exact mechanical midpoint.
The ESP32 ADC Non-Linearity Problem
As of 2026, many makers have migrated from the 5V ATmega328P to the 3.3V ESP32 for IoT projects. However, the ESP32's internal ADC is notoriously non-linear, particularly at the extremes of its 0V to 3.3V range. A standard 3.3K/10K voltage divider or potentiometer sweep will often show 'flattening' near 0 and 3.3V, where a 50mV physical change yields zero change in the digital read.
Modern Software Mitigation for ESP32
Do not use raw analogRead() on the ESP32 if precision is required. Instead, utilize the analogReadMilliVolts() function introduced in the ESP32 Arduino Core v2.x. This function applies factory-stored eFuse calibration data and lookup tables to linearize the raw ADC curve, drastically reducing the non-linearity error without requiring external I2C ADCs like the ADS1115.
Software Filtering: Exponential Moving Average (EMA)
Even with perfect hardware, environmental electromagnetic interference (EMI) from nearby motors or switching power supplies can induce high-frequency noise. While a 0.1µF hardware capacitor handles high-frequency ripple, low-frequency drift requires software filtering. The most CPU-efficient method for microcontrollers is the Exponential Moving Average (EMA).
// EMA Filter for Potentiometer Stabilization
const float alpha = 0.05; // Smoothing factor (lower = smoother but more lag)
float smoothedValue = 0;

void setup() {
  Serial.begin(115200);
  // Initialize with a raw read to prevent startup jump
  smoothedValue = analogRead(A0);
}

void loop() {
  int rawValue = analogRead(A0);
  // Apply EMA formula
  smoothedValue = (alpha * rawValue) + ((1.0 - alpha) * smoothedValue);

  // Map the stabilized 10-bit value to a 0-255 PWM range
  int pwmOutput = map((int)smoothedValue, 0, 1023, 0, 255);

  Serial.print('Raw: ');
  Serial.print(rawValue);
  Serial.print(' | Smoothed: ');
  Serial.println(smoothedValue);

  delay(15); // ~60Hz sampling rate
}
Component Selection for Reliability
Physical wear is the final failure mode. Cheap carbon-composition potentiometers develop 'dead spots' where the wiper loses contact with the carbon trace, resulting in sudden ADC spikes from 300 to 1023. For professional or high-cycle maker projects, invest in superior resistive elements:
- Bourns 3386 Series (Cermet): Excellent for PCB-mounted trimmers. Cermet elements handle high temperatures and resist physical wear, maintaining stable contact resistance over thousands of cycles.
- ALPS RK09K (Conductive Plastic): The gold standard for panel-mount audio and MIDI controllers. Conductive plastic offers virtually infinite rotational life and ultra-low wiper noise.
- Vishay P11A (Heavy Duty): Ideal for industrial or outdoor robotics where dust and moisture might compromise standard carbon tracks.
By systematically addressing source impedance, verifying taper linearity, and applying targeted software filtering, you can transform a jittery, unreliable analog input into a rock-solid control interface.