
The Evolution of Arduino Pinouts: From ATmega328P to Dual-Core ARM
The microcontroller landscape in 2026 looks vastly different than it did a decade ago. While the legacy ATmega328P-based Uno R3 remains a nostalgic staple, the modern maker bench is dominated by the Renesas RA4M1-powered Uno R4 series and the ESP32-S3-based Nano ESP32. Consequently, searching for an accurate Arduino pinout often yields outdated diagrams that fail to account for modern features like native USB-C, Qwiic/STEMMA I2C integration, and complex strapping pin requirements. Misinterpreting a pinout on a $27.50 Uno R4 WiFi or a $21.00 Nano ESP32 can lead to immediate boot failures or fried logic gates.
This community resource roundup curates the most reliable, up-to-date interactive tools, GitHub repositories, and official cheat sheets available today. Whether you are designing a custom PCB in KiCad 8 or wiring a quick breadboard prototype, these resources will ensure your hardware mappings are flawless.
Top Interactive Arduino Pinout Tools & Generators
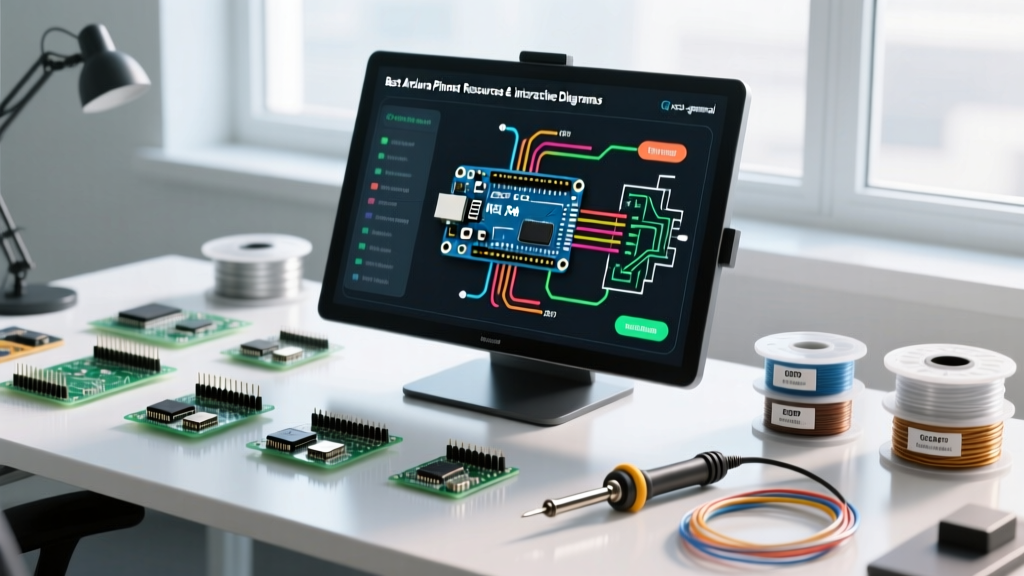
Static JPEGs are no longer sufficient for complex boards featuring multiplexed pins and alternate peripheral functions. The community has shifted toward interactive databases that allow you to filter by peripheral (e.g., SPI, I2C, UART, PWM). Below is a comparison of the top tools used by professional makers and educators.
| Tool / Platform | Board Support | Cost | Best Feature |
|---|---|---|---|
| Circuit State Pinouts | ESP32, Nano ESP32, RP2040 | Free | Color-coded strapping pin warnings |
| Fritzing (Parts Editor) | Legacy & Modern Arduino | $8 - $24 | Visual breadboard mapping & SVG export |
| KiCad 8 Official Libs | Uno R4, Nano ESP32, MKR | Free (Open Source) | Exact 3D footprint clearance checking |
| Pinspector (Web) | AVR, ARM Cortex, ESP | Free | Alternate function multiplexing tables |
For quick breadboard visualization, Fritzing remains a community favorite. However, for PCB design, relying on the official KiCad libraries is mandatory to avoid trace routing errors caused by inaccurate third-party footprints.
Community-Driven Diagram Repositories
When official documentation lacks specific mechanical dimensions or breadboard-friendly views, the open-source community steps in. Here are the most vital repositories to bookmark for your Arduino pinout needs.
1. The Fritzing Parts Repository
Hosted on GitHub, the fritzing-parts repository is the canonical source for community-maintained board diagrams. When a new board like the Nano ESP32 launches, community contributors reverse-engineer the schematic to create .fzpz part files. Pro Tip: Always check the commit history of a specific part file. If a pinout was uploaded within the first week of a board's release, verify it against the official schematic, as early community mappings often miss internal pull-up configurations or mislabel the 5V vs. VBUS pins.
2. Arduino Official KiCad Libraries
For hardware engineers designing custom shields or carrier boards, the official Arduino KiCad library provides 1:1 mechanical footprints. In 2026, KiCad 8's integrated 3D viewer allows you to import the STEP models of the Uno R4 WiFi to verify that your custom shield's capacitors do not collide with the board's integrated ESP32-S3 module or the metal RF shield.
Critical Hardware Gotchas: Reading Between the Pinout Lines
A pinout diagram tells you where a pin is, but it rarely tells you how it behaves during the first 500 milliseconds of boot. Understanding these hardware edge cases is what separates beginners from advanced embedded engineers.
The Nano ESP32 Strapping Pin Trap
The Nano ESP32 is a powerhouse, but its pinout is riddled with strapping pins that dictate the boot mode. If you wire a relay module or a low-impedance sensor to these pins, your board will fail to boot your sketch.
Warning: GPIO 0, GPIO 3, GPIO 45, and GPIO 46 are strapping pins on the ESP32-S3. If GPIO 0 is pulled LOW during power-on, the chip enters serial download mode instead of executing your firmware. Never use GPIO 0 for outputs that default to LOW on startup.
Uno R4 WiFi I2C Pull-Up Conflicts
The Uno R4 WiFi features a dedicated Qwiic connector alongside the standard A4/A5 I2C header. A common failure mode occurs when makers assume both connectors share identical electrical characteristics. The Qwiic connector includes onboard 2.2kΩ pull-up resistors tied to 3.3V. The A4/A5 header, however, relies on the internal Renesas RA4M1 pull-ups, which are exceptionally weak (often >10kΩ). If you are running a long I2C bus (over 30cm) using the A4/A5 header, you must add external 4.7kΩ pull-up resistors to prevent data corruption, a detail rarely highlighted in basic pinout diagrams.
Essential Official Cheat Sheets for Quick Bench Reference
When you are standing at the workbench with a multimeter in hand, navigating through dense PDF schematics is inefficient. The official Arduino documentation team has released highly visual, single-page cheat sheets that serve as the ultimate quick-reference Arduino pinout guides.
- Uno R4 WiFi: The Uno R4 WiFi Cheat Sheet details the 12-bit DAC output on A0, the internal op-amp configurations, and the exact current sourcing limits per GPIO group (crucial for driving LED matrices without external MOSFETs).
- Nano ESP32: The Nano ESP32 Cheat Sheet maps out the RGB LED control pins, the native USB-C data lines, and the specific GPIOs capable of capacitive touch sensing.
Print these out, laminate them, and keep them next to your soldering station. They include the exact logic level thresholds (e.g., 3.3V logic on the R4 WiFi vs 5V on the Minima) which is vital when integrating legacy 5V sensors.
Logic Level Translation: Bridging the Pinout Gap
As the Arduino ecosystem transitions to 3.3V logic (RA4M1 and ESP32-S3), connecting older 5V shields requires careful pinout management. Directly connecting a 5V output to a 3.3V Nano ESP32 pin will degrade the silicon over time or cause immediate latch-up.
Community Recommended Solutions:
- BSS138 MOSFET Shifters ($1.50 - $3.00): Ideal for I2C and low-speed UART. They are bidirectional and safe for the sensitive Qwiic pins.
- TXS0108E ICs ($4.00 - $6.00): Best for high-speed SPI or parallel data buses, offering automatic direction sensing and edge-rate acceleration.
- Resistor Dividers ($0.10): Acceptable only for one-way, low-speed signals (like a simple pushbutton or 1-Wire data line), but never use them for I2C due to capacitance issues.
FAQ: Advanced Pinout Troubleshooting
Why does my Uno R4 Minima show 5V on the IOREF pin, but my shield isn't working?
The IOREF pin is an output from the Arduino to tell shields what logic level to use. It does not provide power. If your shield requires a 5V reference to configure its internal level shifters, ensure it is drawing power from the actual 5V pin, not just reading the IOREF voltage.
Can I use the analog pins as digital I/O on the Nano ESP32?
Yes, but with a caveat. While the pinout maps A0-A7 to digital equivalents, the ESP32-S3 ADC is non-linear at the extreme high and low ends of the voltage spectrum. For precision analog readings, stick to the mid-range (0.1V to 3.1V) and use the internal attenuation settings in the Arduino IDE rather than relying on external voltage dividers mapped in your pinout diagram.