
Engineering the Perfect Arduino Basketball Scorekeeper
Building an automated Arduino basketball hoop sensor or scorekeeper is a rite of passage for many makers. However, the gap between a messy breadboard prototype that works once and a reliable, courtside-ready device is vast. Most hobbyists fall into the trap of 'spaghetti code' and fragile wiring, leading to endless recalibration sessions and missed shots. In 2026, with the availability of advanced Time-of-Flight sensors and robust ESP32 microcontrollers, there is no excuse for unreliable builds. This guide outlines a professional, optimized workflow for designing, coding, and deploying an Arduino basketball sensor system, minimizing rework and maximizing accuracy.
Phase 1: Strategic Hardware Procurement
The most common failure point in any Arduino basketball project is selecting the wrong sensor for the environment. A standard ultrasonic sensor might work in a dimly lit garage, but it will fail catastrophically on an outdoor hoop due to wind noise, rim vibrations, and sunlight interference. Optimizing your workflow starts with procuring the right components before you write a single line of code.
Sensor Comparison Matrix
| Sensor Type | Specific Model | Avg. Price | Response Time | Sunlight Immunity | Best Use Case |
|---|---|---|---|---|---|
| IR Break-Beam | Adafruit 2168 (50cm) | $9.95 | 1ms | Poor | Indoor hoops, controlled lighting |
| Ultrasonic | HC-SR04 | $3.50 | 38ms | Moderate | Prototyping only (too much noise) |
| Time-of-Flight (LiDAR) | SparkFun VL53L1X | $14.95 | 20ms | Excellent | Outdoor hoops, high-accuracy tracking |
For a robust outdoor build, the SparkFun VL53L1X Time-of-Flight sensor is the undisputed champion. It uses a Class 1 laser to measure distance, completely ignoring ambient sunlight and rim vibrations. Pair this with an ESP32-WROOM-32E development board (approximately $6.00) to handle both the high-speed I2C polling and Wi-Fi telemetry.
Phase 2: Toolchain & Environment Optimization
Abandon the legacy Arduino IDE for complex projects. To optimize your development workflow, migrate to PlatformIO within Visual Studio Code. This shift alone will cut your debugging time in half.
- IntelliSense & Autocomplete: Catch syntax errors and missing library dependencies before compilation.
- Version Control: Native Git integration allows you to branch experimental filtering algorithms without breaking your main codebase.
- Library Management: The
platformio.inifile locks your library versions, ensuring your build is reproducible years down the line.
According to the PlatformIO VS Code Integration documentation, setting up a unified environment for coding, serial monitoring, and unit testing creates a seamless feedback loop that the standard Arduino IDE simply cannot match.
Phase 3: Modular Code Architecture
The biggest workflow killer is writing linear, blocking code. If your Arduino basketball sensor uses delay() to wait for the ball to clear the net, the entire system freezes, missing rapid consecutive shots or network timeouts. You must implement a non-blocking Finite State Machine (FSM).
The State Machine Workflow
Structure your logic around distinct states rather than sequential delays. Use millis() for all timing operations.
- STATE_IDLE: Sensor polls at 50Hz. Waiting for distance to drop below the 'rim threshold' (e.g., 40cm).
- STATE_BALL_DETECTED: Distance drops below threshold. Start a debounce timer. Ignore subsequent triggers for 150ms to account for the ball's curvature.
- STATE_SCORE_CONFIRMED: Ball passes completely through (distance returns to >80cm). Increment score, trigger LED/buzzer, and publish MQTT payload.
- STATE_COOLDOWN: A 500ms lockout period to prevent the net swinging back and registering a false second point.
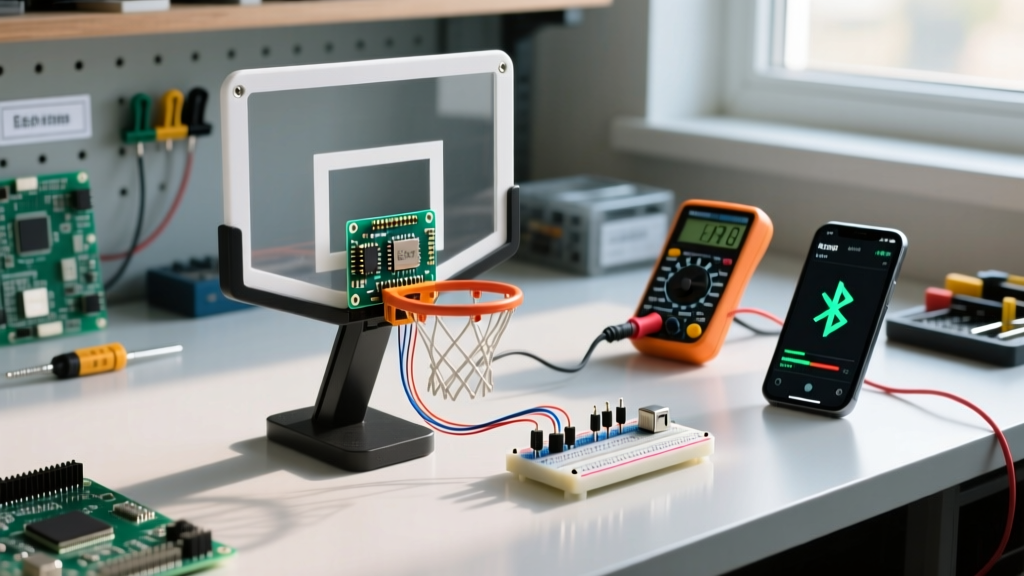
Expert Insight: Never hardcode your sensor thresholds. Define them as const variables at the top of your sketch, or better yet, store them in the ESP32's EEPROM/NVS so you can recalibrate the hoop via a Bluetooth serial terminal without recompiling the firmware.Phase 4: Rapid Calibration & Testing Jigs
Do not test your Arduino basketball sensor by repeatedly shooting physical basketballs. It is exhausting, inconsistent, and terrible for isolating edge cases. Optimize your testing workflow by building a physical simulation jig.
Building the Pendulum Jig
Mount your sensor on a sturdy extrusion (like 2020 aluminum) and suspend a spherical object (a grapefruit or a small medicine ball) on a string. Swing it through the sensor's field of view. This allows you to:
- Verify the exact millisecond the beam breaks.
- Test the net-swing cooldown logic by introducing a secondary, smaller obstacle (like a piece of fabric) immediately after the ball.
- Use the PlatformIO Serial Plotter to visualize the raw distance data versus the filtered output, allowing you to tune your Kalman or moving-average filters in real-time.
If you are using traditional IR break-beam sensors for an indoor setup, Adafruit's IR Break-Beam Sensor Guide provides excellent baseline circuit diagrams, but remember to add a 0.1µF decoupling capacitor across the VCC and GND pins of the receiver to eliminate voltage ripple from long cable runs.
Phase 5: Deployment & Courtside Hardening
A streamlined workflow extends to physical deployment. If your sensor requires a soldering iron to repair a broken wire on the court, your workflow has failed. Design for quick teardown and modularity.
Connector Strategy
Ditch the Dupont wires. Use Molex Micro-Fit 3.0 connectors for all sensor-to-microcontroller interfaces. They are rated for high vibration, feature a positive locking mechanism, and are completely weather-resistant when paired with silicone seals. This allows you to swap a damaged sensor in under 30 seconds during a game.
Enclosure & Thermal Management
Mount the electronics in an IP65-rated polycarbonate enclosure. If you are using an ESP32 with Wi-Fi enabled, the chip will generate heat. In direct summer sunlight, internal enclosure temperatures can exceed 60°C (140°F), causing the onboard voltage regulator to throttle or fail.
- Drill ventilation holes at the bottom and top of the enclosure to create a passive chimney effect.
- Cover the ventilation holes with breathable, waterproof PTFE membrane patches to maintain the IP65 rating while allowing heat escape.
- Apply a UV-resistant reflective tape to the exterior of the enclosure to reduce solar heat absorption.
Phase 6: Telemetry and Data Logging
Modernizing your Arduino basketball project means moving beyond simple LED displays. Optimize your post-game analysis by pushing data to the cloud. Using the MQTT protocol on your ESP32, you can publish JSON payloads containing the timestamp, shot velocity (calculated via dual-sensor time-delta), and score to a local Raspberry Pi broker or a cloud service like AWS IoT Core. This data can then be piped into a Grafana dashboard, providing players with heat maps and shooting percentages over time.
Conclusion
Building a reliable Arduino basketball sensor is less about the magic of the code and more about the discipline of the workflow. By selecting environment-appropriate sensors like the VL53L1X, adopting a professional toolchain like PlatformIO, enforcing non-blocking state machines, and designing for physical modularity, you transform a frustrating weekend project into a robust, tournament-ready piece of engineering. Optimize your process, and the hardware will perform flawlessly.